Can You Freeze Dry Apples
Can you freeze dry apples? Yes, you can, and they turn out fantastic. Freeze-dried apples keep their sweet-tart flavor, hold their shape, and come out with a satisfying crunch that rivals any store-bought snack.
Whether you're planning for long-term food storage or just want a healthy treat that doesn't spoil, apples are one of the best fruits to start with.
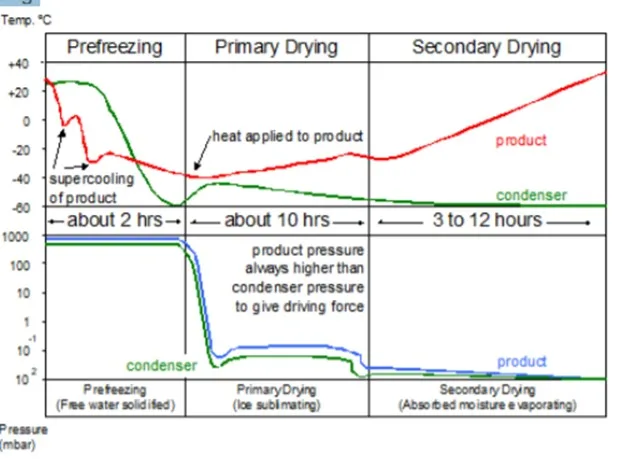
The process relies on sublimation, which skips the liquid phase entirely and turns ice directly into vapor. A home freeze dryer pulls moisture out while the fruit stays frozen, preserving nutrients and structure far better than a dehydrator. As of 2026, home freeze dryers have become more accessible than ever, but the process still takes time and care.
Let's break down exactly how it works, what you need, and how to tell if it's working.
Quick Answer
Yes, you can freeze dry apples at home. You need a home freeze dryer or dry ice.
The process takes 20 to 40 hours. Slice apples about 1/4-inch thick. Pre-treat with lemon juice to prevent browning.
The final product is crisp and shelf-stable for decades. Store it in airtight containers with oxygen absorbers. Rehydrate it for baking or eat it dry as a snack.
How Freeze Drying Apples Works (and Why Texture Matters)
A home freeze dryer is essentially an extreme dehumidifier. It freezes the apples solid, then creates a vacuum that pulls the frozen water out as vapor. That's sublimation.
It's the same physics that makes dry ice disappear without melting.
This is why freeze-dried apples taste so much better than dehydrated ones. Dehydrators use heat, which cooks the fruit and makes it leathery. Freeze drying skips the heat almost entirely.
The apple's cell structure stays intact, so when you bite into a piece, it shatters with a light, crispy crunch instead of chewing like a gummy candy.
Texture also tells you if you've done the job right. A properly freeze-dried apple should snap cleanly in half with no bend. It should never feel soft, chewy, or cold to the touch.
Cold spots mean moisture is still trapped inside, which invites mold during storage. Catching this early saves you from losing an entire batch.
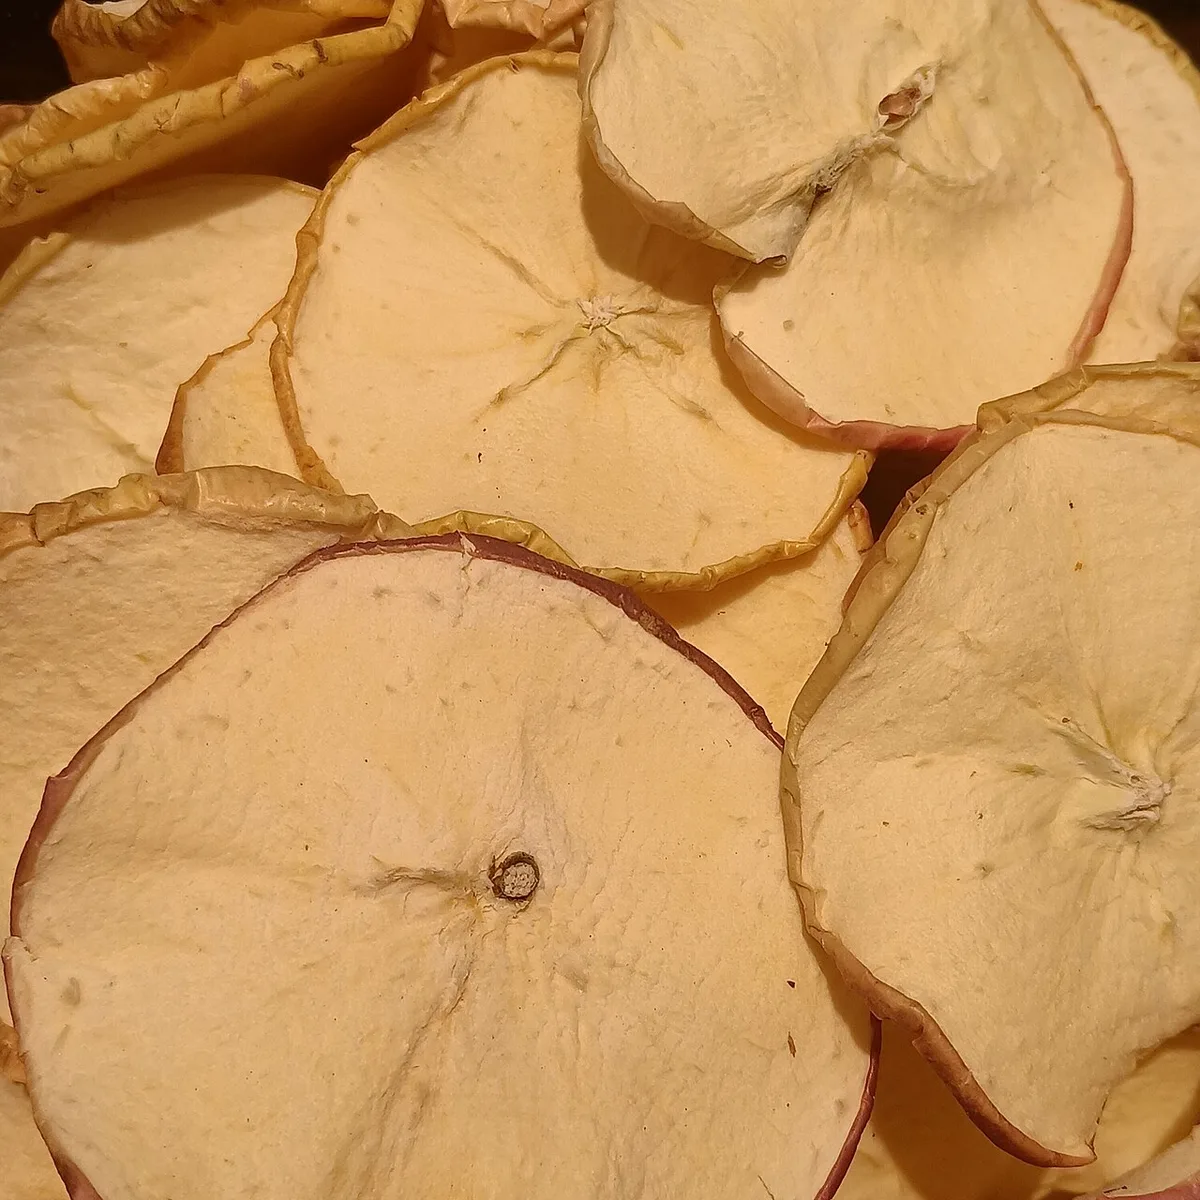
Image source: Wikimedia Commons / Fumikas Sagisavas
The Home Freeze Dryer Route: A Step-by-Step Workflow
This is the gold standard for freeze drying apples. It's the easiest method, the most reliable, and the one that produces the best shelf life. If you have access to a home freeze dryer, this is the route you want to take.
Step 1: Choose Your Apples
Not all apples freeze dry the same. Tart, firm varieties like Granny Smith and Pink Lady hold their structure well. Sweeter apples like Fuji and Gala work too, but they can be slightly softer in texture after rehydration.
For snacking, any variety works. For baking later, tart apples are the safer bet.
Step 2: Wash, Peel, and Slice
Rinse your apples thoroughly to remove wax and residue. Peeling is optional, but it gives a smoother final texture. Core the apples and slice them into rings or half-moons about 1/4-inch thick.
Consistency matters more than any other factor here. Thick slices take longer to dry, and thin slices can stick to the trays or become brittle.
Step 3: Pre-Treat to Prevent Browning
Apples oxidize quickly once cut. When you peel and slice, they'll turn brown within minutes. That doesn't affect safety, but it makes the final product look unappealing.
Soak your slices in a mix of one tablespoon of lemon juice per quart of water for about five minutes. Ascorbic acid powder works even better, if you have it.
Step 4: Load and Run the Machine
Lay the apple slices in a single layer on the freeze dryer trays. Overlap causes uneven drying and leaves wet spots. Load the trays, start the machine, and prepare to wait.
A full cycle typically runs 20 to 40 hours, depending on your machine, the thickness of your slices, and how much water the apples held.
Step 5: Check for Doneness
Open the machine only after the cycle completes. Test a few pieces from the center of each tray. They should snap crisply and show zero signs of moisture.
If you find any chewy or cold pieces, run the machine for a few more hours. It's always better to over-dry than to under-dry for long-term storage.
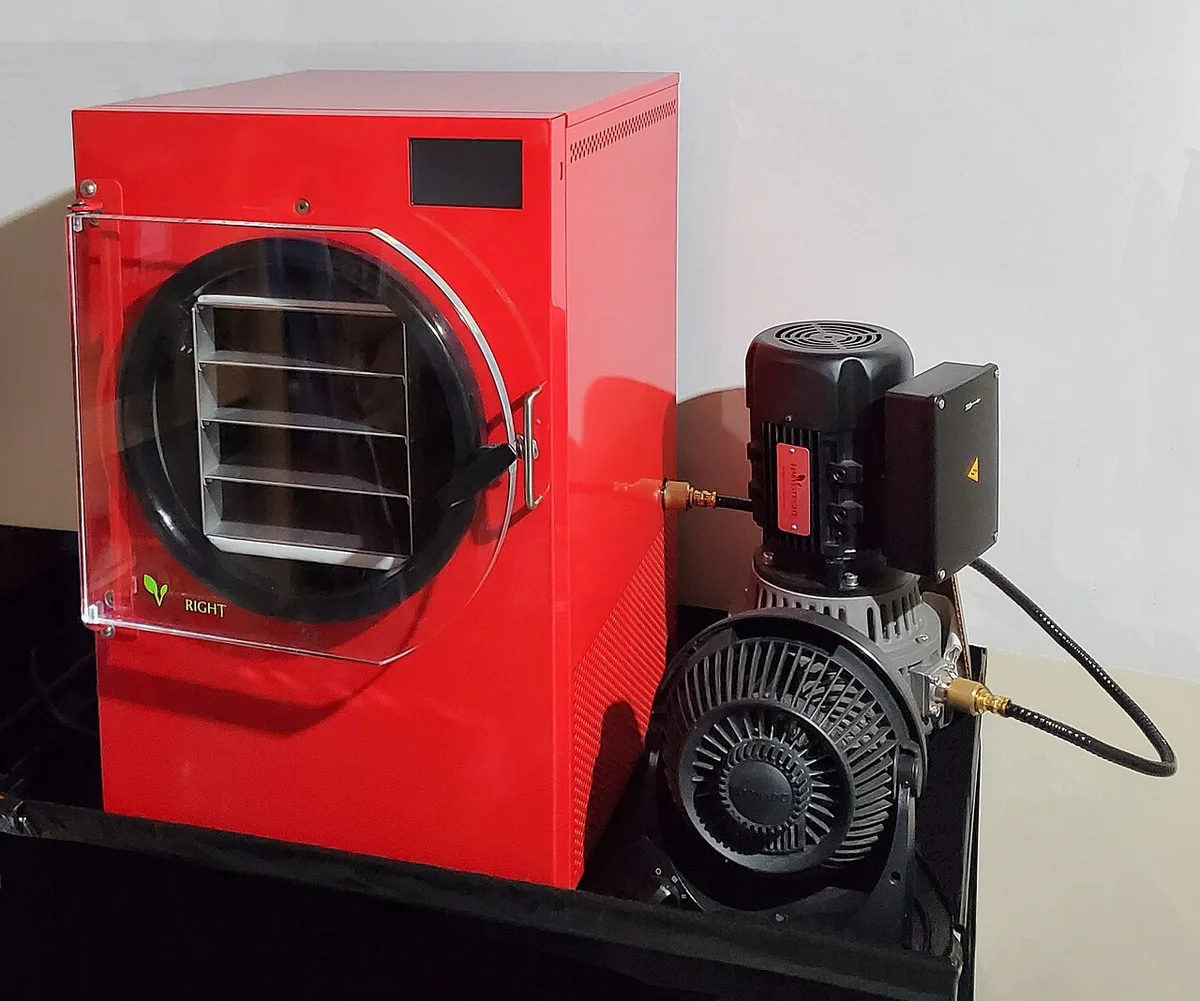
Image source: Wikimedia Commons / JK Nair (CC BY-SA)
Once done, package immediately. Freeze-dried apples reabsorb moisture from the air faster than you'd think. Vacuum-sealing in mason jars or Mylar bags with oxygen absorbers is the standard move, and it ties directly into how you manage your freeze dryer vs jar vacuum sealer setup.
The Dry Ice Method: A Budget-Friendly Alternative
No freeze dryer? Dry ice can approximate the effect, but with real caveats. The premise is simple: dry ice is frozen carbon dioxide that sublimes at -109°F.
When mixed with apples in an insulated cooler, it creates a freezing environment and pulls moisture out over several days. It's a clever hack that works, sort of.
You'll need about 5 to 10 pounds of dry ice for a single batch. Layer the dry ice at the bottom of a cooler, add a wire rack, then place apple slices in a single layer above it. Keep the lid slightly vented so the sublimating gas can escape.
Check daily. The process takes 2 to 5 days, and the results are less consistent than a freeze dryer.
The tradeoffs are significant. Dry ice is hard to find in some areas and costs $1 to $3 per pound. It's also dangerous to handle without insulated gloves.
Frostbite happens fast. The final product has a shelf life of roughly 6 months to a year, which is decent but nowhere near the 25-plus years you get from a proper freeze dryer.
This method is best for experiments or small batches. If you love the results, then you know a dedicated machine is worth saving up for.
No Freeze Dryer? Your Best Alternatives Compared
If neither a freeze dryer nor dry ice works for you, don't force it. Apples preserve beautifully through several other methods, and each one serves a different purpose. "Best" depends entirely on how you plan to use the apples later.
| Method | Texture | Shelf Life | Best For |
|---|---|---|---|
| Freeze dryer | Crisp, airy | 25+ years | Snacks, long-term storage |
| Dehydrator | Chewy, leathery | 6-12 months | Baking, trail mixes |
| Frozen (raw) | Soft on thaw | 6-12 months | Pies, applesauce, cooking |
| Canned applesauce | Soft, wet | 1-2 years | Quick meals, snacks |
A dehydrator is the closest practical alternative. It runs at about 135°F, which drives out moisture over 6 to 12 hours. The texture won't be crunchy, but dehydrated apple rings are still delicious.
The freeze-dried apples vs. dehydrator tradeoff comes down to money and patience. Dehydrators cost $50 to $300. Freeze dryers cost thousands.
Freezing raw apples is even simpler. Wash, peel, slice, toss with lemon juice, and bag them. They'll keep for up to a year in a standard freezer.
The texture degrades on thaw, but they perform beautifully in pies and sauces where softness doesn't matter.
If you're focused on long-term storage and don't want a freeze dryer, freeze-dried apples bought in bulk then transferred to Mylar bags with oxygen absorbers work great. You get the shelf life without the equipment investment. Just verify the moisture level before sealing, because even premium bulk fruit can absorb humidity in transit.
For more on what you can preserve this way, check out can you freeze dry Italian sausage for another protein-heavy option.
Common Mistakes to Avoid When Freeze Drying Apples
Even experienced home preservers hit snags with apples. The good news is that most failures come from a few predictable mistakes. Fix these, and your success rate jumps dramatically.
Skipping the pre-treatment. Apples brown fast. If you skip the lemon juice or ascorbic acid soak, you'll get ugly gray-brown slices. They're still safe to eat, but they look terrible in storage jars.
Slicing unevenly. A 1/4-inch slice is the sweet spot. Thicker slices hold moisture at the core. Thinner ones turn brittle and stick to trays.
Use a mandoline if you want consistent results without the guesswork.
Overlapping on trays. Freeze drying needs airflow around every surface. Overlapping slices create "cold spots" that never fully dry. If you find a chewy piece weeks later, that's the culprit.
Testing only the top layer. The center of each tray dries slowest. Always test pieces from the middle and the bottom layers before calling a batch done. A quick snap test on 3 to 4 samples saves you from ruining a full load.
Waiting to package. Freeze-dried apples are hygroscopic. They pull moisture from the air instantly. If you leave them sitting on the counter while you hunt for jars, they'll reabsorb enough water to shorten shelf life.
Have your packaging ready before the cycle finishes.
Storing Your Freeze-Dried Apples for Maximum Shelf Life
Proper storage is where most long-term food storage dreams go to die. You can freeze dry the perfect batch, then ruin it in a week with sloppy packaging. Here's how to get the 25-year shelf life that makes the effort worth it.
Your packaging options break down into two solid choices. Mason jars with vacuum-seal lids work best for shorter-term use. Mylar bags with oxygen absorbers win for true long-term storage. Both keep moisture out, which is your only real enemy at this point.
Oxygen absorbers are non-negotiable for anything stored over a year. They prevent oxidation, which dulls color and degrades flavor. A single 100cc absorber handles a standard quart jar of apple slices.
Label everything with the date. Freeze-dried apples don't spoil quickly, but they lose quality over time. A permanent marker costs 50 cents and saves you from guessing which jar is from 2028.
Check your seals twice. A single pinhole in a Mylar bag lets enough moisture in to compress the apples into a chewy mess over time. Inspect the crimped edges and do a quick "squeeze test" on sealed bags before storing.
If you're also exploring other produce, the same storage rules apply to freeze-dried avocados. Different prep, same moisture-barrier logic.
Frequently Asked Questions
How long do freeze-dried apples last?
Properly stored in Mylar bags with oxygen absorbers, they last 25 years or more. Vacuum-sealed jars typically hold quality for 1 to 2 years. The limiting factor is moisture absorption, not spoilage.
Can you freeze dry apples at home without a freeze dryer?
Yes, using dry ice. Layer apple slices above dry ice in an insulated cooler and let sublimation do the work over 2 to 5 days. Results are less consistent and shelf life is shorter.
Do apples need to be peeled before freeze drying?
No, peeling is optional. Leaving the skin on adds fiber and keeps slices more intact. Peel if you want a smoother texture or plan to grind them into powder later.
What are the best apples for freeze drying?
Granny Smith, Pink Lady, and Honeycrisp are top choices. They hold structure well and maintain a pleasant tartness. Sweeter varieties like Gala and Fuji work too but rehydrate softer.
How do you know when freeze-dried apples are done?
They snap crisply with no bend and feel completely dry. There should be zero cold spots. When in doubt, run the machine another 2 to 3 hours.
Over-drying is safer than under-drying.
Can freeze-dried apples be rehydrated?
Absolutely. Soak them in warm water for 5 to 10 minutes. They rehydrate beautifully into pie filling, applesauce, oatmeal toppings, or baked goods.
The texture mimics fresh apples, not mushy ones.

Hayden is a passionate urban farmer dedicated to cultivating sustainable food sources. He specializes in growing tomatoes and basil, and his favorite moments are spent in his garden, basket in hand, harvesting the fruits of his labor.