Solve Winter Garden Challenges in Shady Small Urban Homes
Botanical Horticulturist & Food Preservation Specialist at Brittle Bloom · Certified Master Gardener & Master Food Preserver · 12+ Years in Plant Propagation & Food Preservation
If your apartment feels like a cave from November to March, you're not alone. Finding real winter garden solutions for urban homes with heavy shade and little space usually comes down to one thing: measuring your light. Once you know what you're working with, you can pick plants and gear that actually survive.
Most low-light houseplants need a daily light integral (DLI) of just 5 to 10 mol/m²/day, while herbs and leafy greens want 15 or more. A north-facing window in winter often delivers only 2 to 4. That gap is why so many winter gardens fail before spring.
Let's walk through what works, what doesn't, and how to make the most of every dark corner.
First, Figure Out What "Shade" Actually Means in Your Space
Quick answer: Heavy shade means less than 2 hours of direct sun daily, or a DLI under 5 mol/m²/day. That's typical for north-facing windows, rooms blocked by neighboring buildings, or balconies under overhangs.
You can't fix a light problem until you quantify it. A light meter app on your phone gives you a rough lux reading. Hold it at plant level, facing the window, on a cloudy day.
That number tells you more than any guess.
Here's a quick breakdown of what your readings mean:
| Light Level | Lux Range | DLI Range | What Grows Well |
|---|---|---|---|
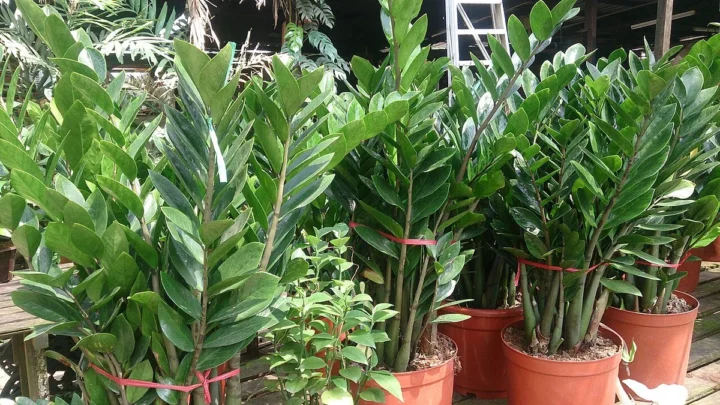
| Deep shade | 50–200 lux | 1–3 | ZZ plant, snake plant, cast iron plant |
| Low indirect | 200–500 lux | 3–6 | Pothos, peace lily, ferns |
| Bright indirect | 500–1,000 lux | 6–12 | Herbs with grow light help |
| Direct sun | 1,000+ lux | 12+ | Most edibles, succulents |
If your space reads under 200 lux, natural light alone won't support much beyond the toughest ornamentals. That's your signal to add grow lights. If you're between 200 and 500 lux, you have options, but you'll still need help for anything edible.
The good news? Urban shade is predictable. It doesn't change much with seasons, so one measurement in December tells you what January and February look like.
The University of Minnesota Extension has solid guidance on matching plants to light levels if you want to dig deeper.
The Winter Garden Decision Tree: Match Your Light, Space, and Goals
Here's the decision framework I use with every shaded, small-space setup. Answer these three questions in order, and the right path becomes obvious.
Question 1: What do you want from this garden?
- Ornamental plants only? You can work with less light and less gear.
- Fresh herbs or greens? You need grow lights, period.
- Both? Start with ornamentals, add one edible zone later.
Question 2: How much actual light do you have?
- Under 200 lux at plant level? Skip natural light entirely. Go straight to grow lights.
- 200 to 500 lux? You can grow low-light ornamentals naturally. Edibles still need supplemental light.
- Over 500 lux? You have more flexibility, but winter days are short. A small grow light still helps.
Question 3: How much space can you dedicate?
- A windowsill only? Choose compact plants and a clip-on grow light.
- A corner with floor space? A 3-tier shelf with under-shelf lights works best.
- Wall space? Vertical planters or wall-mounted shelves maximize square footage.
If you answered "ornamentals" and "under 200 lux," you're done. Pick a snake plant or ZZ plant, water sparingly, and you're set. If you want edibles, you're committing to grow lights.
There's no shortcut around that.
The decision tree collapses into two main paths: low-effort ornamental gardening with minimal gear, or a slightly more involved setup with grow lights and vertical shelving. Both work in heavy shade. The difference is what you expect to harvest.
Edible vs Ornamental: What Makes Sense for Heavy Shade and Tight Corners
This choice shapes everything else, so let's be honest about the tradeoffs.
Ornamental plants are the low-friction option. They tolerate low light, need less watering, and don't require extra equipment. A pothos on a shelf or a peace lily on a side table will survive winter with minimal fuss.
They also clean the air, which matters in sealed urban apartments.
Edible plants are more rewarding but need more commitment. Microgreens, for example, grow fast and don't need much space. Herbs like parsley, chives, and mint tolerate lower light than basil or tomatoes.
But they all need 12 to 16 hours of supplemental light to produce anything worth harvesting.
Here's the comparison:
| Factor | Ornamentals | Edibles |
|---|---|---|
| Light requirement | DLI 5–10 | DLI 15–20 |
| Grow light needed? | Usually not | Yes |
| Space needed | Minimal | Small but dedicated |
| Time to payoff | Instant | 1–6 weeks |
| Maintenance | Low | Moderate |
| Cost | Low | Moderate (light + seeds) |
If you're new to winter gardening, start with ornamentals. Build the habit of checking soil moisture and rotating plants. Once that feels natural, add a microgreen tray or a small herb pot under a grow light.
For edibles in heavy shade, microgreens are the smartest entry point. They mature in 7 to 14 days, need only 2 inches of depth, and tolerate lower light better than mature plants. Pea shoots and sunflower microgreens are especially forgiving for beginners.
Setting Up Your Winter Garden: Grow Lights, Vertical Shelves, and Containers
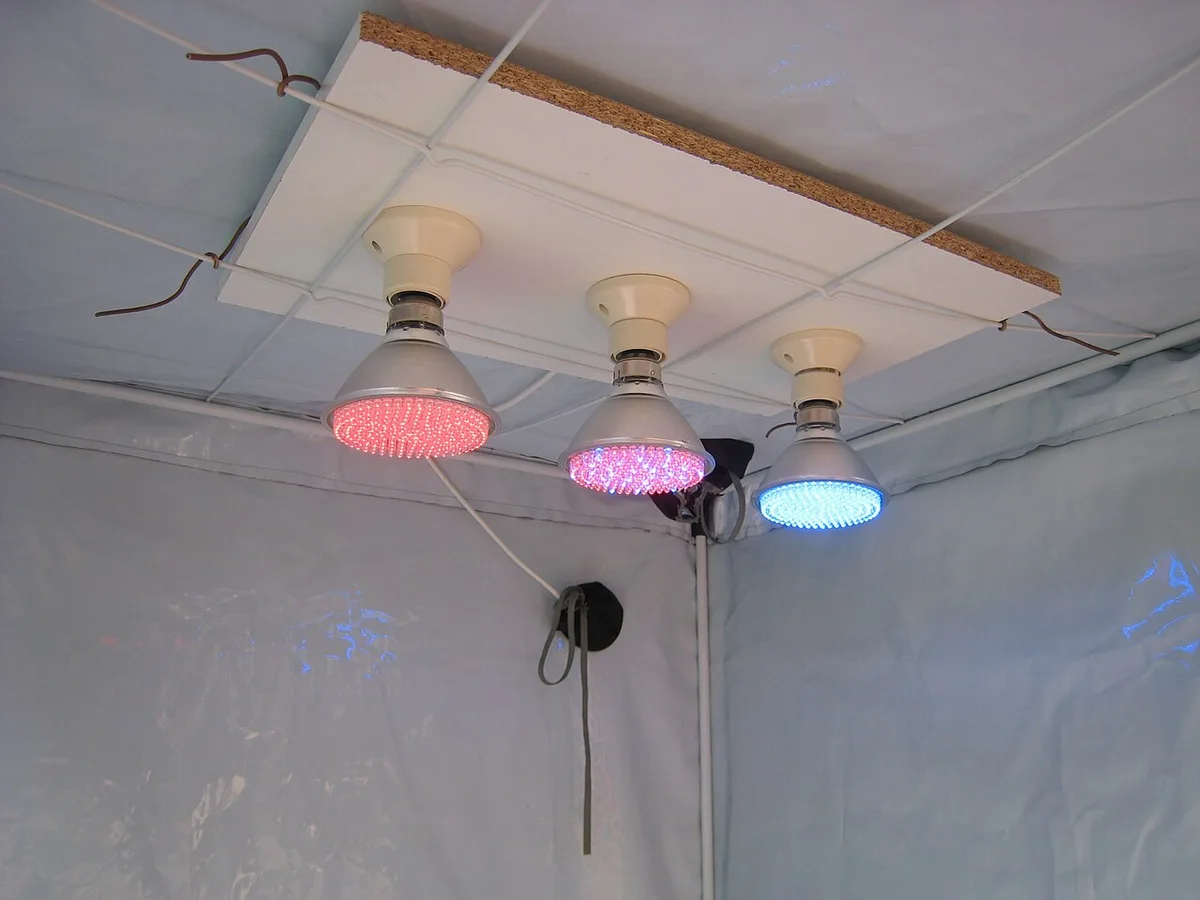
Image source: Wikimedia Commons / D-Kuru (CC BY-SA)
Once you know your path, setup takes about an hour. Here's the workflow that works for small spaces.
Step 1: Choose your grow light. For a single shelf, a 15 to 30 watt LED panel is enough. Look for full-spectrum lights in the 4000K to 6500K range for leafy greens. For ornamentals, a 2700K to 3500K bulb works fine.
As of 2026, most decent LED panels cost between $20 and $60.
Step 2: Position the light correctly. Distance matters more than wattage. For low-light ornamentals, keep the light 24 to 36 inches above the canopy. For edibles, drop it to 12 to 24 inches.
Too far and plants stretch; too close and leaves burn.
Step 3: Set a timer. Run lights 12 to 16 hours daily. A cheap outlet timer removes the guesswork. Consistency matters more than intensity for most plants.
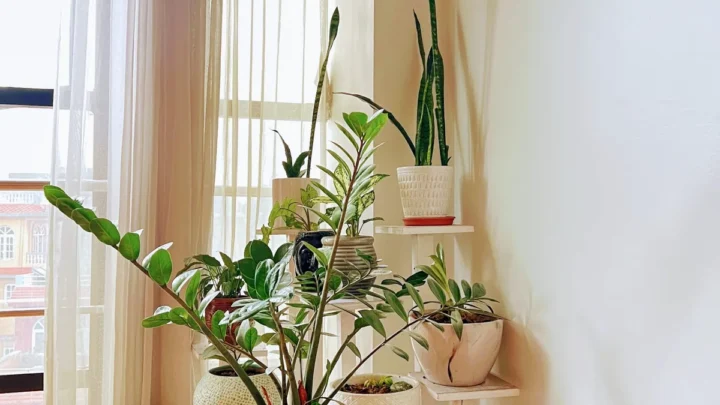
Step 4: Maximize vertical space. A 3-tier shelving unit turns 2 square feet of floor into 6 square feet of growing area. Under-shelf lights attach with clips or zip ties. No drilling required, which matters for renters.
Step 5: Choose containers with drainage. Self-watering planters reduce maintenance, but any pot with holes works. Add a saucer to protect surfaces.
Step 6: Match soil to the plant. Use a well-draining potting mix. Heavy garden soil compacts indoors and causes root rot.
The whole setup fits in a corner or along a wall. You don't need a dedicated room or a balcony. Just a power outlet and about 2 square feet of floor space.
Real-World Scenarios: Windowsill, Renter-Friendly, and Low-Budget Setups
Let's make this concrete. Here are three scenarios that cover most urban situations.
Scenario 1: The windowsill gardener. You have a north-facing kitchen window and about 12 inches of sill depth. Start with a 20-watt clip-on grow light attached to the upper cabinet. Plant chives, parsley, or a small tray of pea shoots.
Expect your first harvest in 3 to 4 weeks. Total cost: around $35.
Scenario 2: The renter with a corner. You have floor space but no permission to drill. Buy a 3-tier metal shelving unit, 24 inches wide. Add two under-shelf LED bars on the middle and bottom tiers.
Top tier holds a snake plant and pothos. Middle tier grows microgreens. Bottom tier stores supplies.
Total cost: around $90.
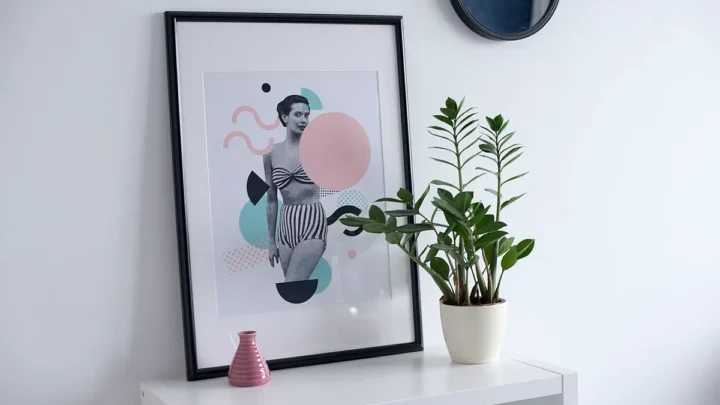
Scenario 3: The low-budget setup. You want something green but can't spend much. Skip the grow light entirely. Buy a ZZ plant or cast iron plant for a dark corner.
Water every 2 to 3 weeks. That's it. Total cost: under $20.
Each scenario works because it matches expectations to reality. The windowsill gardener accepts smaller harvests. The renter invests in gear but keeps everything portable.
The low-budget setup trades productivity for simplicity.
What all three share: they measure light first, choose plants accordingly, and avoid the trap of buying sun-loving plants for a shaded apartment. That single mistake causes more winter garden failures than anything else.
Mistakes That Kill Shaded Winter Gardens (and How to Avoid Them)
Most winter garden failures aren't about light. They're about mismanagement. Here are the most common mistakes and the simple fixes.
Overwatering your low-light plants. In heavy shade, plants drink far less. Soil stays wet longer. Excess moisture causes root rot and attracts fungus gnats.
Always check the top inch of soil before watering. If it feels damp, skip the watering.
Buying sun-loving plants out of hope. A tomato seedling on a north-facing windowsill won't adapt. It will stretch, yellow, and collapse. Match your plant choices to your measured light, not your optimism.
Hanging grow lights too far away. Manufacturer specs usually say 12 to 24 inches for edibles. Double that distance, and light intensity drops by roughly 75%. Measure from the leaf canopy, not the shelf.
Ignoring cold drafts. Windowsills near old panes get chilly at night. Peace lilies and ferns hate sudden temperature swings. A layer of bubble wrap or a folded cloth under pots helps insulate roots.
Skipping air circulation. Closed rooms and still air invite mold and mildew. A small fan on low for a few hours daily prevents both.
Fertilizing on a winter schedule. Most houseplants rest in low light. Feed them monthly at half strength, or skip entirely until days lengthen.
Your Winter Garden Quick Decision Guide
Here's the whole process boiled down to a simple reference. Find your situation, follow the branch.
| If you have… | Then choose… | With a budget of… |
|---|---|---|
| Under 200 lux, ornamental goal | Snake plant, ZZ plant, cast iron plant | $15 to $25 |
| Under 200 lux, edible goal | Microgreens under a 15W to 30W LED | $35 to $70 |
| 200 to 500 lux, ornamental goal | Pothos, peace lily, ferns | $10 to $30 |
| 200 to 500 lux, edible goal | Herbs plus a 20W clip-on grow light | $30 to $60 |
| A vertical corner, no drilling allowed | 3-tier shelf plus under-shelf LED bars | $80 to $120 |
If you only remember three things: measure your light first, choose plants that match that number, and add grow lights for anything edible. Heavy shade is a limitation, not a death sentence.
One more fast check. As of 2026, starter LED panels deliver enough light for most small setups. Compare wattage and color temperature before you buy.
Devices rated 4000K to 6500K work best for leafy greens.
When in doubt, pick fewer plants rather than more. Cramped plants in a shaded corner compete for weak light. A healthy single plant beats three struggling ones.
Frequently Asked Questions
Can I grow vegetables in a north-facing room in winter?
Yes, but only with LED grow lights. Natural light from a north-facing window usually delivers under 5 DLI in winter, well below the 15 to 20 that leafy greens need. Microgreens, pea shoots, and herbs like chives or parsley can thrive with 12 to 16 hours of supplemental light.
How many hours should grow lights run for shaded indoor plants?
Run them 12 to 16 hours per day for edibles and most ornamentals. Consistency beats intensity. A simple outlet timer removes the guesswork.
Plants need a dark period too, so don't leave lights on around the clock. Most low-light houseplants do fine closer to 12 hours, while microgreens prefer the longer end.
What are the easiest plants for heavy shade indoors?
Snake plant, ZZ plant, and cast iron plant are nearly indestructible in low light. Pothos and peace lilies tolerate heavier shade but need more consistent watering. For edibles, start with microgreens.
They mature in 7 to 14 days and don't need deep soil.
Do I need special soil for container plants in winter?
Regular potting mix works for most indoor plants. Garden soil compacts in containers and traps moisture, causing root rot. For microgreens, use a fine seed-starting mix.
Adding perlite improves drainage for plants that prefer drier conditions.
Similar Posts