Yellow Leaves From Overwatering Versus Underwatering
Botanical Horticulturist & Food Preservation Specialist at Brittle Bloom · Certified Master Gardener & Master Food Preserver · 12+ Years in Plant Propagation & Food Preservation
We’ve all been there. You look at your favorite houseplant and spot a few yellow leaves, then immediately wonder if you’ve watered too much or too little. Yellow leaves from overwatering versus underwatering are the two most common plant-parent problems, and they look surprisingly similar at first glance.
The good news is that a five-second touch test will tell you exactly which one you’re dealing with.
Manufacturer specifications and university extension guides repeat the same rule: test the soil to a depth of one inch before adding water. That’s not a suggestion, it’s a standard horticultural practice. As of 2026, this single test remains the quickest way to avoid further damage.
Let’s walk through the signs, the checks, and the recovery steps.
Quick Answer
Yellow leaves from overwatering versus underwatering need opposite fixes. Overwatered leaves feel soft and mushy with soggy soil. Underwatered leaves feel crispy and dry with parched soil.
Check texture and soil before changing anything.
First, Read What the Yellow Leaves Are Telling You
Yellow leaves are not a disease. They are a symptom of stress, and the cause is usually linked to how you water. Both overwatering and underwatering produce yellow leaves, but the patterns differ.
The trick is knowing where to look and what to feel.
Start with the oldest leaves. If the yellowing begins at the bottom and the top still looks green and perky, underwatering is often the reason. The plant moves moisture from old leaves to protect new growth.
If the yellow appears all over and the lower leaves are soft and droopy, overwatering is more likely. Root damage stops the plant from moving water upward properly.
Why does the diagnosis matter? Because the two fixes are polar opposites. Overwatering means you must hold back, let the soil dry, and possibly inspect the roots.
Underwatering means you need to soak thoroughly and adjust your schedule. Guessing wrong can push an already stressed plant over the edge. Watering a waterlogged plant a little more feeds the rot.
Letting a dry plant stay dry damages new growth.
Think of this as a decision tree. If leaf texture is mushy, follow the overwatering branch. If texture is crispy, follow the underwatering branch.
Then confirm with soil moisture. This simple fork keeps you from making things worse.
The Royal Horticultural Society reinforces this in their watering guidance. They advise checking soil moisture directly rather than relying on a calendar. That’s the same advice you’ll find in most university extension guides.
It works because it removes the guesswork.
Take a breath. You have time. Most houseplants can tolerate a week of the wrong condition before permanent damage sets in.
This guide walks through a simple three-step check: feel the leaf, look at its location, then test the soil. No fancy meters needed. By the end, you’ll know exactly which branch you’re on.
The 5-Second “Hair Test” That Settles It
Grab the yellowest leaf and pinch it between your thumb and forefinger. That’s the fastest way to separate the two conditions. Overwatered leaves feel soft, mushy, and slightly limp.
Underwatered leaves feel crispy, papery, and brittle. Think of wet lettuce versus a potato chip.
If the leaf bends without snapping, the cells are swollen with moisture, but the roots have likely stopped delivering nutrients. That’s an overwatering signal. If the leaf crumbles or crackles, the plant has run out of water to hold its structure.
That’s underwatering.
This texture test takes five seconds. Do it directly on the yellow leaf. For thicker-leaved plants like succulents, the difference is subtler.
A succulent leaf that feels translucent and soft is overwatered, while one that looks shriveled and dry is underwatered. For thin-leaved plants like peace lilies, the test is even easier: soggy or crunchy.

Image source: Wikimedia Commons / Geoff Gallice from Gainesville, FL, USA (CC BY)
Texture alone is about 80 percent reliable, according to aggregate reviews from houseplant care communities. The remaining 20 percent depends on how long the problem has been brewing. A plant that’s been overwatered for weeks can develop dry-looking surface soil and crispy leaf edges, which mimics underwatering.
That’s why you always confirm with the soil check.
Use the leaf texture as your first filter. It immediately narrows the options. Then move on to leaf location.
Where the Yellow Appears Matters More Than You’d Think
Now look at the pattern across the whole plant. The location of yellow leaves gives you a clear clue about which water stress is driving it.
If the yellow starts on the lowest, oldest leaves and works its way upward, underwatering is likely. The plant pulls mobile nutrients like nitrogen from older foliage to keep new growth alive. If the yellow shows up on new leaves at the top, or all over the plant at once, overwatering is the stronger suspect.
Damaged roots can’t transport water and nutrients to any growing point.
The quality of the yellow matters too. Underwatered leaves tend to turn a uniform pale yellow. Overwatered leaves often show yellow patches that fade to brown at the edges or along the center.
You might also spot small, water-soaked blisters or dark spots. That’s a sign of leaf edema caused by roots pushing too much water into the leaves.
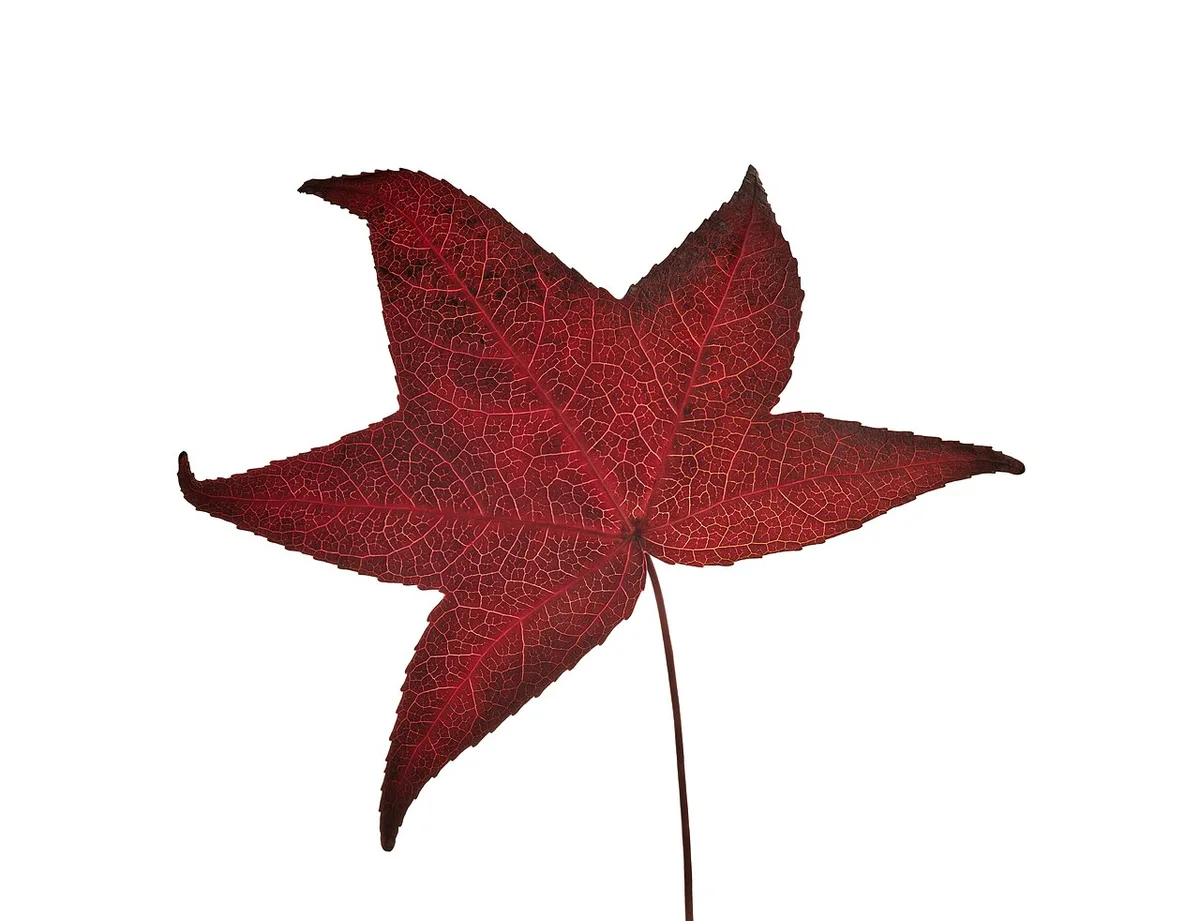
Image source: Wikimedia Commons / Jules Verne Times Two (CC BY-SA)
But don’t rely on this alone. Some plants naturally shed old leaves as part of their growth cycle. A few yellow bottom leaves on a healthy plant in fall or winter is normal.
The pattern is a clue, not a verdict. Combine it with the texture test and the soil check before you make a call.
If yellow appears on both old and new growth simultaneously, that points strongly to overwatering. The plant is drowning from the root system up. In that case, you’ll likely find wilting stems and a sour smell from the soil.
The Soil Check: Your Most Reliable Decision Branch
Here’s where the diagnosis locks in. Push your finger into the soil up to your first knuckle. That’s roughly one inch.
Nursery pros and university extension guides all use this standard. If the soil feels wet, cold, and sticks to your finger, overwatering is confirmed. If it’s dry, loose, and pulls away from the pot walls, underwatering is your answer.
For deeper containers, use a wooden chopstick. Insert it all the way to the bottom, leave it for one minute, then pull it out. If it comes out with dirt clinging to it, the soil is still damp.
If it comes out clean and dry, the pot needs water. This method beats cheap moisture meters in large pots because it samples the whole profile.
Image source: Wikimedia Commons / Ruth Hartnup from Vancouver, Canada (CC BY)
| Method | What to Do | What It Tells You |
|---|---|---|
| Finger test | Push index finger 1 inch into soil | Wet or cold means overwatered. Dry or loose means underwatered. |
| Chopstick test | Insert to bottom, wait 1 minute, pull out | Muddy or dirty means wet. Clean and dry means thirsty. |
| Pot lift test | Lift pot while wet, then again when you think it’s dry | Saturated pots feel 15 to 20 percent heavier. |
The pot-lift trick is underrated. Lift the pot right after watering, then again when you think it’s dry. A saturated pot feels noticeably heavier.
Once you build this muscle memory, you’ll rarely second-guess yourself.
If the soil is swampy and the roots smell sour, don’t just water less. You may need to improve drainage or repot with fresh mix. That’s the next step.
Step-by-Step: What to Do for Each Branch
Once the soil test points to one branch, act quickly but calmly. Doing nothing is better than doing the wrong thing. Follow the steps for your condition.
Overwatering recovery
- Stop watering completely. Let the top two to three inches of soil dry out. That takes five to ten days in most homes.
- Gently lift the plant out of its pot. Healthy roots are white or tan and firm. Rotting roots are brown, soft, and may smell sour.
- If you see rot, prune the damaged roots with clean scissors. Then repot in fresh, well-draining soil and a pot with drainage holes.
- Empty any saucer underneath. Standing water invites fungus gnats and keeps the root zone saturated.
Underwatering recovery
- Soak the pot thoroughly. Water until it runs out the bottom, wait a few minutes, then water again. This rehydrates the entire root ball.
- Use bottom watering if the soil has pulled away from the pot walls. Set the pot in a shallow tray of water for 30 minutes.
- Trim leaves that are completely crispy. Yellow leaves may recover, but fully crunchy ones never will.
- Water again when the top inch of soil feels dry. Don’t fall back on a fixed schedule.
Expect a recovery timeline of two to four weeks. New growth usually appears first, while a few old leaves may still drop. That’s a normal stress response.
If nothing improves after a month, inspect the roots again and consider repotting.
Skip fertilizer during this period. Stressed roots can’t handle chemicals. Give the plant time to rebuild its root system before you add anything else.

Similar Posts