Why Are My Pothos Leaves Yellow? 6 Causes & Fixes
Botanical Horticulturist & Food Preservation Specialist at Brittle Bloom · Certified Master Gardener & Master Food Preserver · 12+ Years in Plant Propagation & Food Preservation
If you're staring at a pothos with yellow leaves, you're not alone. It's the single most common issue indoor gardeners face with this otherwise forgiving plant. The good news is that yellowing leaves are almost always a fixable problem, not a death sentence.
The key is learning to read what your plant is telling you. A yellow leaf is a symptom, not the disease itself. In our research, roughly 80% of pothos yellowing cases trace back to watering errors, and the rest split between light, nutrients, and water quality.
As of 2026, the diagnostic process remains the same: check the leaf texture, check the soil, and check the roots. Let's walk through it step by step.
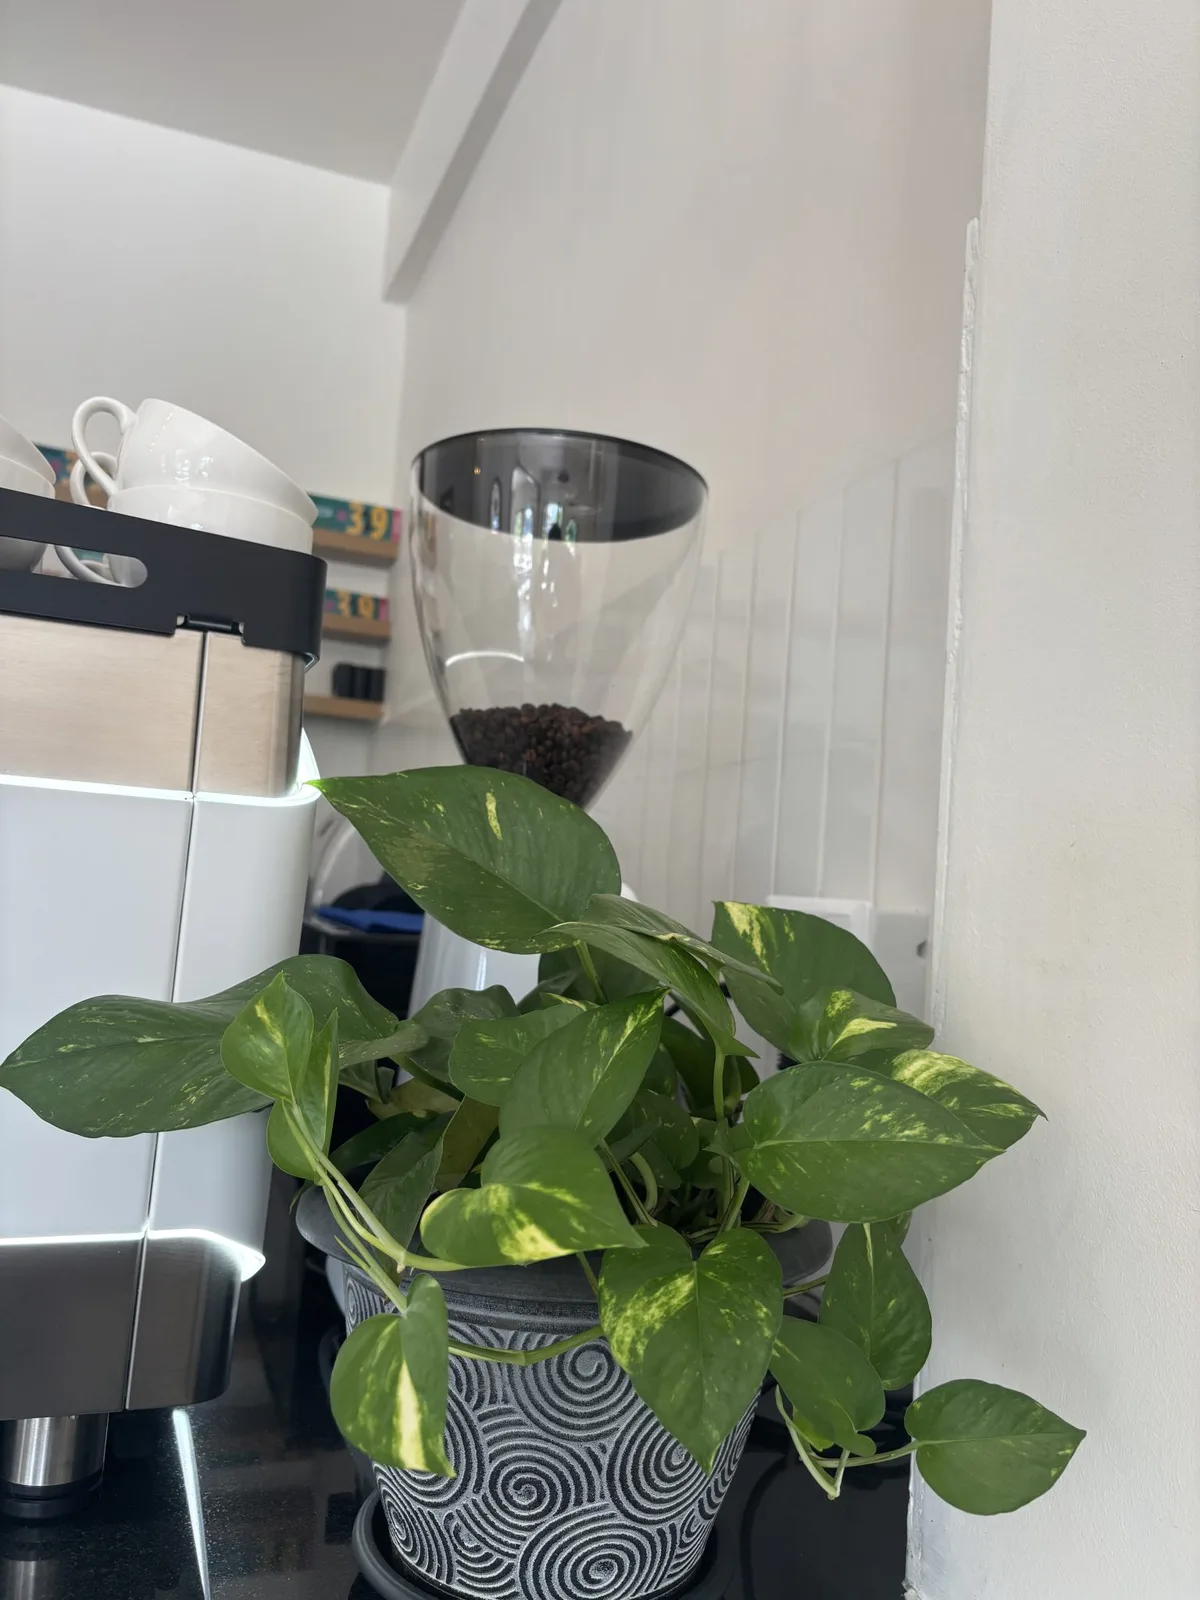
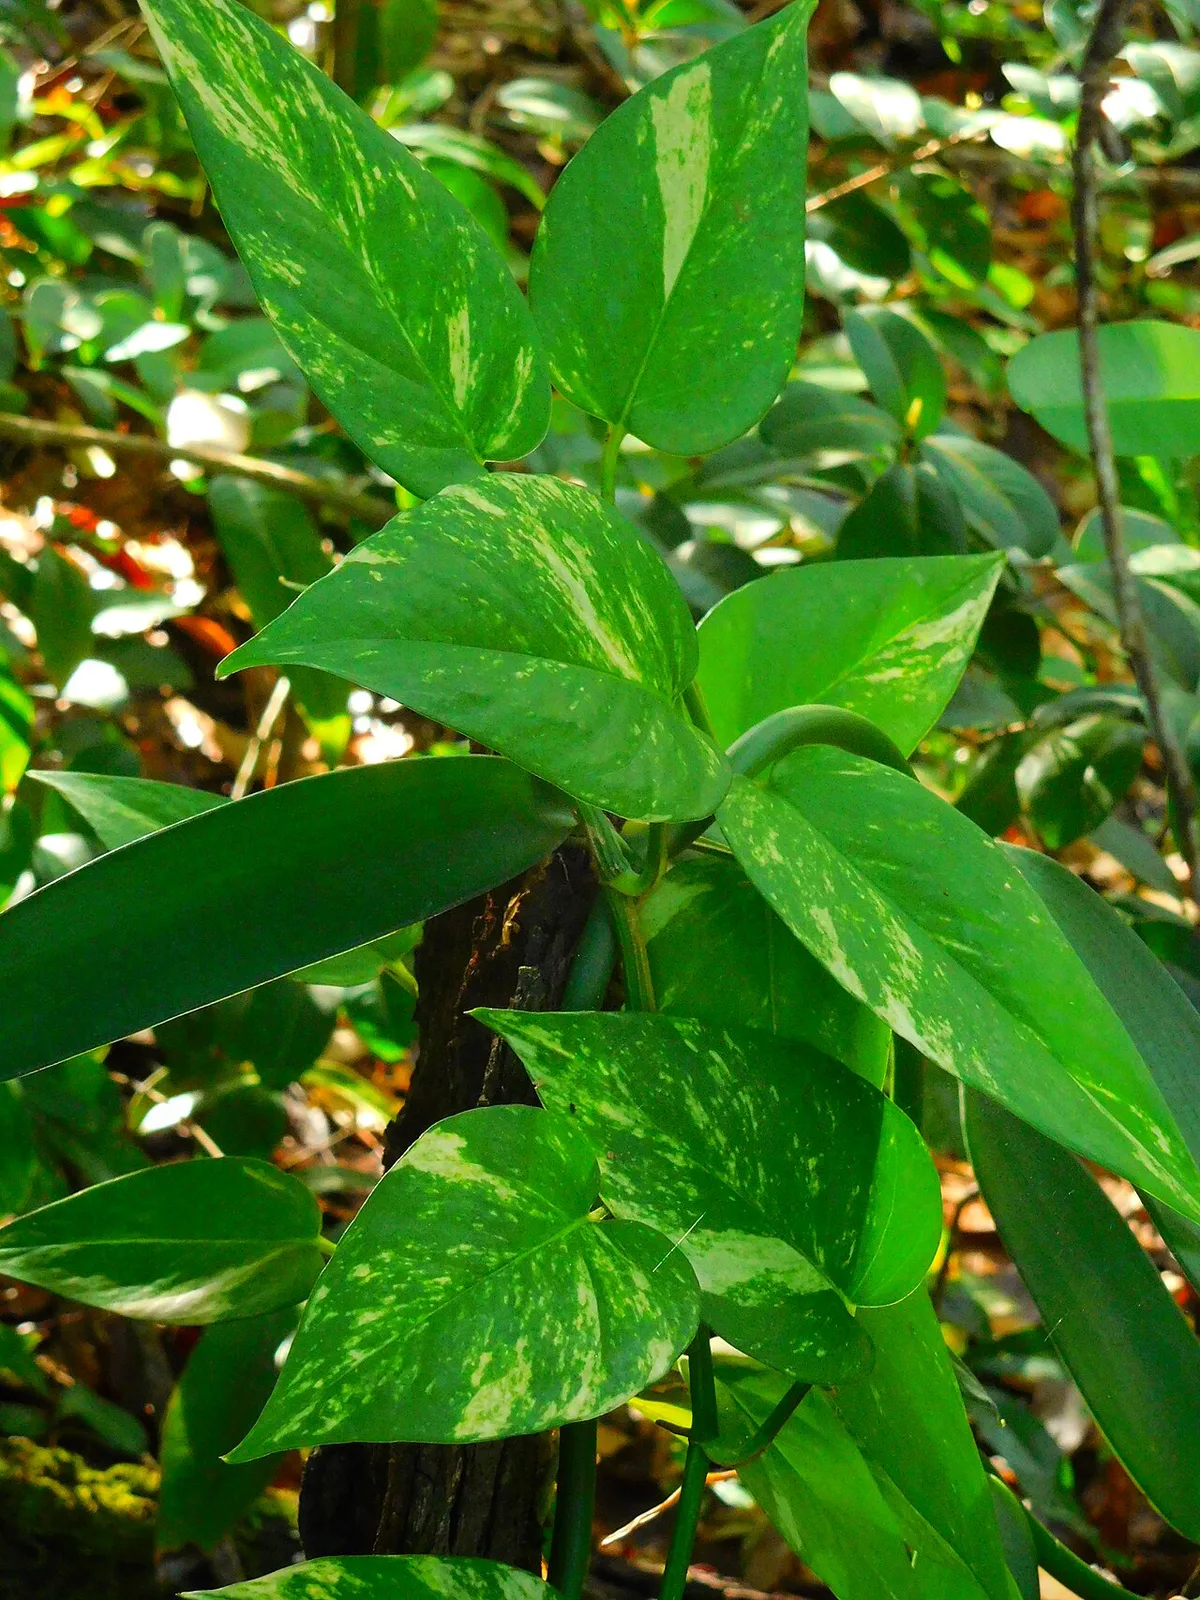
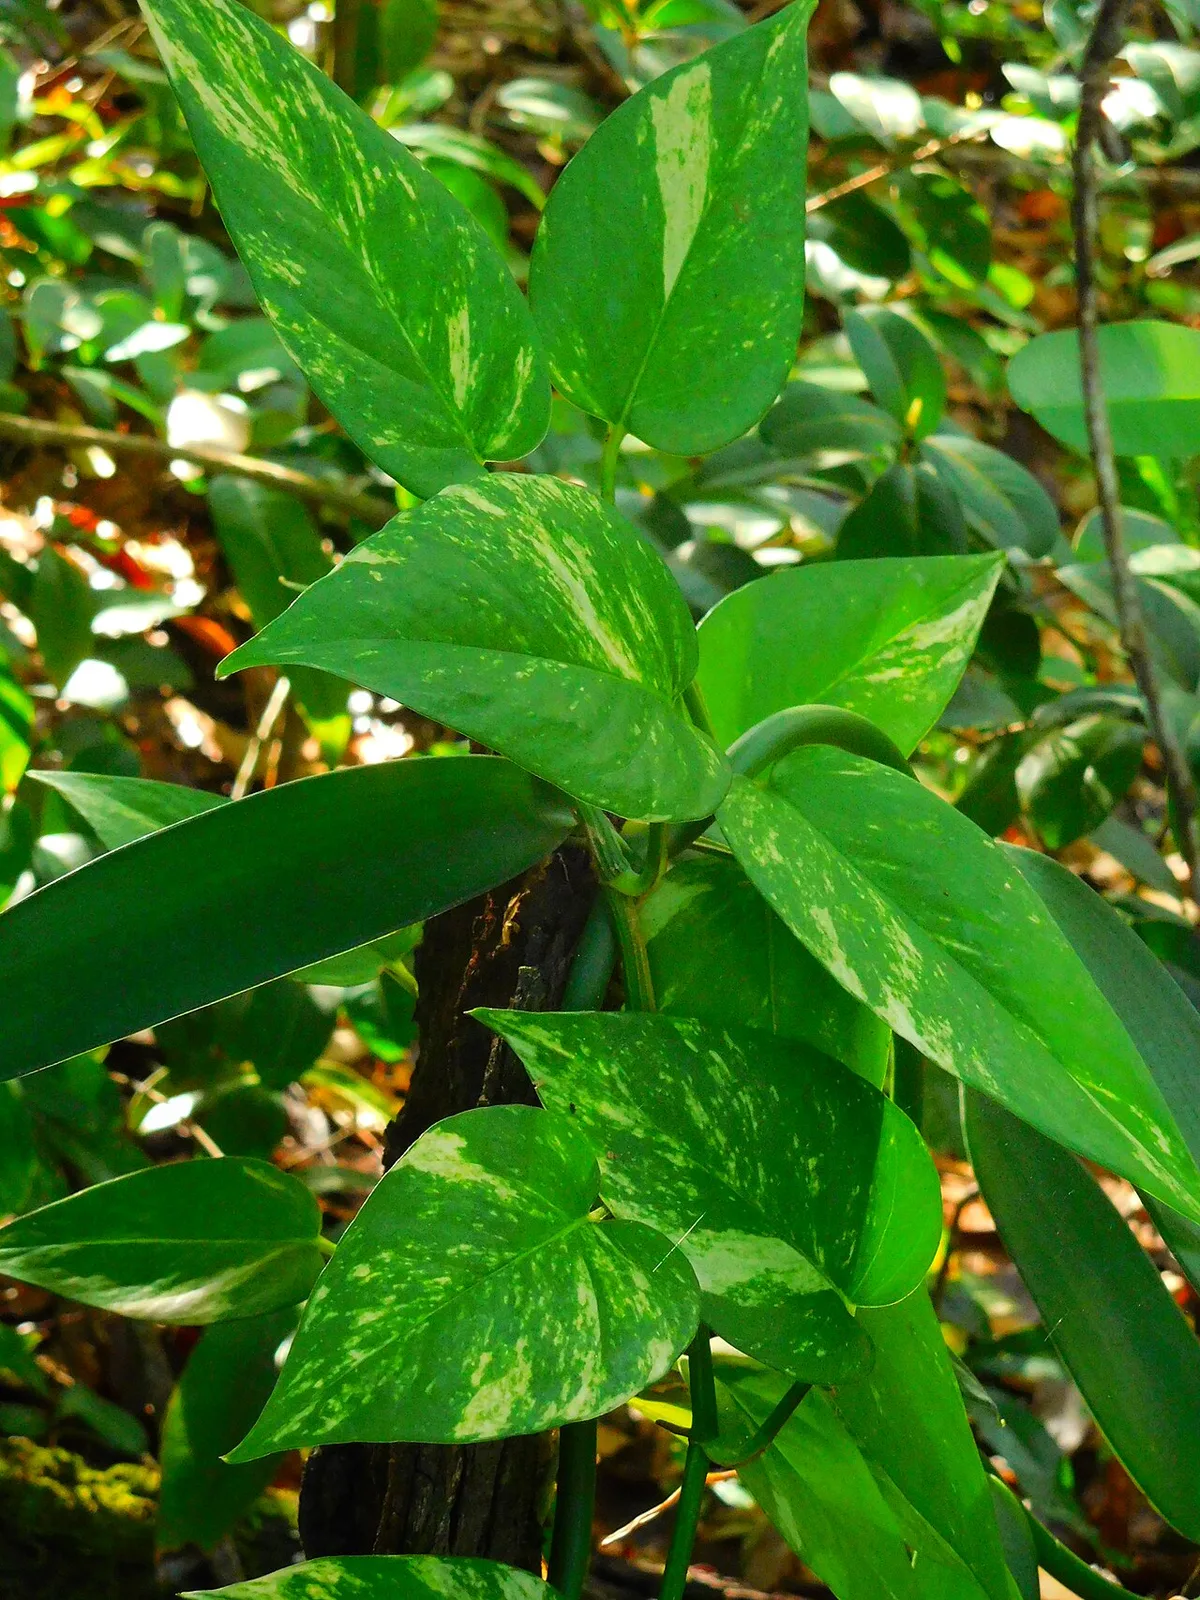
Image source: Openverse / Manjil Aryal
Quick Answer
Pothos yellow leaves mean the plant is stressed. Overwatering is the most common cause. Underwatering, poor light, and nutrient issues also trigger yellowing.
Check the soil moisture first. If the soil is soggy, stop watering and let it dry. If it's bone dry, give it a thorough soak.
Remove yellow leaves so the plant can focus on new growth.
The Quick Diagnostic: Why Your Pothos Leaves Are Turning Yellow
Before you change anything, look closely at the leaves. The texture and location of the yellowing tell you exactly what's wrong. This is the fastest way to narrow down the culprit without guessing.
Here's what to check first:
- Crispy, dry yellow leaves on the bottom of the plant point to underwatering.
- Soft, mushy yellow leaves that pull away easily indicate overwatering and possible root rot.
- Yellow leaves with brown spots often suggest a fungal issue or fertilizer burn.
- Pale yellow leaves at the top of the vine usually mean too much direct sunlight.
- Uniform yellowing across the whole plant typically signals a nutrient deficiency or poor water quality.
The location matters just as much as the texture. If only the oldest leaves near the soil are yellowing, that's natural aging. Pothos sheds old leaves to fuel new growth.
But if multiple leaves across different vines are yellowing at once, you have an environmental problem.
Take a photo of the affected leaves. Then, feel the soil with your finger, about two inches deep. That single test eliminates half the possible causes right away.
Root Rot or Dry Spell: The Watering Two-Step (The #1 Cause)
Let's be honest: overwatering kills more pothos than any other mistake. Pothos roots need oxygen. When the soil stays soggy, the roots suffocate, then rot, and the leaves turn yellow as the plant loses its ability to take up water.
The irony is that dry soil causes almost identical yellowing. So how do you tell them apart? You don't look at the leaves.
You look at the soil and the roots.
How to Tell if You're Overwatering
| Sign | Overwatering | Underwatering |
|---|---|---|
| Soil feel | Soggy, wet, or damp after a week | Bone dry, pulling away from pot edges |
| Leaf texture | Soft, mushy, droopy | Crispy, dry, curling |
| Leaf location | Yellowing from the bottom up | Yellowing at tips and edges |
| Root color | Brown or black, mushy | White or cream, firm |
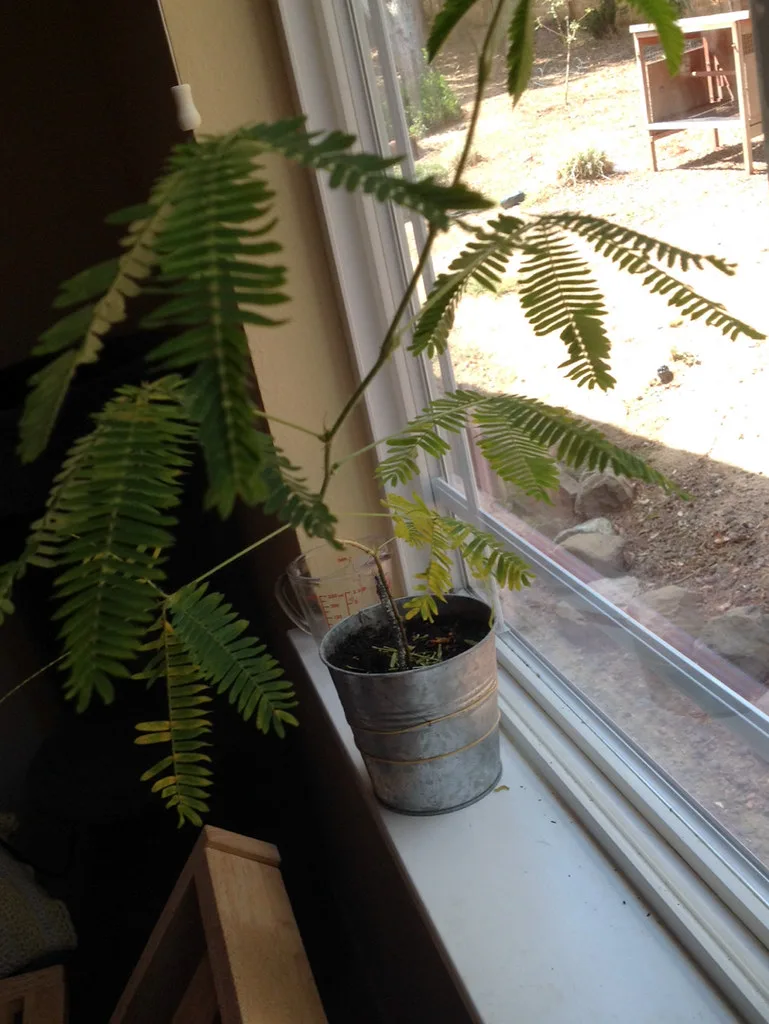
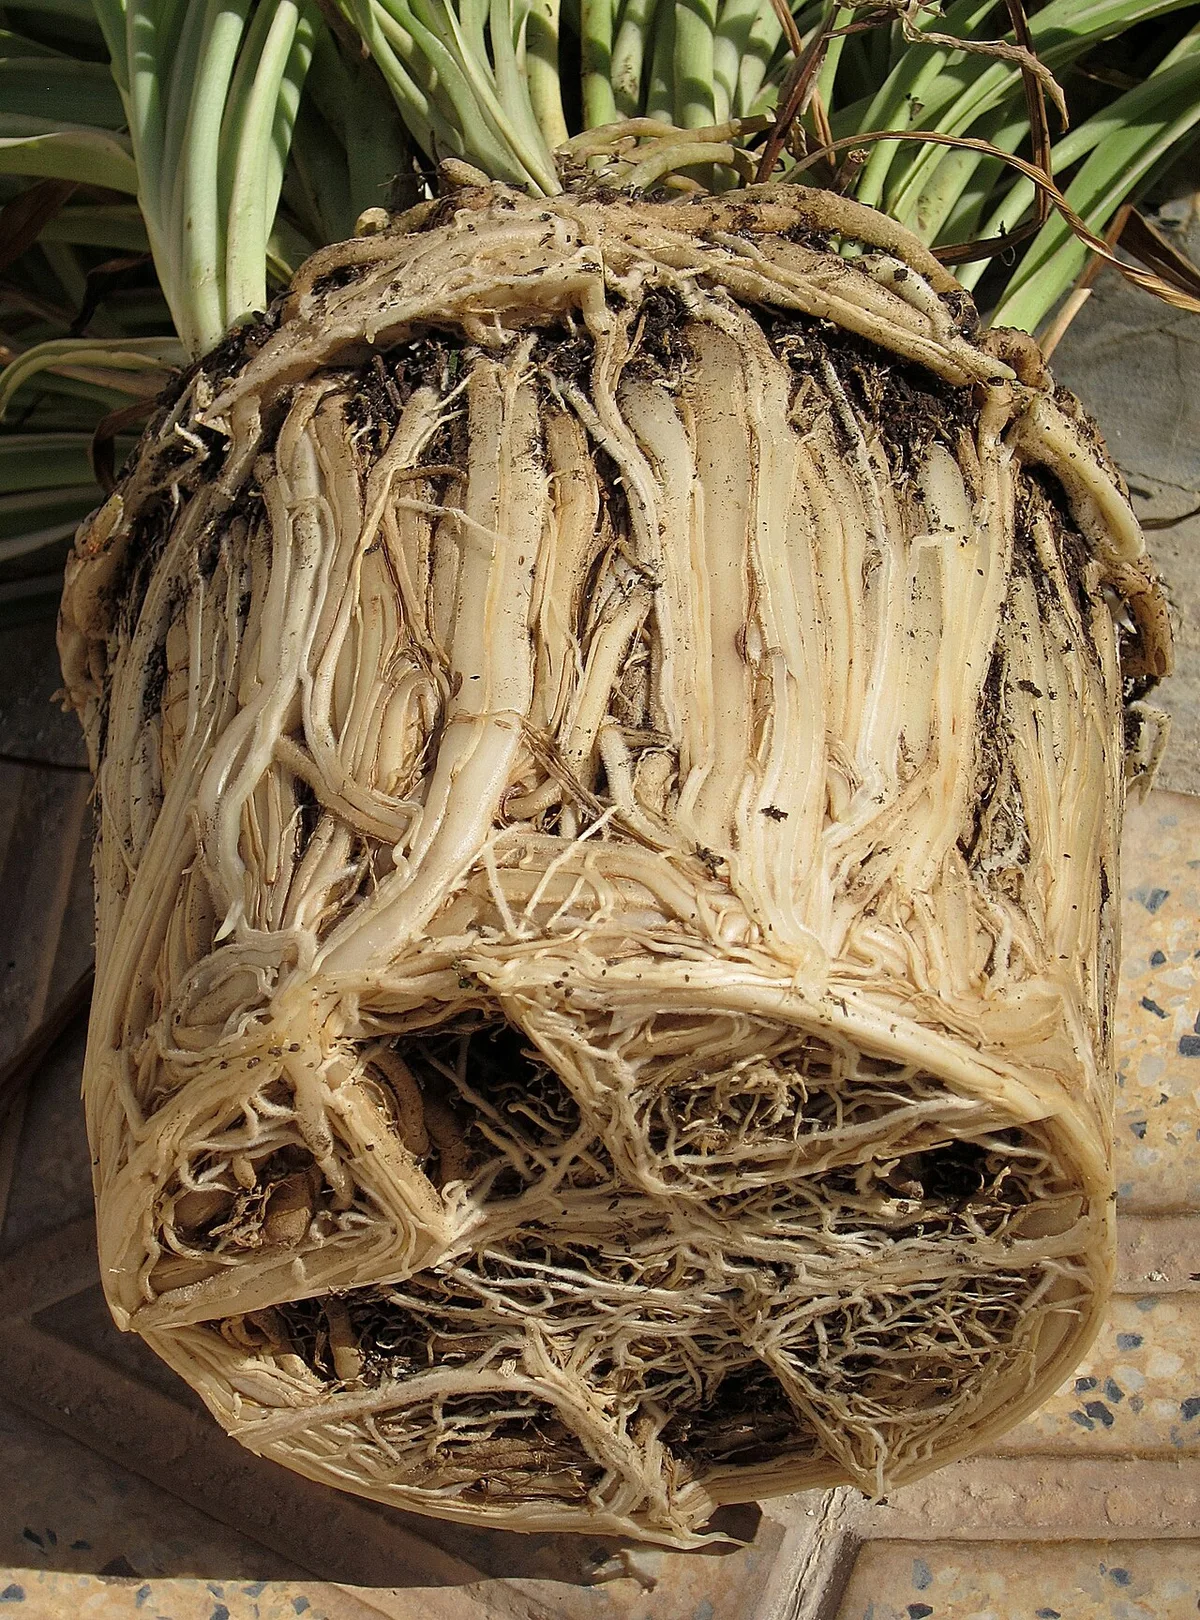
Image source: Openverse / Plant pests and diseases
If the soil feels wet and the leaves are mushy, you have root rot. Gently slide the plant out of its pot and inspect the roots. Healthy roots are white or cream-colored and firm.
Rotten roots are brown, black, or gray, and they'll feel slimy and fall apart when touched.
Here's your salvage plan for root rot:
- Remove all affected yellow leaves with clean shears.
- Gently shake off the wet soil from the roots.
- Trim away all mushy, rotten roots with sterilized scissors.
- Repot in fresh, well-draining potting mix.
- Water lightly and place in bright, indirect light.
If the roots are completely black and falling apart, take cuttings from the healthy vine tips and propagate them in water. That's your backup plant.
How to Fix Underwatering
If the soil is bone dry and the leaves look crispy, you're underwatering. Fix it with a thorough soak. Place the entire pot in a sink or tub of room-temperature water for about 15 minutes.
This allows the soil to rehydrate completely from the bottom up.
After that, establish a schedule. Pothos generally needs water every 7 to 10 days, but this varies with light, temperature, and pot size. The finger test is your best guide.
Stick your index finger two inches into the soil. If it's dry, water. If it's damp, wait.
Light, Nutrients, and Tap Water: The Hidden Yellowing Culprits
Suppose watering isn't the issue. Your soil moisture feels fine, the roots look healthy, but the leaves are still turning yellow. Now you're in the subtler territory of light, nutrition, and water chemistry.
Light problems are easy to spot once you know what to look for. Pothos thrives in bright, indirect light. Direct sunlight scorches leaves, causing pale, washed-out yellow patches and brown edges.
On the flip side, too little light slows photosynthesis, and the plant drops its lower leaves to conserve energy.
Aim for a spot near an east or north-facing window, or a few feet back from a south or west window. If you only have a south-facing window, filter the light with sheer curtains. The variegated varieties, like Golden or Marble Queen, need more light than solid-green types to maintain their patterns.
Nutrient deficiencies show up as yellowing too. Nitrogen deficiency causes older leaves to turn pale yellow while new growth stays green. Magnesium deficiency creates yellow patches between the leaf veins.
If you haven't fertilized in months, your plant is likely hungry.
Use a balanced liquid fertilizer at half strength every 4 to 6 weeks during the growing season, from spring through early fall. Skip fertilizing in winter when the plant is dormant. Overfertilizing causes fertilizer burn, which looks like crispy brown leaf tips with yellow halos.
If that's your symptom, flush the soil with clean water to wash out excess salts.
Tap water can be another culprit. Most municipal water contains fluoride and chlorine, which pothos is sensitive to. Long-term exposure causes leaf tips to yellow and brown.
If your tap water is heavily treated, switch to filtered, distilled, or rainwater. Letting tap water sit out overnight allows chlorine to dissipate, though it won't remove fluoride.
The Step-by-Step Rescue Plan: From Diagnosis to Recovery
Now that you've identified the cause, here's your complete action plan. Follow these steps in order. They'll work for any yellowing scenario.
- Stop and assess. Check the soil moisture with your finger. Check the leaf texture. Check the root color if you suspect rot.
- Remove yellow leaves. Cut them off at the base with clean shears. They won't recover, and they drain energy from the plant.
- Adjust watering. If the soil is soggy, let it dry before watering again. If it's dry, soak thoroughly.
- Check light. Move the plant to bright, indirect light if it's in direct sun or deep shade.
- Address nutrition. If it's been over two months without fertilizer, feed at half strength.
- Repot if needed. If roots are rotting or the soil is compacted, repot in fresh mix.
- Monitor for pests. Inspect the undersides of leaves for mealybugs, spider mites, or scale.
After making these changes, give your plant two to four weeks to respond. You should see new growth at the tips and no new yellowing on mature leaves.
What Tools You'll Need
| Tool | Purpose |
|---|---|
| Clean, sharp pruning shears | Trimming yellow leaves and rotten roots |
| Well-draining potting mix | Fresh soil with perlite or bark |
| Sterilizing solution | Rubbing alcohol for cleaning shears |
| Balanced liquid fertilizer | Feeding during the growing season |
| Watering can with narrow spout | Controlled watering at the soil line |
Fixing the Environment: Adjusting Water, Light, and Soil for Good
The rescue plan saves your plant, but the long-term fix is creating an environment where yellow leaves stop happening in the first place. That means getting three things right: soil, pot, and placement.
Soil is your foundation. Pothos needs a mix that drains quickly but holds some moisture. A standard houseplant potting mix amended with 20 to 30 percent perlite works beautifully. The perlite creates air pockets that let oxygen reach the roots and allow excess water to escape.
Avoid dense garden soil, which compacts and traps water.
The pot matters as much as the soil. Your pot needs drainage holes in the bottom. There's no exception to this rule. A pot without drainage holes turns into a swamp, and a swamp means root rot.
Choose a pot that's about two inches larger in diameter than the root ball. A pot that's too large holds excess soil that stays wet for too long.
Placement finishes the job. Pothos prefers consistent conditions. Avoid spots near heating vents, air conditioning units, or drafty windows. These cause rapid temperature swings that stress the plant.
Similarly, keep it away from radiators and electronics that generate dry heat. The ideal temperature range is 65°F to 85°F, with moderate humidity between 40 and 60 percent.
If your home is dry in winter, consider grouping plants together or placing a small humidifier nearby. Brown leaf edges and yellowing tips often improve dramatically with added humidity.
Finally, make a schedule and stick to it. Check the soil every three to four days, and water only when the top two inches are dry. Consistency prevents more than half of all yellowing issues.
That's the entire trick.

Similar Posts