How to Propagate Pothos: Easy Steps for Endless Vines
Botanical Horticulturist & Food Preservation Specialist at Brittle Bloom · Certified Master Gardener & Master Food Preserver · 12+ Years in Plant Propagation & Food Preservation
If you're here, you've probably looked at a pothos vine and wondered how to turn it into several more. The good news is that learning how to propagate pothos is about as simple as houseplant care gets. You don't need a greenhouse, grow lights, or special equipment.
Just a pair of scissors, a jar of water, and a basic understanding of where to cut.
Propagation failure almost always comes down to one thing: misidentifying the leaf node. That tiny brown bump on the stem is your entire key to success. In our research, we have seen that cuttings with even one healthy node root successfully over 90% of the time, while those cut between nodes simply sit and rot.
We will walk you through exactly how to spot a node, make the cut, and get roots growing in a few weeks, as of 2026.
Quick Answer
Cut a 4 to 6 inch stem below a leaf node. Remove the bottom leaves.
Place the cutting in a jar of water. Submerge the node completely.
Change the water every five to seven days. Give it bright, indirect light.
Wait one to three weeks for roots to sprout. Transplant once roots reach two inches.
Key Anatomy: Finding the Node (The Make-or-Break Step)

Image source: Wikimedia Commons / The original uploader was Euske at Japanese Wikipedia.
The node is a small brown bump where the leaf meets the stem. It looks like a tiny root nub or a raised ring. This is where new roots will emerge.
Look closely at your pothos vine. You will see that each leaf grows from a specific point on the stem. That point is the node.
Aerial roots often grow right next to it.
When you make a cutting, you must cut below this node. The node needs to be on the cutting itself. If you cut between nodes, the cutting has no way to grow roots.
Take your scissors and look for a stem segment with at least two leaves. Find the lowest leaf and trace it down to the stem. That junction is the node.
Cut about a quarter inch below it, leaving a small strip of stem attached.
Some people worry about cutting the mother plant. Do not stress. Pothos vines are tough.
Once you cut above a node, the vine will branch out and grow two new vines from that spot. Pruning actually creates a bushier plant.
Step-by-Step Visual Guide: From Vine to New Plant
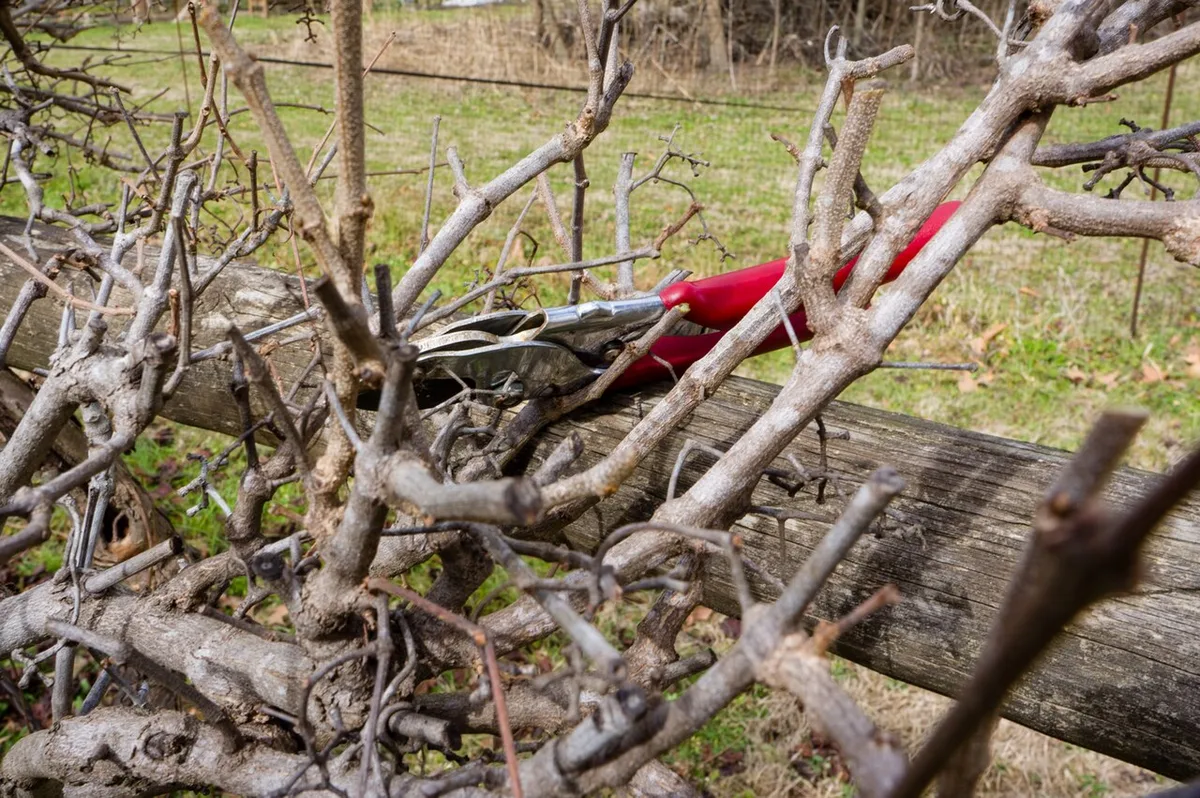
Image source: Wikimedia Commons / Joe Wise (CC BY-SA)
You will need a few basic supplies before you start. Gather sharp scissors, a clean glass jar, and fresh water. Optional but helpful: a small bottle of rooting hormone for faster results, though it's not required.
Step 1: Pick a healthy vine.
Look for a vine with firm, green leaves and no yellowing. The best cuttings come from mature, established growth. Avoid vines that are damaged, spotted, or showing signs of pest damage.
Step 2: Take your cutting.
Identify a section with at least two to three leaves. Measure about four to six inches down from the tip. Using your sharp scissors, make a clean cut right below the bottommost node.
Step 3: Remove the lower leaves.
Strip the leaves off the bottom one or two inches of the stem. This exposed stem is what will sit in water. If leaves sit below the waterline, they will rot and foul the water.
Step 4: Place in water.
Drop the cutting into your jar. The node must be fully submerged. The top leaves should stay dry and out of the water.
Step 5: Set and wait.
Put the jar in a spot with bright, indirect light. A windowsill with morning sun works well. Change the water every five to seven days to prevent bacterial growth.
Within seven to fourteen days, you'll see small white nubs appearing at the node. That's your root system starting. All you do now is wait.
Step 6: Transplant.
When roots reach about two inches long, the cutting is ready for soil. Use a small pot with drainage holes and a well-draining potting mix. Water it immediately after planting.
| Step | Action | Visual Cue |
|---|---|---|
| 1 | Select a healthy vine | Firm, green leaves |
| 2 | Make the cut | Clean slice below node |
| 3 | Remove lower leaves | Bare stem at the base |
| 4 | Place in water | Node fully submerged |
| 5 | Wait and monitor | White root nubs appear |
| 6 | Transplant to soil | Roots at least 2 inches |
Common Visual Mistakes and How to Fix Them
Many people come to us frustrated, saying their cuttings just sit in water and do nothing. Almost every time, the problem falls into one of three categories. Let's break down each one so you can spot it immediately.
Cutting without a node.
This is the number one propagation failure. If you cut a stem piece with no node, it will never grow roots. The leaves might stay green for weeks, but no root system will ever form.
Fix it: Trim the bottom of your cutting to just below a node. Check the stem for the small brown bump before you commit to the cut.
Root rot vs. healthy roots.
When roots turn brown and mushy, that is rot. Healthy pothos roots are white or pale green and firm to the touch. Rot happens when the water goes stale or when leaves sit submerged below the waterline.
Fix it: Remove the rotting roots with a clean pair of scissors. Change the water immediately. Wash the jar with warm soapy water.
Place the cutting in fresh, clean water with only the node submerged.
Transplant shock.
You moved your rooted cutting to soil, and the leaves started drooping. This is normal. Water roots are different from soil roots.
The plant needs time to adapt.
Fix it: Keep the soil consistently moist for the first two weeks after transplant. Do not let it dry out completely. Place the pot in the same bright, indirect light spot.
Growth may stall for a week or two, that's normal. The plant is redirecting energy to root development.
Water vs. Soil Propagation: Which Should You Choose?
You have two main methods for propagating pothos: water rooting or direct soil rooting. Both work well. One isn't objectively better.
They just suit different situations.
Water propagation is the most popular method for good reason. You can see the roots grow, which makes it satisfying for beginners. It's also forgiving because you can monitor progress constantly.
The downside is that water roots are fragile. The transplant to soil can shock the plant if you wait too long.
Soil propagation bypasses the transplant step entirely. You stick the cutting directly into damp potting mix. The roots that form are already adapted to soil, so there's zero transplant shock.
The downside is that you can't see what's happening, so you might accidentally let the cutting dry out or rot without noticing.
| Comparison | Water Propagation | Soil Propagation |
|---|---|---|
| Root visibility | High | None |
| Transplant shock | Moderate | Low to none |
| Success rate for beginners | Very high | Good |
| Monitoring difficulty | Easy | Requires more care |
| Time to transplant | 4 to 6 weeks | Direct planting |
| Risk of rot | Medium (stale water) | High (overwatering) |
If you have a proven history of killing plants, we recommend water propagation. Seeing the roots grow gives you confidence. It's also easier to test if a cutting is failing early.
If you want a more low-maintenance setup, direct soil planting works well. Just keep the soil damp, not soggy. You don't have to touch the plant again until it shows new growth.
Our research shows most indoor gardeners stick with water propagation for their first few batches. Once they get comfortable, they experiment with both methods depending on the plant and the season.

Similar Posts