The Best Soil for Pothos: What to Use and Avoid
Botanical Horticulturist & Food Preservation Specialist at Brittle Bloom · Certified Master Gardener & Master Food Preserver · 12+ Years in Plant Propagation & Food Preservation
You’ve probably heard that the best soil for pothos is just “well-draining potting mix.” That vague advice is why so many healthy pothos end up with yellow leaves and mushy roots. The truth is, the perfect soil depends on how you water, where you live, and what pot you’re using.
Getting this right matters because pothos roots need oxygen as much as they need water. Per the University of Florida IFAS Extension, epiphytic roots like those on a pothos naturally grow in loose, aerated organic matter, not dense ground soil. When we stuff them into heavy mixes, we create the conditions for root rot.
As of 2026, that remains the number one killer of indoor pothos. Let’s fix that.
The Root Rot Problem: Why Pothos Soil Matters More Than You Think
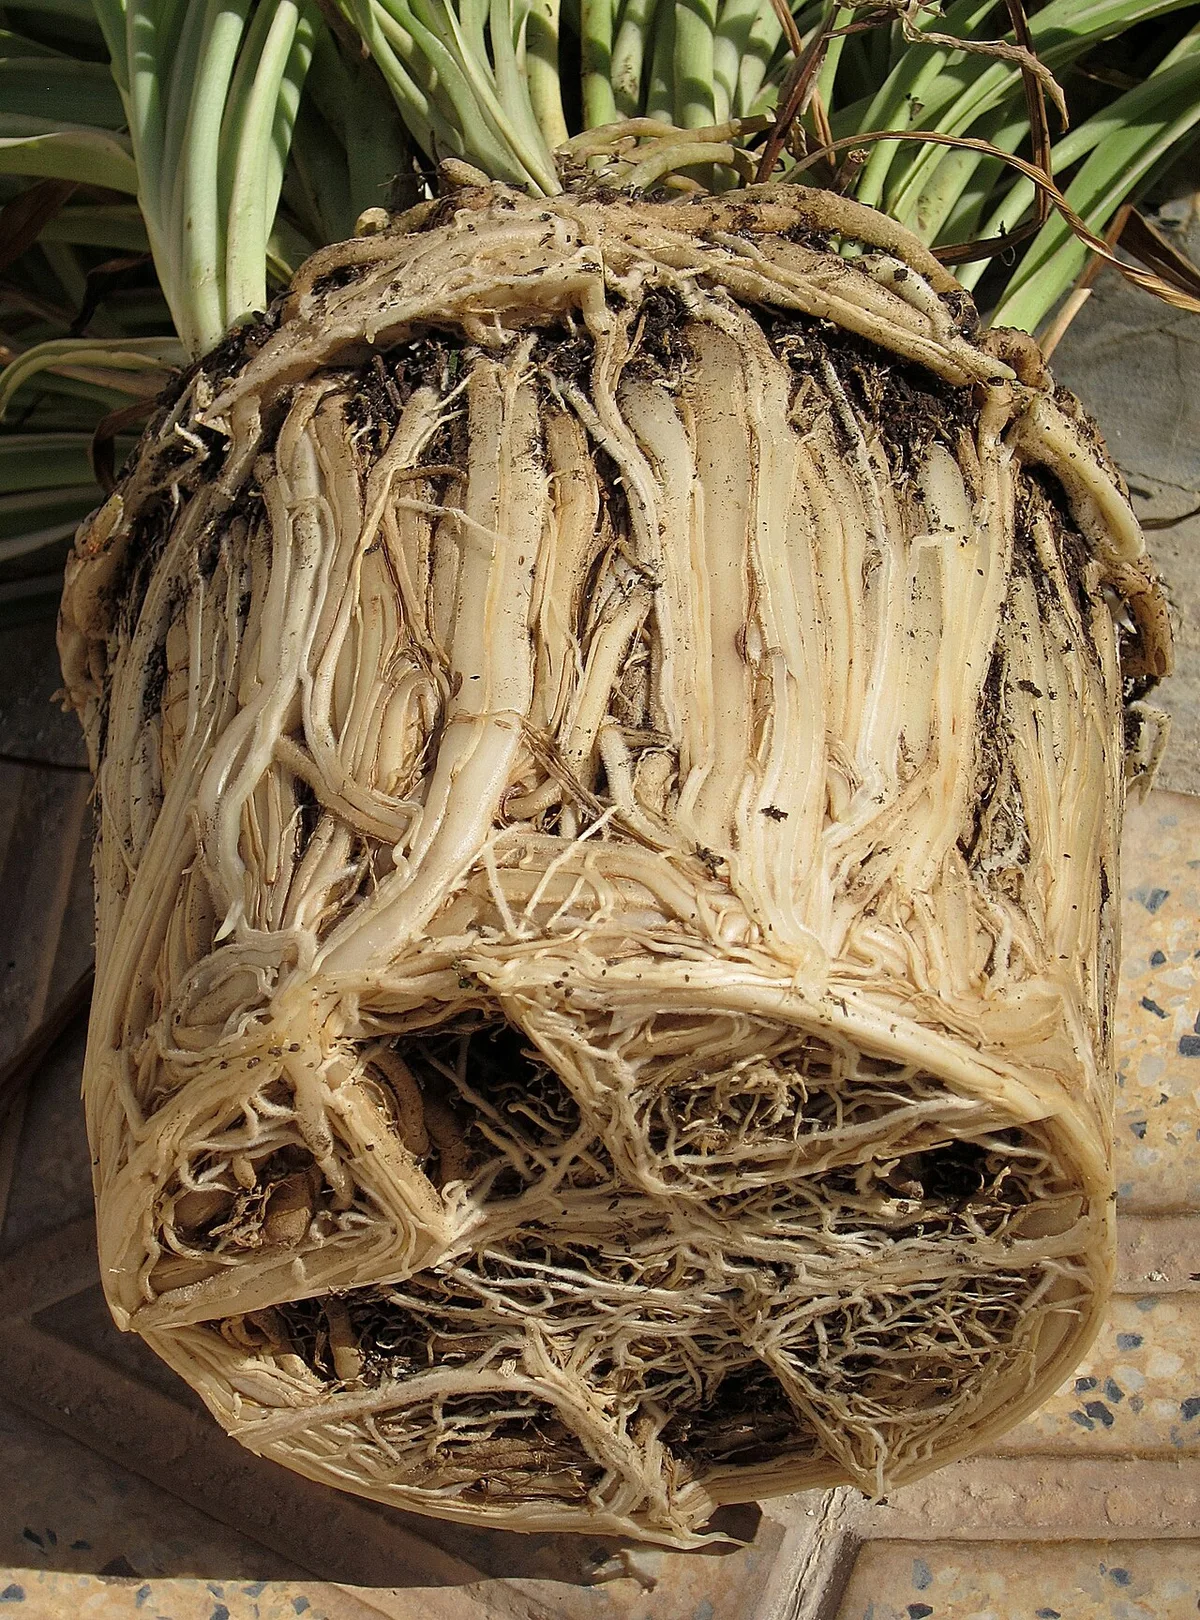
Root rot is the silent killer of houseplants. It starts when soil stays soggy for too long, starving roots of oxygen. The roots suffocate, then decay, and bacteria and fungi move in.
By the time you notice wilting leaves or a mushy stem, the damage is often severe.
The irony is that pothos are among the most forgiving houseplants you can own. They tolerate low light, irregular watering, and even neglect. But they absolutely cannot tolerate sitting in waterlogged soil for days on end.
That’s the one thing that kills them faster than anything else.
Manufacturer specifications on bagged potting soils confirm the problem. Standard houseplant mixes from brands like Miracle-Gro or FoxFarm are designed for moisture retention. They hold water for weeks, which is fine for a fern but dangerous for a pothos.
These mixes are too dense, too water-retentive, and they compact over time.
Here’s what actually happens when pothos roots sit in soggy soil. The roots stop absorbing nutrients. The leaves turn yellow, starting from the bottom.
The stems feel soft near the soil line. And if you pull the plant out, you’ll see brown, mushy roots that smell like decay. That’s root rot.
The fix is straightforward: give your pothos a mix that drains fast enough to avoid soggy conditions while still holding enough moisture for the roots. That balance is what we’re going to nail down in this guide. Once you understand the mechanics, you’ll never lose another pothos to root rot again.
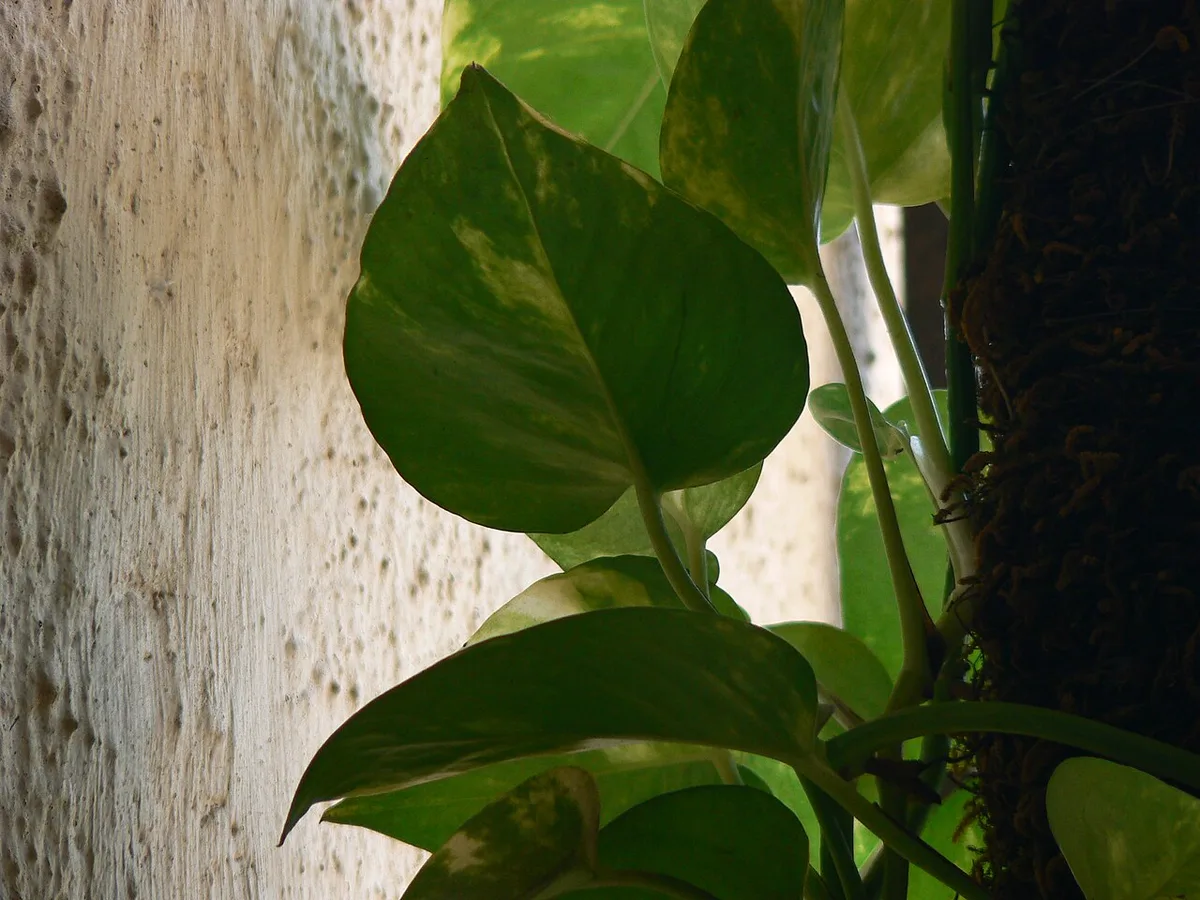
Image source: Wikimedia Commons / Dinesh Valke from Thane, India (CC BY-SA)
Quick Answer
The best soil for pothos is a chunky, well-aerated mix that drains quickly. A simple ratio is one part standard potting soil, one part perlite, and one part orchid bark. This combination provides drainage, aeration, and just enough moisture retention.
Coco coir works well as a base instead of regular potting soil. It holds moisture evenly and resists compaction. The ideal pH range sits between 6.1 and 6.5, slightly acidic.
Most commercial aroid mixes also work well if you’re short on time.
What Actually Goes Into a Good Pothos Mix
A good pothos mix does three jobs at once. It drains excess water quickly, holds enough moisture for the roots, and leaves air pockets for oxygen. Getting all three right means understanding what each component brings to the table.
The Base: Coco Coir or Peat Moss
The base is the largest portion of your mix. It provides the moisture retention and gives roots something to grip. Coco coir has become the go-to choice in recent years, and for good reason.
It holds water evenly, doesn’t compact as quickly, and it re-wets easily after drying out. Peat moss works too, but it’s harder to re-wet once it dries and has environmental concerns tied to harvesting.
The Chunk: Perlite, Pumice, or Orchid Bark
This is where drainage and aeration come from. Perlite is the little white balls you see in commercial mixes. It’s lightweight volcanic glass that traps air and helps water flow through.
Pumice works similarly but is heavier and doesn’t float to the top over time. Orchid bark adds larger air pockets and mimics the organic matter pothos roots naturally grow on in the wild.
The Extras: Worm Castings and Activated Charcoal
Worm castings add gentle, slow-release nutrients. They’re rich, natural, and won’t burn roots like synthetic fertilizers can. Activated charcoal is less about nutrition and more about hygiene.
It absorbs toxins and excess moisture, and it helps prevent mold and fungal growth in the soil.
Here’s a quick reference table for what each component does:
| Component | Primary Role | Best For |
|---|---|---|
| Coco coir | Moisture retention | Even watering and re-wetting |
| Perlite | Drainage and aeration | Lightweight mixes |
| Orchid bark | Large air pockets | Simulating natural epiphytic growth |
| Worm castings | Slow-release nutrients | Feeding without burning |
| Activate charcoal | Mold prevention | High-humidity environments |
The Decision Tree: Choosing Your Mix Based on How You Water
You don’t need a PhD in soil science to figure this out. You just need to be honest about your watering habits. That honesty will tell you exactly which mix formula to use.
Branch 1: You Tend to Overwater
If you water on a schedule rather than checking the soil, or if you tend to be generous with the watering can, you need the fastest-draining mix possible. Use a ratio of two parts coco coir, one part perlite, and one part orchid bark. This mix dries out quickly, sometimes within a week.
That’s exactly what you need to counteract your tendency.
Branch 2: You Forget to Water
If you’re the type to water when the leaves start drooping, you need more moisture retention. Use a ratio of two parts coco coir, one part worm castings, and one part perlite. This mix holds water longer and gives you more room for error.
Your pothos will forgive those drought periods because the soil stays hydrated longer.
Branch 3: You’ve Had Fungus Gnats or Root Rot
That’s a signal that your current setup is too wet. You need maximum aeration and airflow. Use a ratio of one part coco coir, one part perlite, and two parts orchid bark.
The large bark chunks create big air pockets that dry out quickly and discourage fungus gnats from breeding.
Branch 4: You Want a Store-Bought Option
If mixing your own feels like too much work, there are solid commercial options. Look for any mix labeled “aroid mix” or “cactus and succulent mix.” Aroid mixes are designed specifically for plants like pothos. Cactus mixes drain well but might lack the organic matter roots need, so add a handful of worm castings if you go that route.
Image source: Wikimedia Commons / Jeremyida002 (CC BY-SA)
Mixing Your Own Soil: A Step-by-Step Process
Mixing your own soil takes about ten minutes and saves you money in the long run. Plus, you get complete control over what goes into it. Here’s how to do it right.
Step 1: Gather Your Ingredients and Tools
You’ll need your base, your aeration components, and a container large enough to mix everything. A plastic tub or a large bucket works well. Wear a mask if you’re working with dry coco coir, as the dust is fine and irritating.
Step 2: Hydrate Your Coco Coir First
Dry coco coir comes compressed into bricks. Break it apart and add warm water. It expands significantly, so give it a few minutes to fully hydrate.
Use a ratio of about two parts water to one part coir. Once it’s fluffy and moist, it’s ready.
Step 3: Measure Your Ratios
Don’t obsess over precision here. A rough measure with a scoop or a cup works fine. If you’re doing the 1:1:1 ratio, that’s one scoop of coir, one scoop of perlite, and one scoop of orchid bark.
Adjust based on which branch you identified earlier.
Step 4: Mix Everything Thoroughly
Combine all the components in your container and work them together with your hands. You want an even distribution, not clumps of perlite stuck together. Take your time with this.
A poorly mixed soil means some areas drain too fast and others hold too much water.
Step 5: Test the Drainage Before Potting
Take a handful of your mix and wet it thoroughly. Squeeze it gently. Water should drip out freely.
Then let it go. If the mix holds its shape and doesn’t crumble quickly, it needs more perlite or bark. If it falls apart instantly and feels dry, add a bit more coir.
That test will tell you everything you need to know.
Step 6: Repot Your Pothos
Water your pothos a day before repotting. This reduces transplant shock. Then carefully slide the plant out of its old pot, shake off loose soil, and gently loosen the root ball.
Place it in the new pot with fresh mix, filling around the roots. Don’t pack the soil down. Keep it loose and fluffy for maximum aeration.
Common Mistakes That Ruin Good Soil
You can nail the perfect mix and still end up with problems if you make these mistakes. Avoid them at all costs.
Using Garden Soil or Topsoil Indoors
Garden soil is dense, heavy, and often contains pests, pathogens, and weed seeds. It compacts easily in containers and suffocates roots. Never use it for indoor potted plants.
The only exception is if you’ve pasteurized it, which is a whole other process. Just skip it.
Skipping Drainage Holes
Drainage holes are non-negotiable. Without them, excess water has nowhere to go. Even the perfect soil mix will stay waterlogged at the bottom of a pot with no holes.
If you love a decorative pot without holes, use it as a cachepot. Plant your pothos in a nursery pot and slide it inside the decorative one.
Packing the Soil Down Too Firmly
Pothos roots need air pockets. When you press soil down firmly, you collapse those pockets and reduce oxygen flow. Lightly settle the soil by tapping the pot on a table.
Never compress it with your hands.
Choosing a Mix That’s Too Rich
Some mixes are packed with fertilizers and organic matter. They’re great for heavy feeders but too intense for pothos. Too many nutrients can burn the roots.
Look for a lean, simple mix and add worm castings sparingly.
Not Adjusting for Your Environment
If you live in a humid coastal area, your soil will stay wetter longer. If you run forced-air heat in the winter, your soil will dry out faster. Adjust your ratios accordingly.
A mix that works for someone in Florida might be too wet for someone in Arizona, and vice versa.

Similar Posts