Pothos Plant Care Hacks
Botanical Horticulturist & Food Preservation Specialist at Brittle Bloom · Certified Master Gardener & Master Food Preserver · 12+ Years in Plant Propagation & Food Preservation
Pothos is the plant that’s supposed to be unkillable. You’ve watered it, given it light, maybe even talked to it a few times. Yet somehow, the leaves are yellowing, the vines look leggy, or the whole thing is just… sulking.
The problem isn’t your effort. It’s that generic pothos plant care hacks don’t account for your specific home environment.
That’s why we’re not giving you a random list of tips. We’re giving you a diagnostic workflow. A step-by-step system that helps you read the signs your pothos is already showing you, so you can fix the actual issue instead of guessing.
According to university horticulture data, Epipremnum aureum thrives in bright indirect light (1,000 to 2,000 foot-candles) and temperatures between 65°F and 85°F. When you stay within those parameters, most problems simply disappear. Let’s walk through the process.
Quick Answer
The best pothos care hacks are diagnostic, not decorative. Read the leaves. They tell you what’s wrong.
Water only when the top two inches of soil are dry. Provide bright, indirect light. Propagate by cutting just below a node.
Fix the root cause, not the symptom. That’s it.
Is Your Pothos Thriving or Just Surviving? A Quick Diagnostic
Before you change anything about your routine, you need to figure out what state your plant is actually in. A pothos that’s struggling will always show visible cues. They might be subtle, but they’re consistent.
Your job is to become a leaf reader.
Start with these three questions:
1. What do the leaves look like?Yellowing leaves usually mean overwatering or poor drainage. Brown, crispy edges often signal too much direct sun or a salt buildup from tap water.
Small leaves that stay small point to insufficient light.
2. What does the soil feel like? If it’s soggy a week after you watered, you have a drainage problem. If it’s bone dry and pulling away from the pot edges, your plant is thirsty.
The finger test works fine: stick your index finger two inches into the soil. If it comes out damp, wait. If it’s dry, water.
3. Where does the plant sit? A pothos in a dark corner will stretch toward the light. A pothos in a south-facing window might get scorched.
The location matters more than your watering schedule.
Here’s a quick reference table for the most common visual cues:
| Symptom | Likely Cause | Quick Fix |
|---|---|---|
| Yellowing lower leaves | Overwatering | Let soil dry fully before watering |
| Crispy brown leaf edges | Tap water salts or low humidity | Switch to distilled water |
| Pale, washed-out leaves | Too much direct light | Move to a brighter, indirect spot |
| Long gaps between leaves | Low light | Relocate near an east-facing window |
| Drooping stems | Underwatering or rootbound | Water thoroughly or repot |
| Black mushy roots | Root rot | Trim and repot immediately |
If you’re staring at your plant and feel like something is off but can’t name it, trust that instinct. The sections below walk you through the most common scenarios and the exact hacks to fix them.
The Watering Hack That Fixes 80% of Pothos Problems
Overwatering kills more pothos than anything else. It’s not the amount of water that’s deadly. It’s the frequency.
Most houseplant owners water on a schedule, like every Monday morning. That’s the biggest mistake you can make.
Watering schedules ignore the single most important variable: your soil’s drying rate. A pothos in a terracotta pot dries out way faster than one in a plastic nursery pot. A plant near a heating vent dries faster than one in a humid bathroom.
The environment dictates when you should water, not the calendar.
The “Soak and Dry” Method Explained
The soak and dry method is the gold standard for pothos care. Here’s how it works:
- Wait until the top two inches of soil feel completely dry to the touch.
- When dry, water slowly and thoroughly until water runs out of the drainage holes.
- Let the pot drain completely. Never let it sit in standing water.
- Wait again until the top two inches dry out.
This method mimics the natural wet-dry cycle pothos experience in the wild. Roots get oxygen between waterings, which prevents rot. The key is patience.
Most pothos only need watering every 7 to 14 days, depending on conditions.
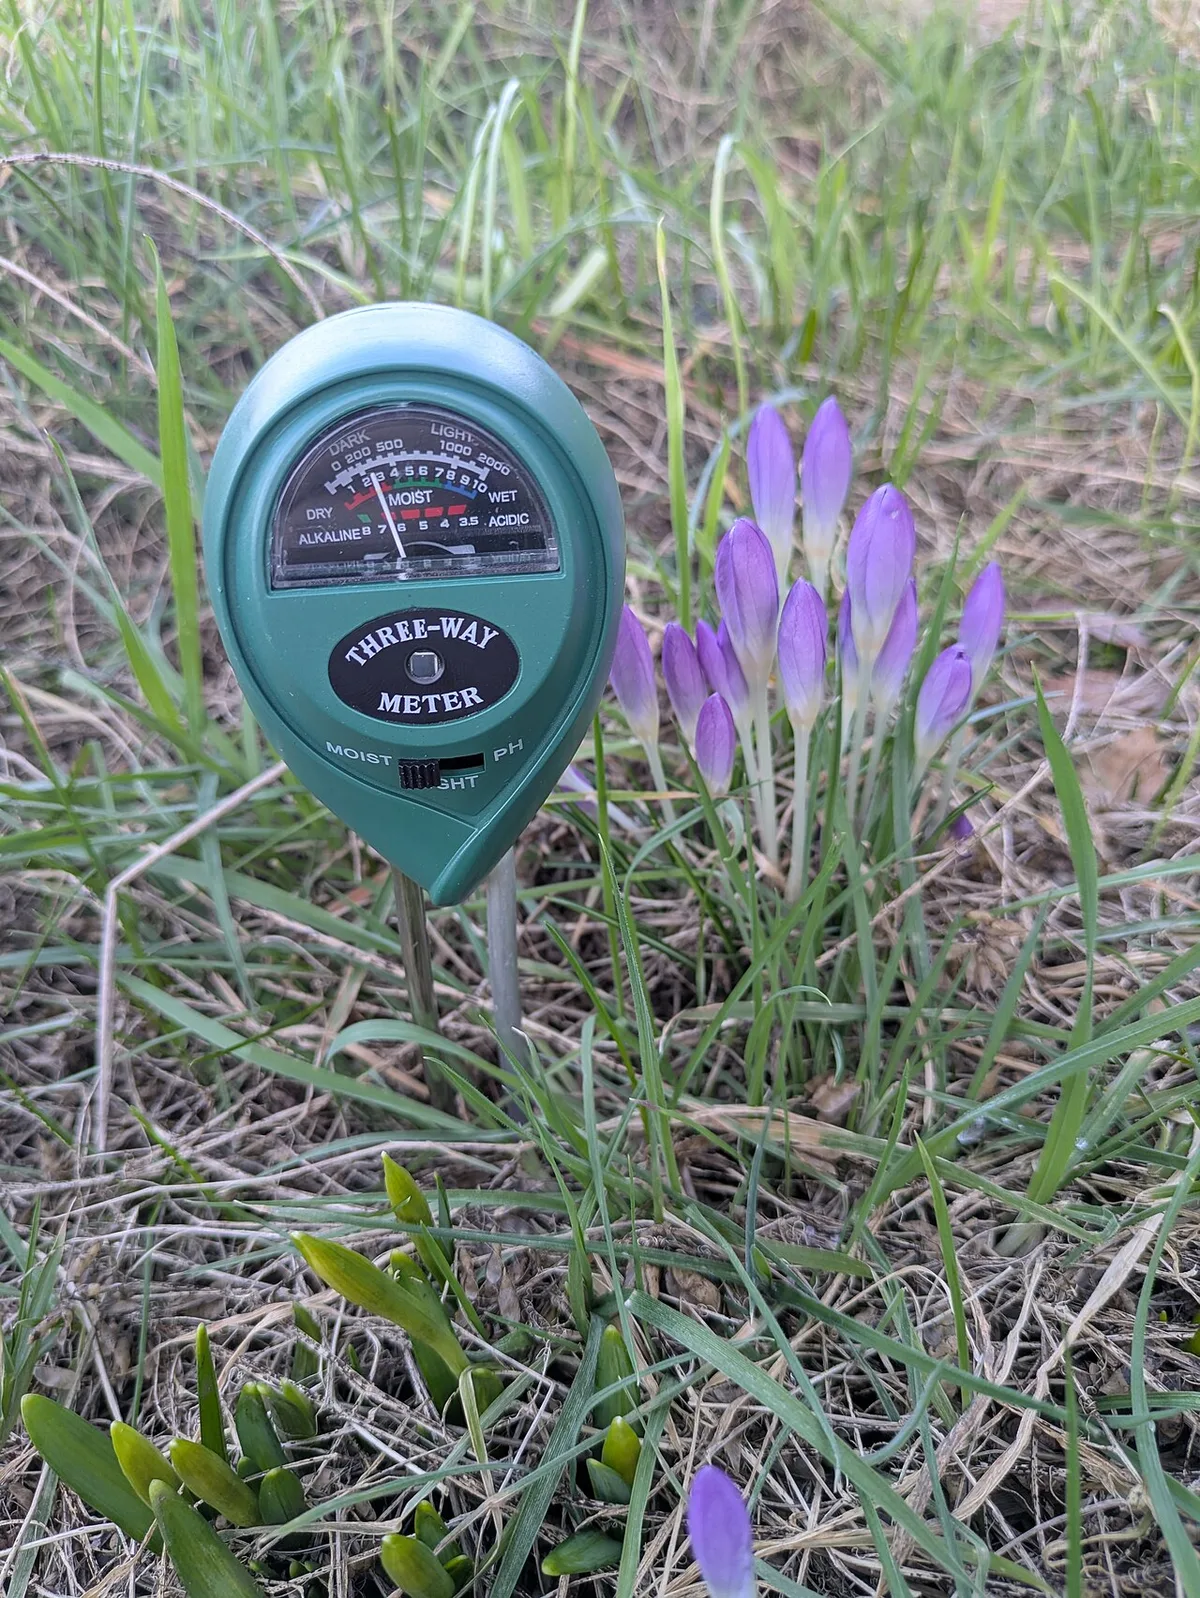
To speed up your diagnosis, invest in a simple moisture meter. It takes the guesswork out of the finger test. This tool reads moisture levels at the root zone, which is where it actually matters.
A basic analog meter costs under $15 and lasts for years. Just make sure you insert the probe all the way to the root level for an accurate reading.

Image source: Wikimedia Commons / NASA
The “Set It and Forget It” Trick for Chronic Overwaterers
If you consistently kill plants by loving them too much, there’s a hack for you. Use a clear glass or acrylic pot as an outer container. Yes, it’s unconventional.
But it works because you can see moisture levels through the wall.
When you water, the inner pot’s soil becomes visibly darker and wet. As it dries out, you’ll see the color change back to a lighter, arid state. This visual cue removes the guesswork.
You stop relying on memory and start relying on observation.
Another option for chronic overwaterers is a self-watering pot with a wicking system. These systems deliver water from a reservoir to the roots only when the soil dries out. For a pothos, this can be practically zero-maintenance for weeks at a time.
Buyers of these pots report dropping watering frequency to every 10 to 14 days. Just make sure the reservoir isn’t always full. Let it empty and stay dry for a few days between refills.
How to Read Drooping, Yellowing, and Crispy Leaves
Drooping leaves are the plant’s way of saying “I’m thirsty.” But here’s why that’s confusing: both overwatering and underwatering cause drooping, just in different ways.
- Overwatered droop: Leaves turn yellow and feel soft or mushy. The soil stays wet for over a week. The roots are suffocating.
- Underwatered droop: Leaves feel thin and slightly wilted. The soil is dry to the bone. The foliage perks up within hours after watering.
Crispy leaf edges are a different story. That’s almost always a salt or mineral burn from tap water, which is common with Epipremnum aureum. Switch to filtered, distilled, or rainwater.
You’ll usually see new growth come in crisp and clean within a month.
Light Hacks: Reading the Leaves to Find the Perfect Spot
Pothos are classified as low-light tolerant plants. That label gets misinterpreted. It doesn’t mean they love low light.
It means they survive in it. There’s a big difference between thriving and merely surviving.
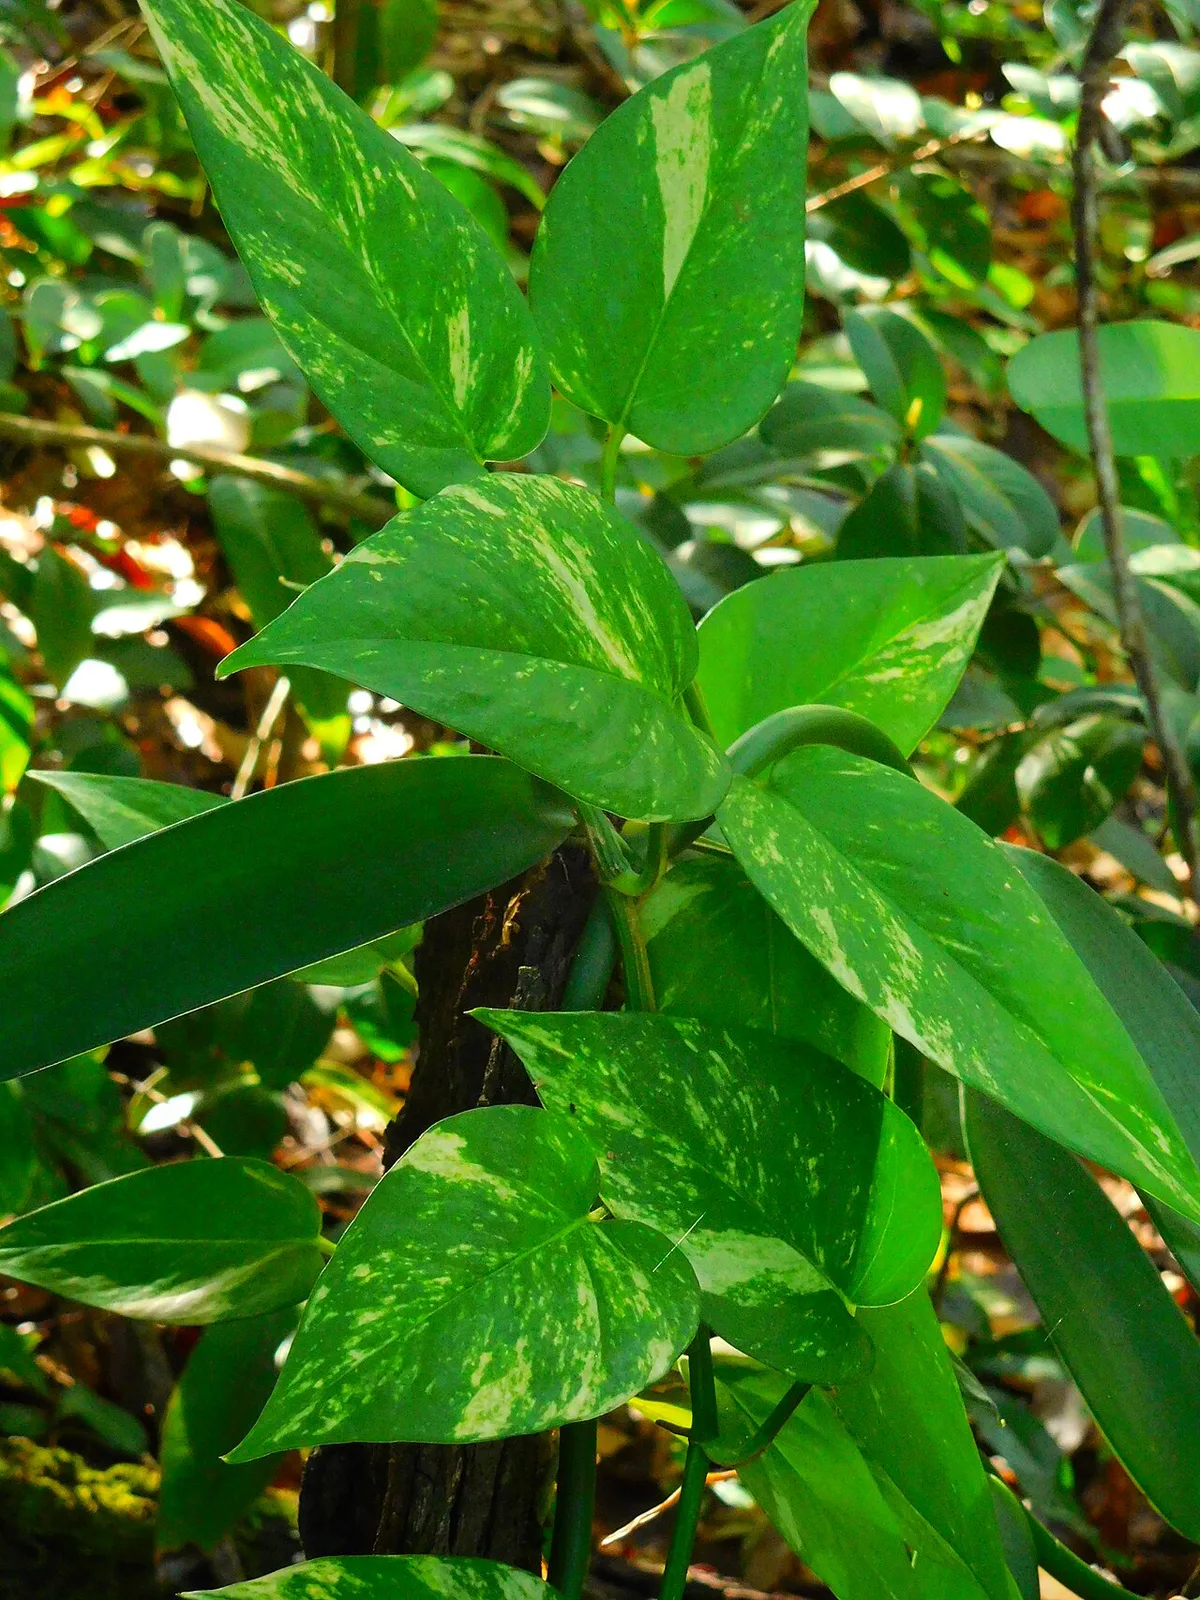
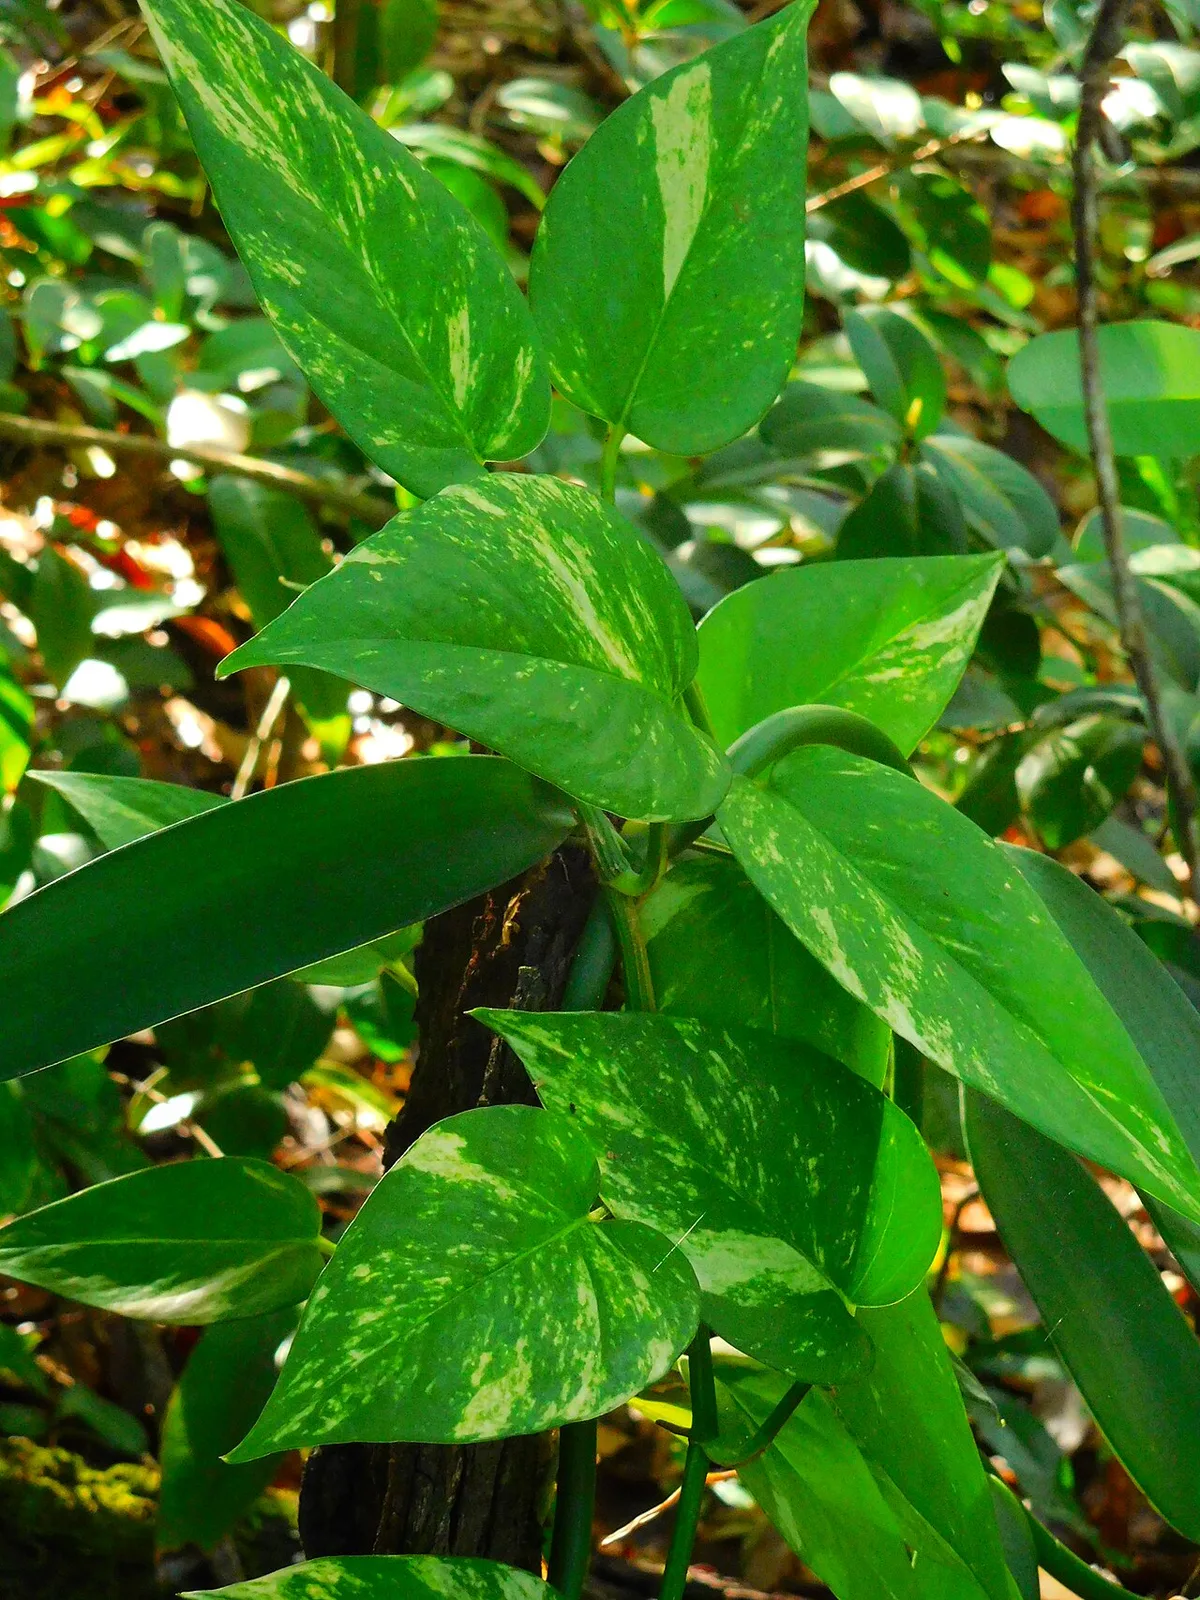
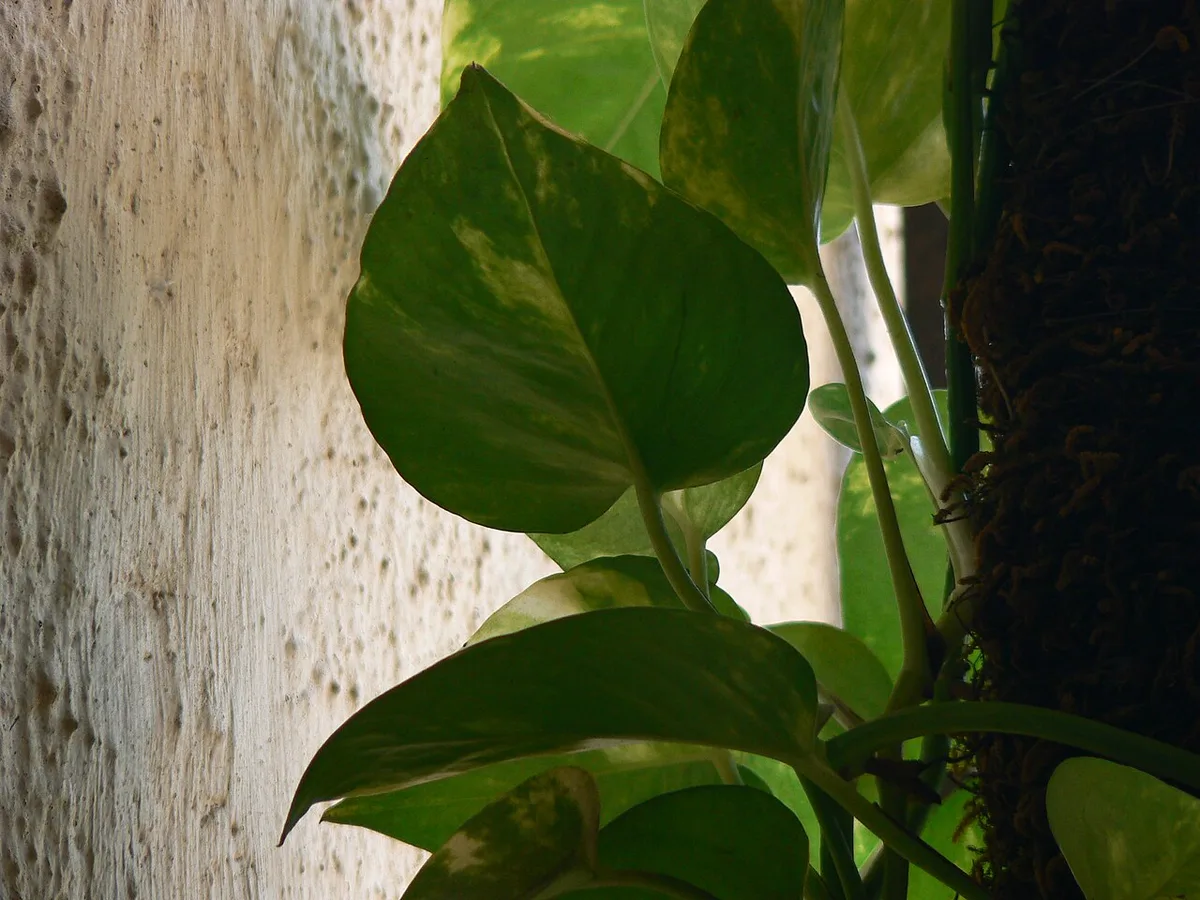
The most visible sign of a light problem is lost variegation. Golden pothos with white or yellow marbling will slowly turn dark green in low light. That’s the plant maximizing chlorophyll production to capture every photon it can.
It’s a survival response, not a disease.
What Variegation Loss Actually Means
If your marble queen pothos is producing solid green leaves, it’s not getting enough light. Move it closer to a window, but avoid direct afternoon sun.
Bright, indirect light is the sweet spot. An east-facing window is ideal. A north-facing room works too if the plant sits within a few feet of the window.
In our research, light levels of 1,000 to 2,000 foot-candles test as the range where variegation stays stable and growth produces full, mature leaves.
To measure this objectively, you can use a light meter app (not the phone’s built-in one). Actual foot-candle meters cost around $20. Alternatively, hold your hand a foot above the plant.
If you see a sharp shadow, that’s bright enough for high-light plants. A soft, blurry shadow indicates medium light, which is fine for pothos. No shadow at all means low light, and variegation will suffer.
How to Fix Leggy, Sparse Vines
A leggy pothos has long bare stems with leaves only at the tips. This happens when the plant stretches toward a light source over months or years.
The fix has two parts:
First, relocate. Move the plant closer to a brighter spot. Ideally, somewhere it gets consistent ambient light for at least six hours a day.
Second, prune. Cut the bare vines back to the soil line. New growth will emerge from the nodes closest to the cut. This encourages a bushier, fuller plant.
Those cuttings aren’t waste either. You can root them using the propagation hacks in the section below.
Pruning feels counterintuitive. You’re cutting away growth to get more growth. But it works because pothos allocate energy to the remaining buds when the long vine is removed.
Within three to four weeks, you’ll see new shoots at the base of the plant.
The Grow Light Shortcut for Dark Apartments
If you live in a basement apartment or a room with no windows, a grow light is your best friend. You don’t need anything fancy or expensive.
Standard full-spectrum LED grow bulbs work beautifully. Look for a bulb rated at 1,000 to 2,000 lumens. Place it 12 to 18 inches above the plant.
Keep it on for 10 to 12 hours a day. Many growers use a smart plug to automate this, so the light turns on and off on a timer.
One caveat: don’t blast a grow light 24/7. Pothos need a dark period to process energy properly. Consistent day-night cycles produce healthier growth than constant illumination.
If you’re new to grow lights, start with 8 hours a day and adjust based on leaf color and new growth.
The Root Rot Rescue: A Step-by-Step Workflow
Root rot is the silent killer of pothos. By the time you notice foul soil or mushy stems, the damage is already extensive. But it doesn’t have to be fatal.
You can rescue a pothos with healthy nodes, even if the roots are gone.
Here’s the exact workflow we recommend:
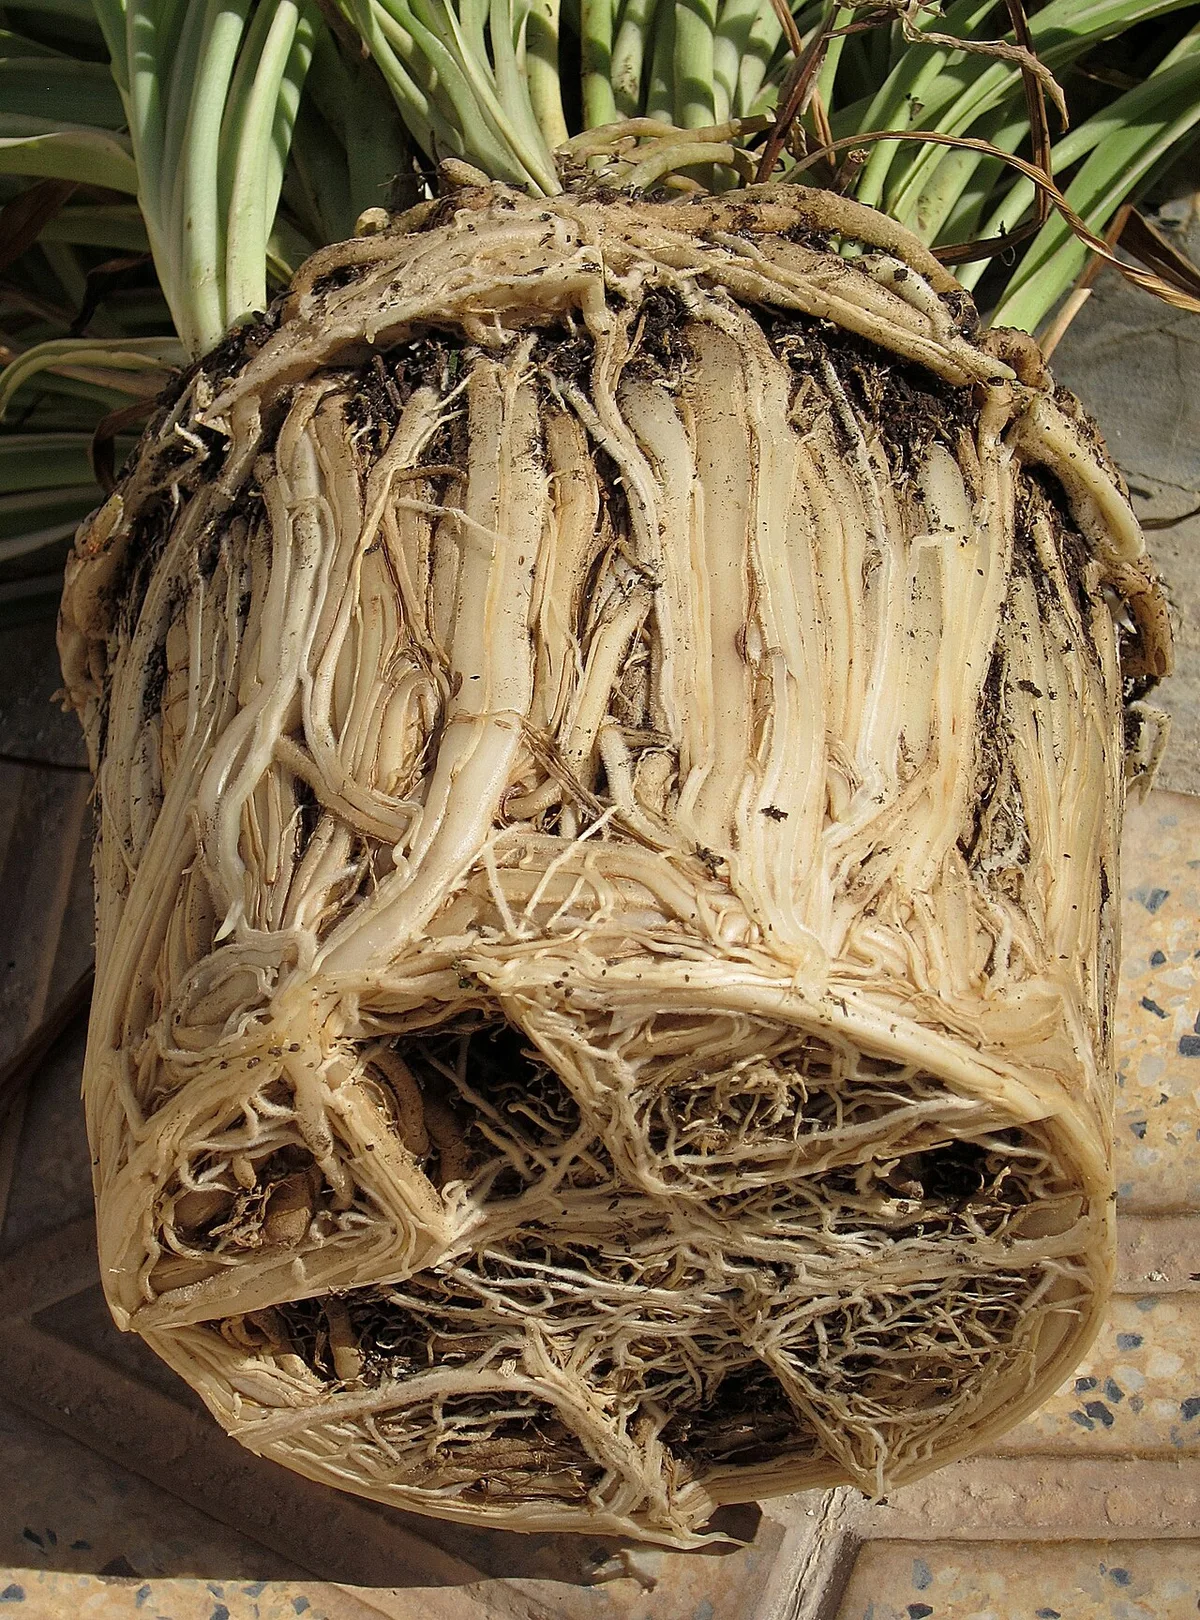
Step 1: Remove and assess. Gently slide the plant out of its pot. Knock off loose soil and inspect the roots. Healthy roots are firm and white or tan.
Rotten roots are brown, black, soft, or stringy. There’s a strong, musty smell near the soil.
Step 2: Trim aggressively. Use clean, sharp scissors to cut away all rotted roots. Also remove any yellowing or mushy leaves and stems. You can trim the roots right down to where healthy tissue remains.
Step 3: Disinfect (optional). If the rot was severe, dip the remaining healthy roots in a diluted hydrogen peroxide solution (one part 3% peroxide to three parts water). This kills lingering bacteria and fungus. Let it sit for 30 seconds, then rinse with fresh water.
Step 4: Repot in fresh, dry mix. Use a well-draining potting mix amended with perlite and orchid bark. This blend is specifically for aeration. Don’t water right away.
Let the plant rest for 24 to 48 hours to allow wounds to callus over. Then water lightly.
Step 5: Monitor for three weeks. Do not fertilize. Keep the plant in bright, indirect light. Check the soil moisture every day.
New leaves or a firm stem base indicate the rescue worked. If the stem continues to darken or soften, you may need to take stem cuttings and restart entirely using the propagation method below.
Here’s a quick comparison of rot recovery vs. propagation as a backup:
| Situation | Best Move | Timeline |
|---|---|---|
| Some healthy roots remain | Trim and repot | 2-4 weeks to new growth |
| All roots are mush | Take stem cuttings | 2-3 weeks for roots in water |
| Stem is mushy at the soil line | Discard plant, keep healthy vine tips | Immediate propagation |
Propagation Hacks: From a Single Cutting to a Full Bushy Plant
Propagation is the ultimate pothos hack. It’s free, it’s easy, and it gives you a brand new plant in a matter of weeks. It also solves the leggy vine problem permanently.
Where to Cut (and Why Nodes Matter)
A node is the small bump or joint on the vine where leaves and roots emerge. Without a node, a cutting can’t root. Period.
Cut just below a node, at a 45-degree angle, using a clean blade.
Each cutting should have at least one leaf and one node. Two or three nodes per cutting is even better. The more nodes you have, the fuller your final plant will look.
After sanitizing your scissors with rubbing alcohol, make the cut and place the cutting in water immediately.
Water vs. Soil: Which Rooting Method Works Faster
Water propagation is the most popular method because it feels like magic. You stick cuttings in a glass jar, and roots appear within days. But it has a downside: the roots get used to water, and the transfer to soil can cause transplant shock.
For faster results, try rooting directly in a mix of moist perlite and sphagnum moss. This method produces roots that are already adapted to growing in a substrate. In our research, perlite propagation yields transplant-ready cuttings in about the same time as water, but with less shock risk.
| Method | Time to Root | Transplant Shock | Best For |
|---|---|---|---|
| Water jar | 2-4 weeks | Moderate | Beginners, visual rooting |
| Perlite/moss | 3-5 weeks | Minimal | Serious growers |
| Direct soil | 4-6 weeks | Minimal | Lazy propagation |
The “One Pot, Many Cuttings” Trick for Instant Fullness
Here’s the fastest way to get a full, bushy pothos: don’t grow one vine. Grow several, side by side.
When you propagate, take 5 to 10 cuttings and root them all together in one pot. Each cutting establishes its own vine. The result is a dramatically fuller plant that looks like you’ve been growing it for years.
This same trick fixes a leggy pothos instantly. If your plant has bare stems, take cuttings from the healthy tips. Root them and plant them back in the same pot, right near the base of the original plant.
The new cuttings fill in the empty spaces, and the original plant keeps growing. The combined effect is a lush, dense plant without waiting for slow regrowth.
Common Mistakes and Rapid-Fire FAQs
Even experienced plant parents make these mistakes. Let’s clear them up quickly so you can stop second-guessing yourself.
Why Your Pothos Is Dying Despite Your Best Efforts
If your pothos is declining and you can’t pinpoint why, check the pot. No drainage holes means water pools at the bottom. Roots sit in moisture and rot.
That’s the most common hidden killer.
Another overlooked culprit is stale soil. After two years, potting mix breaks down. It compacts, loses aeration, and holds water longer.
If your pothos was thriving and suddenly started declining, repot with fresh mix. It’s often the reset the plant needs.
Can I Use Tap Water?
Yes, but with a caveat. Chlorine and fluoride in tap water cause brown leaf tips over time. If your tap water is heavily treated, switch to filtered or distilled water.
Letting tap water sit out for 24 hours helps chlorine evaporate, but it won’t remove fluoride.
How Often Should I Fertilize?
Only during the growing season, which runs from spring through early fall. A balanced liquid fertilizer diluted to half strength, applied monthly, is plenty. Pothos are light feeders.
Skip fertilizer entirely in winter; the plant isn’t actively growing.
Is This Actually a Pothos or a Philodendron?
It’s a common mix-up. Pothos leaves are thicker, waxy, and have a slight indentation along the midrib. Philodendron leaves are thinner, heart-shaped, and matte.
The easiest difference: pothos leaf stems (petioles) have a distinct groove running down to the node. Philodendrons don’t.
If you’re unsure and want to expand your plant collection, a pothos is the more forgiving choice. It tolerates inconsistent watering better than most philodendrons. For those interested in other low-maintenance houseplants, you might also enjoy our guide on freezing fresh herbs to reduce waste, or check the best way to preserve your garden harvest for year-round use.

Similar Posts