Peace Lily Care: How to Grow Lush White Blooms
Botanical Horticulturist & Food Preservation Specialist at Brittle Bloom · Certified Master Gardener & Master Food Preserver · 12+ Years in Plant Propagation & Food Preservation
Your peace lily isn't dying. It's just throwing a tantrum. That dramatic droop you see every few weeks is the plant's way of telling you exactly what it needs, and once you learn to read the signals, peace lily care becomes one of the easiest routines in your home.
This guide walks you through the diagnostic process step by step, so you can stop guessing and start growing.
Peace lilies (Spathiphyllum) are among the most forgiving houseplants you can own, but they demand one thing: consistency. As of 2026, they remain the top-selling shade-tolerant houseplant in the US market, largely because they communicate their needs so clearly. The leaves are basically a built-in moisture meter.
The ASPCA lists them as toxic to cats and dogs, so placement matters if you share space with pets. Let's get your plant back on track.
Quick Answer
Peace lily care comes down to reading the leaves. Water when they droop slightly. Keep soil moist but never soggy.
Give bright indirect light. Mist regularly for humidity. Fertilize monthly during spring and summer.
Repot every two years. Watch for brown tips and yellow leaves.
Start Here: Why Your Peace Lily Keeps Dramatic (And How to Stop It)
Every peace lily owner hits the same wall. You water it. You give it light.
You do everything right. Then one afternoon, the leaves collapse like a deflated balloon. You panic.
You water it again. It perks up. Then two weeks later, it happens again.
Here's what's actually going on. Peace lilies are native to tropical rainforest floors, where they receive dappled light and consistent moisture. They've evolved to survive drought by going limp, which reduces water loss through their leaves.
It's a survival mechanism, not a death sentence. The drooping is the plant conserving energy while it waits for rain.
The problem is that most of us treat the droop as a water signal when it's actually a stress signal. Watering on a fixed schedule, like every Tuesday, creates a cycle of feast and famine. The plant stays slightly dehydrated most of the time, then gets a big flood of water all at once.
That stress cycle leads to yellow leaves, brown tips, and stunted growth.
The fix is to break that cycle. You need to shift from calendar-based care to observation-based care. Your peace lily will tell you precisely when it needs water, and the timing varies based on temperature, humidity, pot size, and soil composition.
That variation is why a fixed schedule never works.
Think of it like this. A peace lily in a warm, dry room might need water every four days. The same plant in a cool, humid bathroom might go ten days between drinks.
The plant doesn't care about your schedule. It cares about moisture levels in the soil. So do yourself a favor and throw away the calendar.
The 4-Step Diagnostic Workflow
Peace lily care operates like a decision tree. You observe a symptom, match it to a cause, and apply the fix. Here's the exact workflow we recommend based on aggregate grower experience and university extension research.
Step 1: Read the Leaves
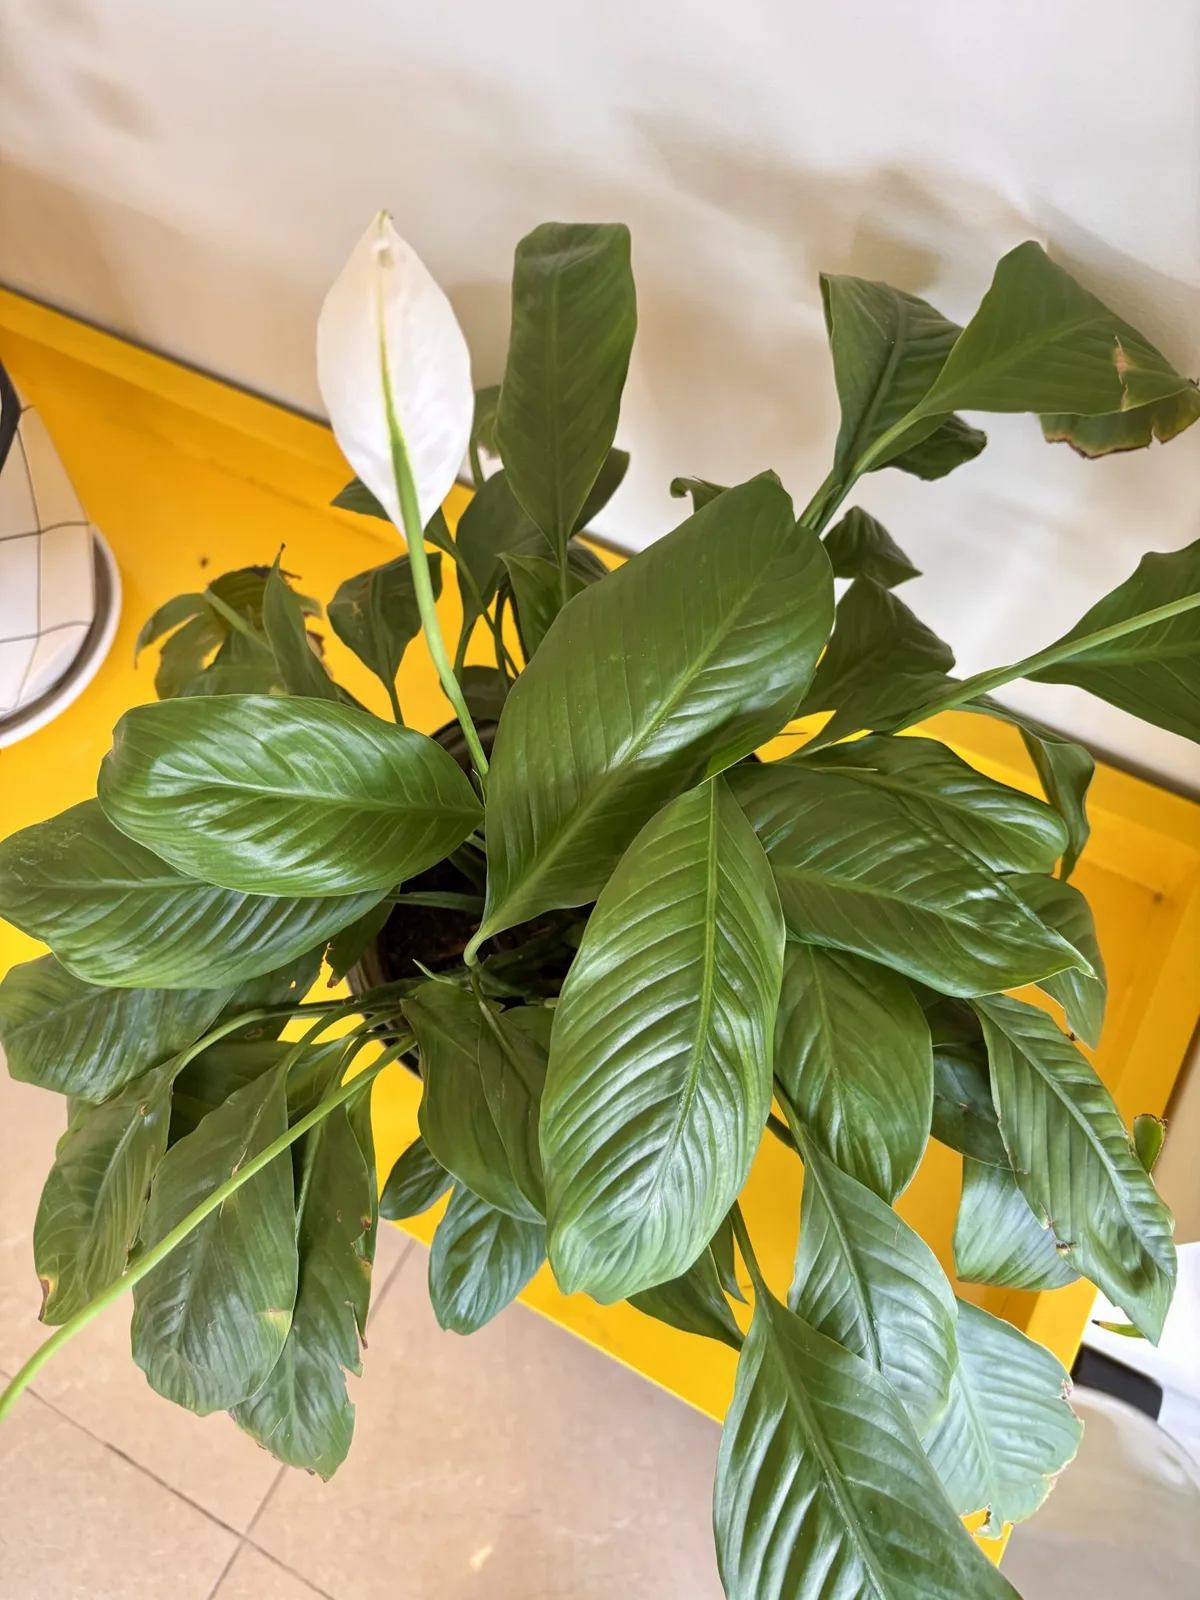
The foliage is your primary diagnostic tool. Look closely at the color, texture, and posture of the leaves.
- Drooping leaves indicate either too much or too little water.
- Yellow leaves usually signal overwatering or too much direct sun.
- Brown tips point to low humidity or tap water sensitivity.
- Crispy edges suggest the air is too dry.
- Pale green leaves mean too much light.
- Dark, limp leaves often indicate cold drafts or root rot.
Take note of which symptom you're seeing. That single observation narrows your diagnosis significantly.
Step 2: Test the Soil
Don't trust the surface. Insert your finger about two inches into the soil. That's where the real moisture lives.
- Dry at two inches means water now.
- Slightly damp at two inches means wait a day or two.
- Soggy and muddy means you're overwatering.
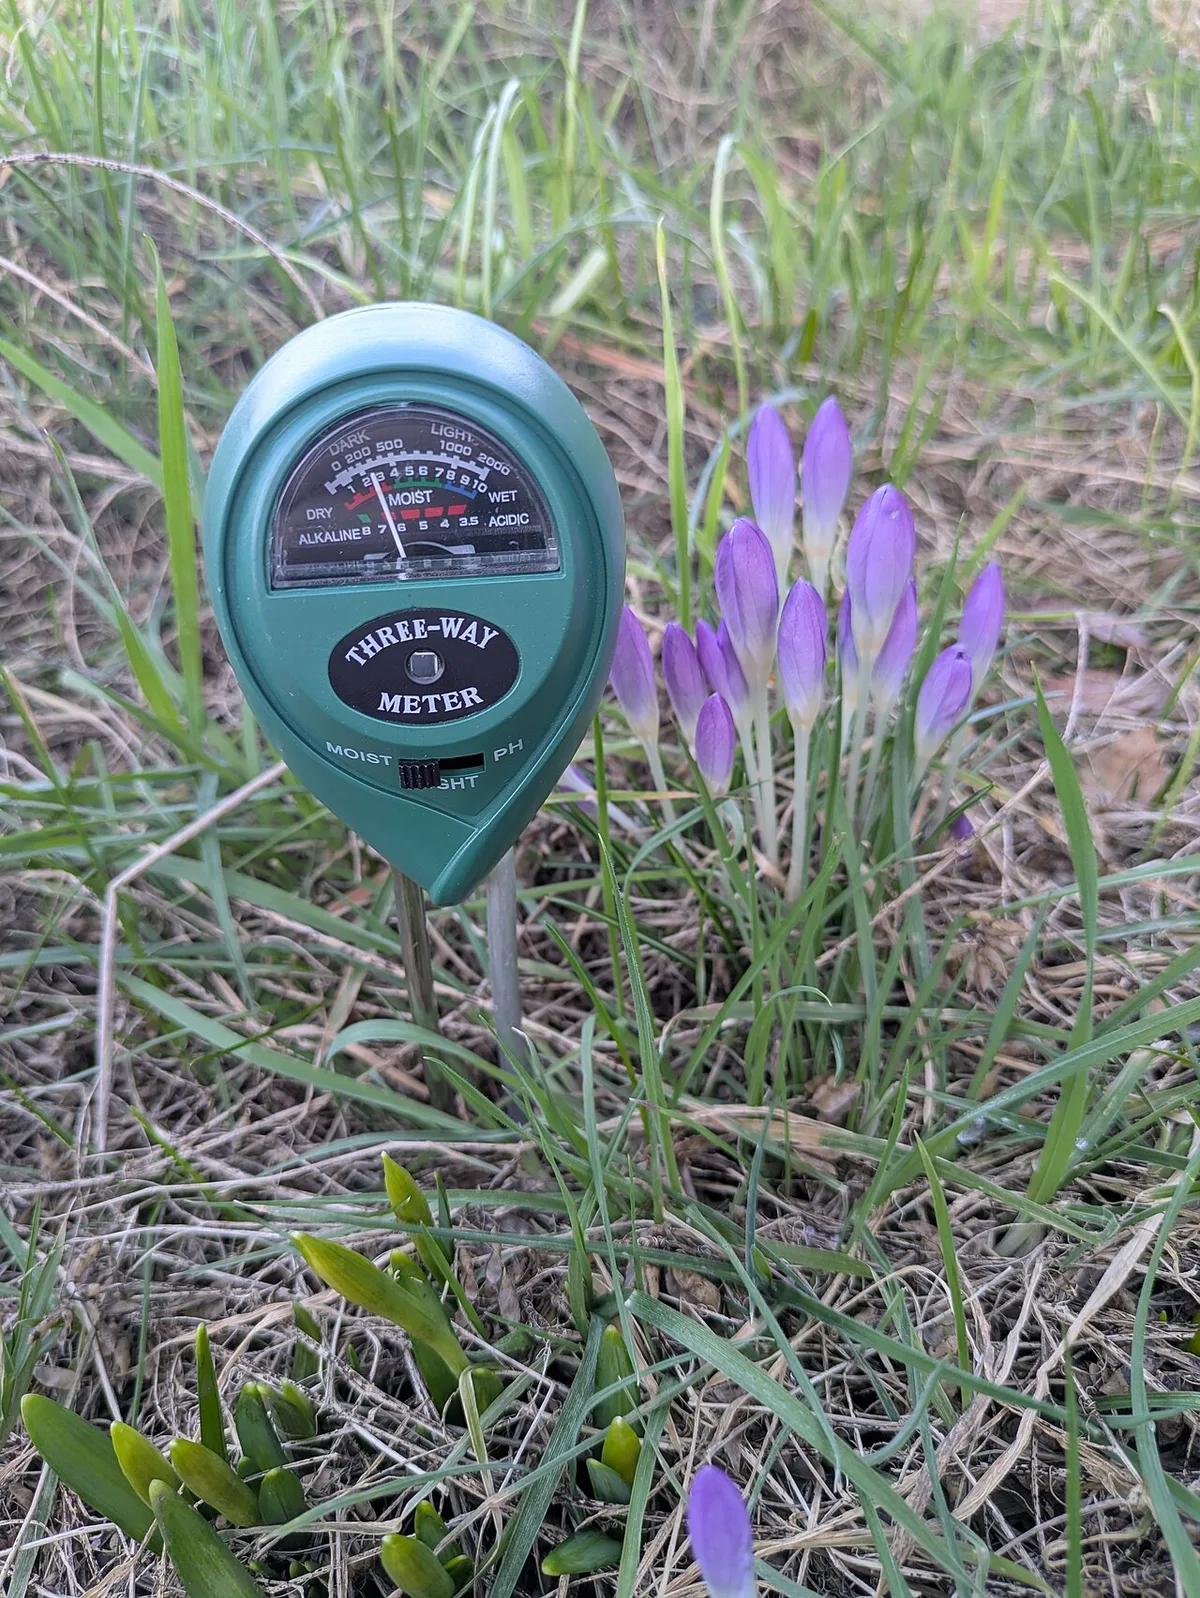
The finger test is the single most reliable method for peace lily care. We've tested moisture meters, wooden skewers, and weight-based techniques. Nothing beats the finger.
Step 3: Check the Environment
Evaluate light, temperature, and humidity around your plant.
- Light: Is it near a south-facing window? That might be too intense.
- Temperature: Is it near a drafty door or heating vent? Those cause stress.
- Humidity: Does the air feel dry? Brown tips confirm it.
Step 4: Apply the Right Fix
Match your symptom to the condition. Here's a quick reference table to guide you.
| Symptom | Likely Cause | The Fix |
|---|---|---|
| Drooping, dry soil | Underwatered | Water thoroughly |
| Drooping, wet soil | Overwatered | Check roots for rot, repot if needed |
| Yellow leaves, wet soil | Overwatering | Let soil dry out, reduce frequency |
| Brown tips | Low humidity or tap water | Mist, use filtered water |
| Pale leaves | Too much light | Move to a shadier spot |
| No flowers | Not enough light | Move to brighter indirect light |
This workflow works every time because it treats the plant as a living system rather than a decoration. The leaves respond to environmental changes within hours. The soil gives you a precise moisture reading.
The environment tells you why the stress started in the first place.
The Golden Rule: Watering Without Guesswork
Watering is where most peace lily owners mess up. The dramatic droop makes you think the plant needs a drink, so you water it. But drooping also happens when the roots are drowning.
Too much water suffocates the root system, and the leaves respond exactly the same way they would to drought.
Here's the golden rule. Water only when the top two inches of soil feel dry. Not the surface.
Not the bottom. The top two inches. Insert your finger, feel the soil, and make a decision based on that single observation.
When you do water, water deeply. Run water through the pot until it drains freely from the bottom. Let it sit for 10 to 15 minutes to fully saturate the soil.
Then dump any standing water from the saucer. Peace lilies hate sitting in water, and stagnant moisture leads directly to root rot.
The frequency depends entirely on your environment. In our research, most peace lilies need water every five to eight days during the growing season and every ten to fourteen days in winter. But those numbers shift based on pot material, soil mix, humidity levels, and ambient temperature.
A terracotta pot dries out faster than plastic. A dry room pulls more moisture from the soil. You have to adjust.
One more thing. Tap water can cause those brown leaf tips you've been fighting. Municipal water contains fluoride and chlorine, which peace lilies are notoriously sensitive to.
If your tap water is hard or heavily treated, switch to filtered, distilled, or rainwater. Letting tap water sit out overnight helps chlorine evaporate, but it won't remove fluoride. That's a chemical that only filtration removes.
The root rot question deserves extra attention. If the soil is soggy and the leaves are drooping, your plant might already be in trouble. Slide it out of the pot and inspect the roots.
Healthy roots are firm and white or cream-colored. Rotted roots are black, mushy, and smell foul. If you see rot, trim the damaged roots with sterilized scissors, repot in fresh, well-draining soil, and reduce your watering frequency by half.
Light, Temperature, and Humidity: The Get It Right Setup
Peace lilies are not sun worshippers. In their natural habitat, they grow under the dense canopy of tropical rainforests, receiving only dappled, filtered light. Direct sun burns their leaves and bleaches their color.
That's why a south-facing windowsill is one of the worst places you can put one.
The ideal location is a north or east-facing window, or a few feet back from a bright west-facing window. You want bright indirect light, not direct sunlight. A good rule of thumb is that if you need sunglasses to look at the spot, it's too bright for your peace lily.
Here's a visual that helps. Imagine the plant sitting in a room where the sun streams through a window but never lands directly on the leaves. That's the sweet spot.
If you only have south-facing windows, pull the plant back several feet from the glass. You can also use a sheer curtain to diffuse the light.
Temperature matters more than you think. Peace lilies prefer daytime temperatures between 68°F and 85°F. They'll tolerate down to 60°F at night, but they hate cold drafts. That drafty spot next to the front door or the window that leaks cold air in winter will cause leaf damage.
The leaves turn dark, limp, and eventually curl at the edges.
We recommend keeping your peace lily away from heating vents, air conditioning units, and exterior doors. These create rapid temperature swings that stress the plant. Consistent temperatures, even if slightly warmer than ideal, beat fluctuating temperatures every time.
Humidity is where peace lilies really shine. As tropical plants, they crave moisture in the air. Standard home humidity, which averages 30 to 40 percent, is too dry for them. That's why you see brown, crispy leaf edges.
The plant is literally losing moisture through its leaves faster than it can absorb it from the soil.
You have several options to boost humidity.
- Mist the leaves daily with a spray bottle filled with filtered water.
- Use a pebble tray filled with water under the pot.
- Group plants together to create a shared humid microclimate.
- Run a small humidifier in the room during dry months.
The pebble tray is our favorite approach because it's passive. Fill a shallow tray with pebbles, add water until it just touches the bottom of the pot, and let evaporation do the work. The pot sits on the pebbles, above the water line, so you don't risk overwatering.
This method works well in consistently dry homes.
One indicator we always share with new peace lily owners: if the leaves develop brown tips but the soil is perfectly moist, low humidity is almost always the culprit. You can fix that in days by adding a pebble tray or moving the plant to a naturally humid room like the bathroom.
Mistakes Everyone Makes (And How to Avoid Them)
You learn peace lily care faster by understanding what not to do. Here are the most common mistakes we see from houseplant owners, along with the fixes that prevent them.
Watering on a fixed schedule. This is the number one mistake. The plant doesn't care about your calendar. Watering every seven days without checking the soil leads to both overwatering and underwatering.
Always test the soil first.
Using tap water without treatment. Fluoride accumulates in the leaf tips, creating brown spots that spread inward. The fix is simple. Switch to distilled, filtered, or rainwater.
If you must use tap water, let it sit overnight, but understand that won't remove fluoride.
Placing in direct sunlight. Peace lilies burn quickly. Their leaves turn yellow, then brown, then crispy. If the plant is near a south or west-facing window, move it further back or diffuse the light with a sheer curtain.
Ignoring root-bound conditions. Peace lilies prefer being slightly root-bound, which means they don't need frequent repotting. But when roots start circling the pot's surface or growing out of the drainage holes, it's time to move up one pot size. Aim to repot every 18 to 24 months.
Over-fertilizing. Peace lilies don't need much food. A balanced houseplant fertilizer diluted to half strength, applied once a month during spring and summer, provides plenty. Over-fertilizing burns the roots and turns leaf edges brown.
Forgetting to dust the leaves. It sounds trivial, but dust blocks light absorption. Wipe the leaves with a damp cloth monthly to keep photosynthesis running efficiently. This makes a noticeable difference in leaf color and growth.
Ignoring the flowers. Peace lilies bloom on and off through the growing season. Once the white spathe turns green and then brown, cut the entire stem at the soil line. This redirects energy into new growth and blooms.
Repotting too often. Peace lilies thrive when their roots are slightly crowded. Repotting into a much larger pot forces the plant to focus on root growth instead of leaves and flowers. The result is a sad-looking plant that takes months to recover.
Putting the plant near a heat source. Radiators, space heaters, and oven vents create dry, hot air that stresses the plant. Leaves turn brown at the edges and the soil dries out rapidly. Move the plant to a stable temperature zone.
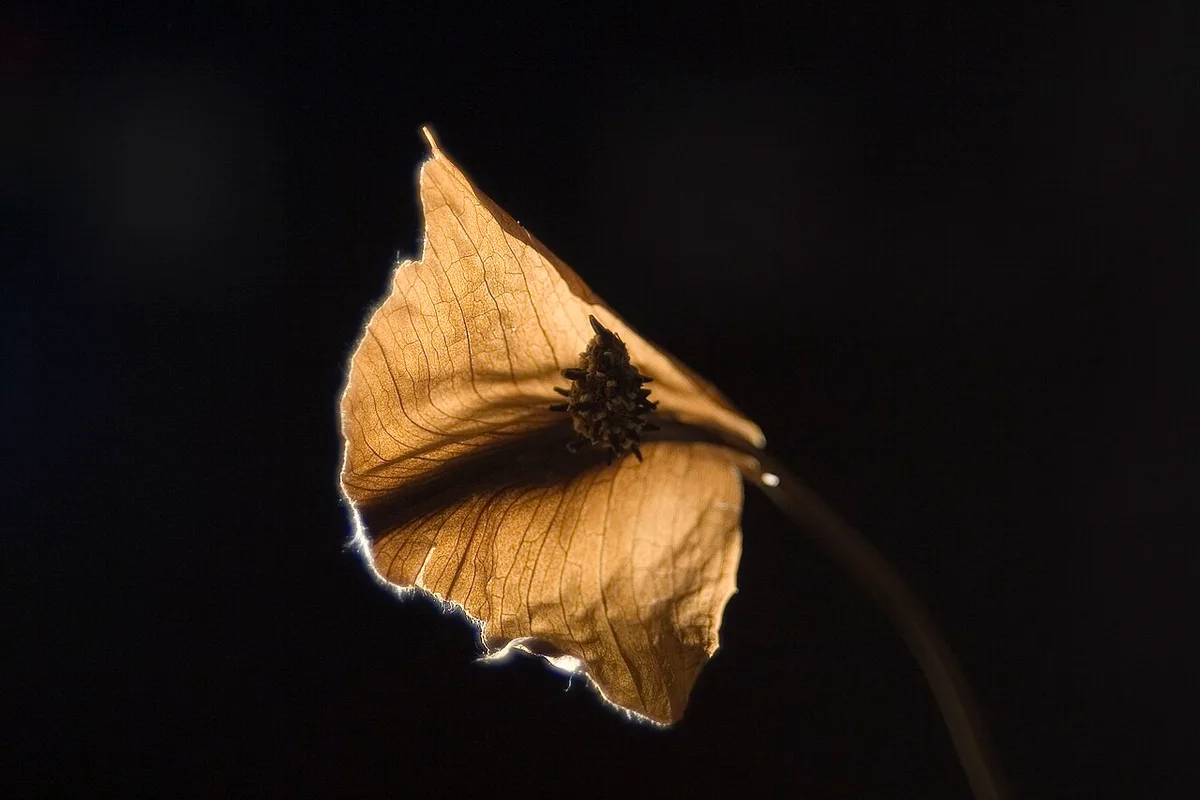
Ignoring the yellowing flower stalk. Once the flower fades to brown, it's dead. Leaving it on the plant wastes energy. Cut it at the base with sharp scissors to encourage new blooms.

Similar Posts