Peace Lily Care: How to Grow and Bloom This Easy Plant
Botanical Horticulturist & Food Preservation Specialist at Brittle Bloom · Certified Master Gardener & Master Food Preserver · 12+ Years in Plant Propagation & Food Preservation
Your peace lily is drooping like it just heard bad news, and you're standing there wondering if you drowned it or starved it. That dramatic flop is actually the plant's superpower. It tells you exactly what it needs, but only if you know how to read the signs.
The peace lily (Spathiphyllum) is one of the most forgiving houseplants you can own, but it communicates in droops, yellowing, and crispy edges. According to the NASA Clean Air Study, it also filters formaldehyde and benzene from your indoor air, which makes it a practical addition to any room. What it doesn't do is thrive on guesswork.
Let's fix that.
Quick Answer: Peace Lily Care in One Paragraph
Water when the top inch of soil feels dry. Keep it in bright, indirect light. Use filtered water if your tap is heavy in fluoride.
Maintain temperatures between 65-80°F. Feed monthly during spring and summer. That's the whole formula.
Everything else is about troubleshooting the specific stress signals your plant gives you.
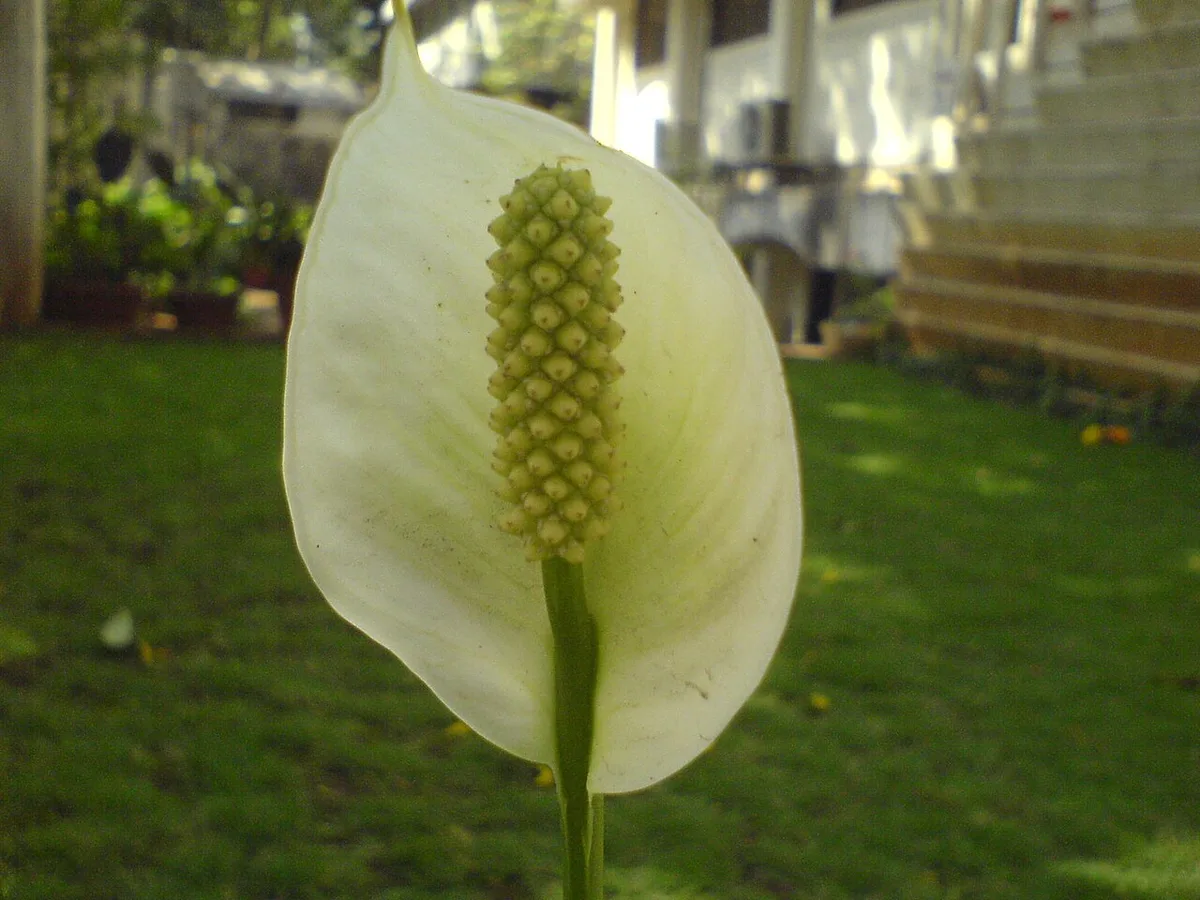
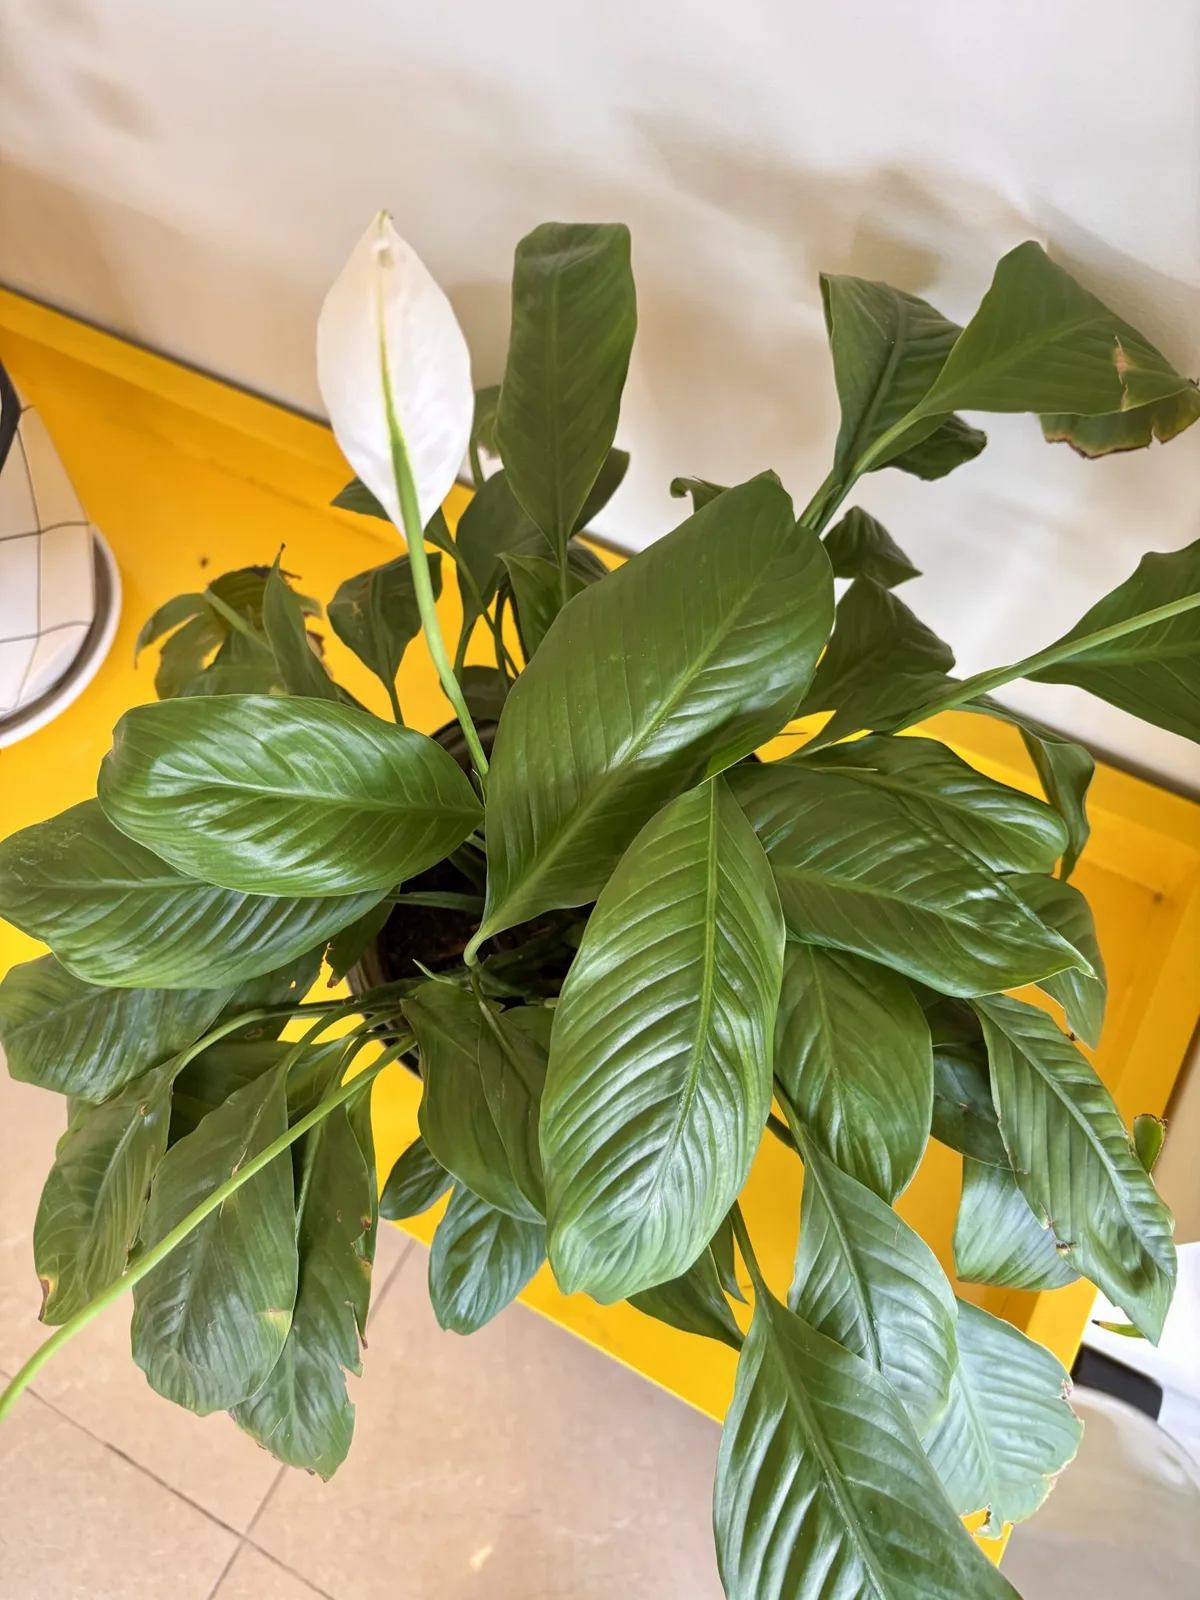
Image source: Wikimedia Commons / Dinesh Valke from Thane, India (CC BY-SA)
Why Your Peace Lily Is Dramatic (And Why That's a Good Thing)
Peace lilies are the divas of the houseplant world. They flop hard when thirsty, perk up within hours of a drink, and throw visible tantrums when something's off. Other plants quietly suffer until they're beyond saving.
Not this one. It gives you warnings far in advance, so every problem starts with a signal you can actually read.
That signaling behavior makes the peace lily an ideal plant for beginners. You don't need a moisture meter or a PhD in botany. You just need to learn what each physical change means.
The drooping petioles tell one story. Yellowing lower leaves tell another. Brown tips point to a completely different issue.
Once you connect the symptom to the cause, the fix becomes straightforward.
What makes this plant unique is how quickly it responds to correction. A severely wilted peace lily can recover within four to six hours of proper watering. That fast feedback loop means you can test a remedy, observe the response, and adjust without guessing.
It's the closest thing to a plant that talks back.
The trade-off is that it relies on consistency. Peace lilies don't handle extremes well. Too much water rots the roots.
Too little causes collapse. Low humidity crisps the edges. Bright light burns the leaves.
But here's the thing: each mistake shows up as a distinct symptom, and each symptom points to a specific fix. That's the diagnostic system we'll walk through next.
The Decision Tree: Thirsty vs. Drowning vs. Stressed
This is the core of peace lily care. Most people kill their plant through watering mistakes, but they make those mistakes because they can't tell the difference between too much and too little. Let's fix that right now with a simple three-branch decision tree.
Branch 1: Limp stems, drooping leaves, soil pulling away from the pot edges. That's thirst. The plant has run out of water in its root zone, and the cells have lost turgor pressure. This is the easiest fix.
Water thoroughly, and you'll see improvement within hours.
Branch 2: Drooping leaves WITH yellowing lower foliage and soil that feels wet or soggy. That's drowning. The roots are sitting in waterlogged soil, oxygen is scarce, and root rot is starting. More water will kill it.
You need to let the soil dry out and possibly repot if the roots are mushy.
Branch 3: Brown tips, crispy edges, but otherwise strong green leaves. That's a stress response. It's usually caused by fluoride in tap water, dry air, or salt buildup from over-fertilizing. It's not a watering problem at all.
Adjust your water source, humidity, or feeding schedule instead.
Here's where the visual diagnosis gets easier. The table below breaks down what you're seeing and what it means:
| Visual Signal | Likely Cause | Quick Action |
|---|---|---|
| Drooping stems, dry soil | Underwatered | Water deeply, monitor recovery |
| Drooping stems, wet soil | Overwatered, root rot risk | Stop watering, improve drainage |
| Yellow bottom leaves | Overwatering or nutrient issue | Check roots, flush soil |
| Brown tips, crispy edges | Fluoride, low humidity, salt build-up | Use filtered water, mist, flush soil |
| Green flowers instead of white | Normal aging or low light | Move to brighter indirect light |
| No blooms at all | Insufficient light or young plant | Increase light exposure |
The soil test that never lies. Stick your finger about one inch into the soil. If it feels dry, water. If it feels damp, wait.
If it feels soggy, you have a drainage problem. This simple test beats any schedule, because your home's temperature, humidity, and season all change how fast the soil dries.
Yellow leaves deserve special attention. If only the oldest, lowest leaves are yellowing, that's usually natural aging. If multiple leaves across the plant are yellowing at once, check the soil moisture. Wet feet cause yellowing fast.
Dry periods cause yellowing too, but the plant usually droops first.
Brown tips are rarely about watering. Aggregate reviews from thousands of houseplant owners consistently point to tap water as the culprit. Municipal water contains fluoride and chlorine, which peace lilies are particularly sensitive to. Switch to filtered, distilled, or rainwater, and the problem often disappears within a few weeks.
The Recovery Plan: Step-by-Step by Diagnosis
Once you've identified the problem, it's time to act. Here's the step-by-step recovery workflow for each diagnosis.
If It's Thirsty: The Bottom-Watering Rescue
- Fill a sink or basin with room-temperature water.
- Place the pot (with drainage holes) in the water, letting it soak from the bottom.
- Leave it for 30 to 60 minutes or until the topsoil feels moist.
- Remove, let excess water drain, and return to its spot.
- Expect visible recovery within four to six hours.
Bottom watering is gentler than top watering because it lets the roots drink at their own pace. It also prevents water from sitting on the leaves, which can cause fungal spots. If you're in a hurry, regular top watering works fine, but pour slowly and let the water absorb between additions.
If It's Drowning: The Root Rot Intervention
- Remove the plant from its pot immediately.
- Inspect the roots. Healthy roots are white or cream. Rotten roots are brown, black, or mushy.
- Trim away all damaged roots with clean scissors, sterilized with rubbing alcohol.
- Repot in fresh, well-draining potting mix in a pot with drainage holes.
- Wait one week before watering. Let the damaged root system recover.
Root rot is the leading cause of peace lily death, and once the roots turn mushy, there's no reversing that damage. But healthy roots further up the clump can regenerate. The key is catching it before the entire root system collapses.
If the stem base feels soft and smells sour, you've waited too long.
If It's Stressed: Light, Humidity, and Temperature Fixes
- Switch to filtered, distilled, or rainwater.
- Place a pebble tray with water under the pot to boost humidity.
- Mist the leaves lightly every few days during dry months.
- Keep it away from drafty windows, heating vents, and air conditioners.
- Stop fertilizing for at least two months to allow salt buildup to clear.
Peace lilies prefer humidity around 50 percent or higher. Most homes sit around 30 to 40 percent, especially in winter. A simple humidity tray, a shallow dish filled with pebbles and water, solves this without any special equipment.
If It's Not Blooming: The Light and Fertilizer Reset
Peace lilies bloom when they get enough indirect light and regular feeding. If your plant hasn't flowered in months, check the light levels. An east-facing window is the gold standard.
North-facing windows might be too dim. South or west windows need a sheer curtain to filter intense afternoon sun.
Fertilize once a month during spring and summer with a balanced liquid fertilizer at half strength. As of 2026, manufacturer specifications still recommend a standard 20-20-20 formula for optimal blooming. Skip feeding entirely in fall and winter.
The plant slows down and doesn't need the nutrients.
Water, Light, and Soil: The Core Variables That Break or Fix Your Plant
Getting the fundamentals right prevents most problems before they start. Let's break down the three variables that matter most.
Water Quality Matters More Than You'd Think
Tap water is the number one cause of brown tips on peace lilies. The fluoride added to municipal water supplies builds up in the soil and travels to the leaf edges, where it burns the tissue. The plant isn't getting too little water.
It's getting water with chemicals it can't process.
Switch to rainwater, distilled water, or water left out overnight to let chlorine evaporate. Fluoride doesn't evaporate, so leaving water out only helps with chlorine. For a long-term fix, use a simple filter pitcher.
Many peace lily owners report that switching water sources resolves brown tip problems within a month.
Light: The Bright Indirect Sweet Spot
Peace lilies need bright, indirect light to thrive. They tolerate low light, but they won't bloom and growth slows dramatically. Direct sunlight scorches the leaves, leaving brown patches that don't recover.
The best location is near an east-facing window. Morning sun is gentle and doesn't burn. If you only have south or west windows, pull the plant back a few feet or add a sheer curtain.
North-facing windows work but expect slower growth and fewer flowers.
A good rule of thumb: if you can read a book comfortably in the spot during daylight, there's enough light for a peace lily. If the room feels dim and shadowy, the plant will survive but won't flourish.
Soil and Drainage: The Unsung Heroes
Peace lilies need a potting mix that holds moisture but drains excess quickly. A standard indoor potting mix works, but add perlite or orchid bark to improve aeration. The roots need oxygen, and dense soil that stays soggy suffocates them.
The pot must have drainage holes. A peace lily sitting in a decorative cachepot with no drainage collects water at the bottom and rots the roots. If you love a particular decorative pot, plant the peace lily in a plastic nursery pot with holes and slip it inside the cachepot.
This is a critical detail.
Pot size matters too. Peace lilies prefer being slightly root-bound. Repotting into a pot more than two inches larger than the current one causes the soil to stay wet longer, which promotes root rot.
Always err on the side of a smaller pot.
The Top 5 Mistakes That Kill Peace Lilies (And How to Reverse Them)
Even experienced plant parents make these errors. The good news is that each one is fixable if you catch it early.
Mistake 1: Watering on a Schedule Instead of On-Demand
Watering every Sunday regardless of soil moisture is the fastest way to kill a peace lily. The soil dries at different speeds depending on temperature, humidity, pot material, and plant size. A schedule ignores all of that.
The fix is simple: stick your finger in the soil before every watering. If the top inch is dry, water. If it's damp, wait another day or two.
This conscious check takes five seconds and prevents most watering disasters.
Mistake 2: Repotting Into a Giant Pot Too Early
A huge pot holds too much soil, which holds too much water. The peace lily's roots can't drink fast enough, and the soil stays soggy. Root rot follows.
Move up only one pot size, about two inches in diameter, when repotting. If your plant is happy and healthy, leave it alone. Peace lilies bloom better when slightly root-bound, so resist the urge to "give it room."
Mistake 3: Ignoring the Winter Growth Slowdown
Peace lilies slow down dramatically in shorter daylight hours. They need less water and no fertilizer. Continuing summer watering schedules in winter is a recipe for root rot.
Reduce watering frequency by roughly half in winter. Stop fertilizing entirely from late fall to early spring. When new growth appears in spring, resume feeding and increase watering gradually.
Mistake 4: Leaving Dead Spathes on the Plant
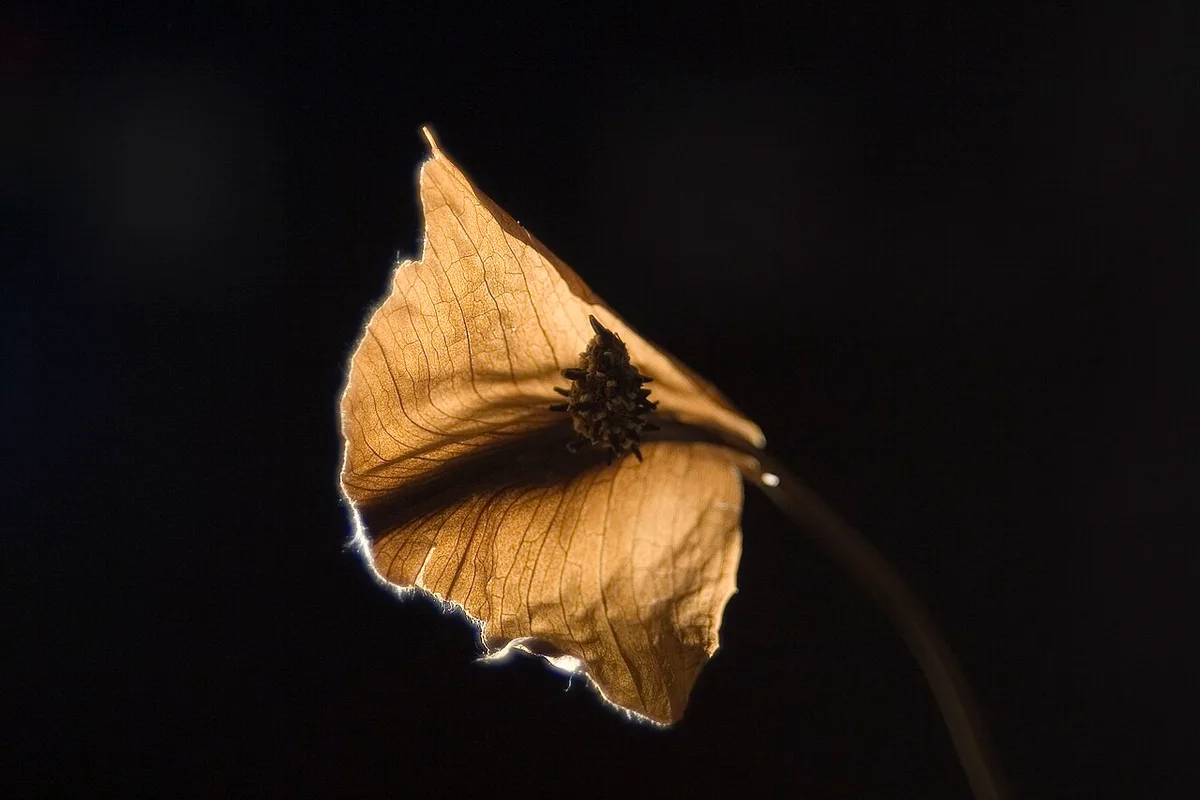
Those white flowers that turn green and then brown eventually dry out. Leaving them on the plant wastes energy that could go to new growth. They also look ragged and invite pests.
Cut spent spathes at the base of the stem with clean scissors. The stem won't regrow, but new flowers will emerge from the base. Regular deadheading encourages more blooms.
Mistake 5: Skipping the Occasional Soil Flush
Fertilizer salts build up in the soil over months. These salts burn the roots and cause brown leaf tips even when you're watering perfectly. Salt build-up also raises the soil's pH, which blocks nutrient uptake.
Flush the soil every two to three months. Take the plant to a sink, run water through the soil for several minutes until it drains clear from the bottom, then let it drain completely before returning it to its spot. This simple process leaches out accumulated salts and refreshes the root zone.
A plant that outgrows its pot or develops bone-dry soil during a heat wave needs more aggressive action. That's where repotting and division come in, which we'll cover next.

Similar Posts