Can You Freeze Dry Garlic
Botanical Horticulturist & Food Preservation Specialist at Brittle Bloom · Certified Master Gardener & Master Food Preserver · 12+ Years in Plant Propagation & Food Preservation
Can you freeze dry garlic? Yes, you can, and it’s one of the smartest ways to keep a big harvest from going to waste. Freeze-dried garlic keeps its sharp, fresh flavor, snaps like a cracker, and rehydrates in minutes.
You can turn it into powder, flakes, or whole pieces for soups, stews, marinades, and emergency pantry meals.
As of 2026, home freeze dryers are far more common than they were a decade ago. Manufacturer specifications indicate these machines pull a vacuum between 100 and 300 mTorr and run at about -40°F (-40°C). That combination removes moisture through sublimation, where ice turns straight to vapor without melting.
The good news? You don’t need a $3,000 machine to get started. A dry-ice method can also work, though it asks for more patience.

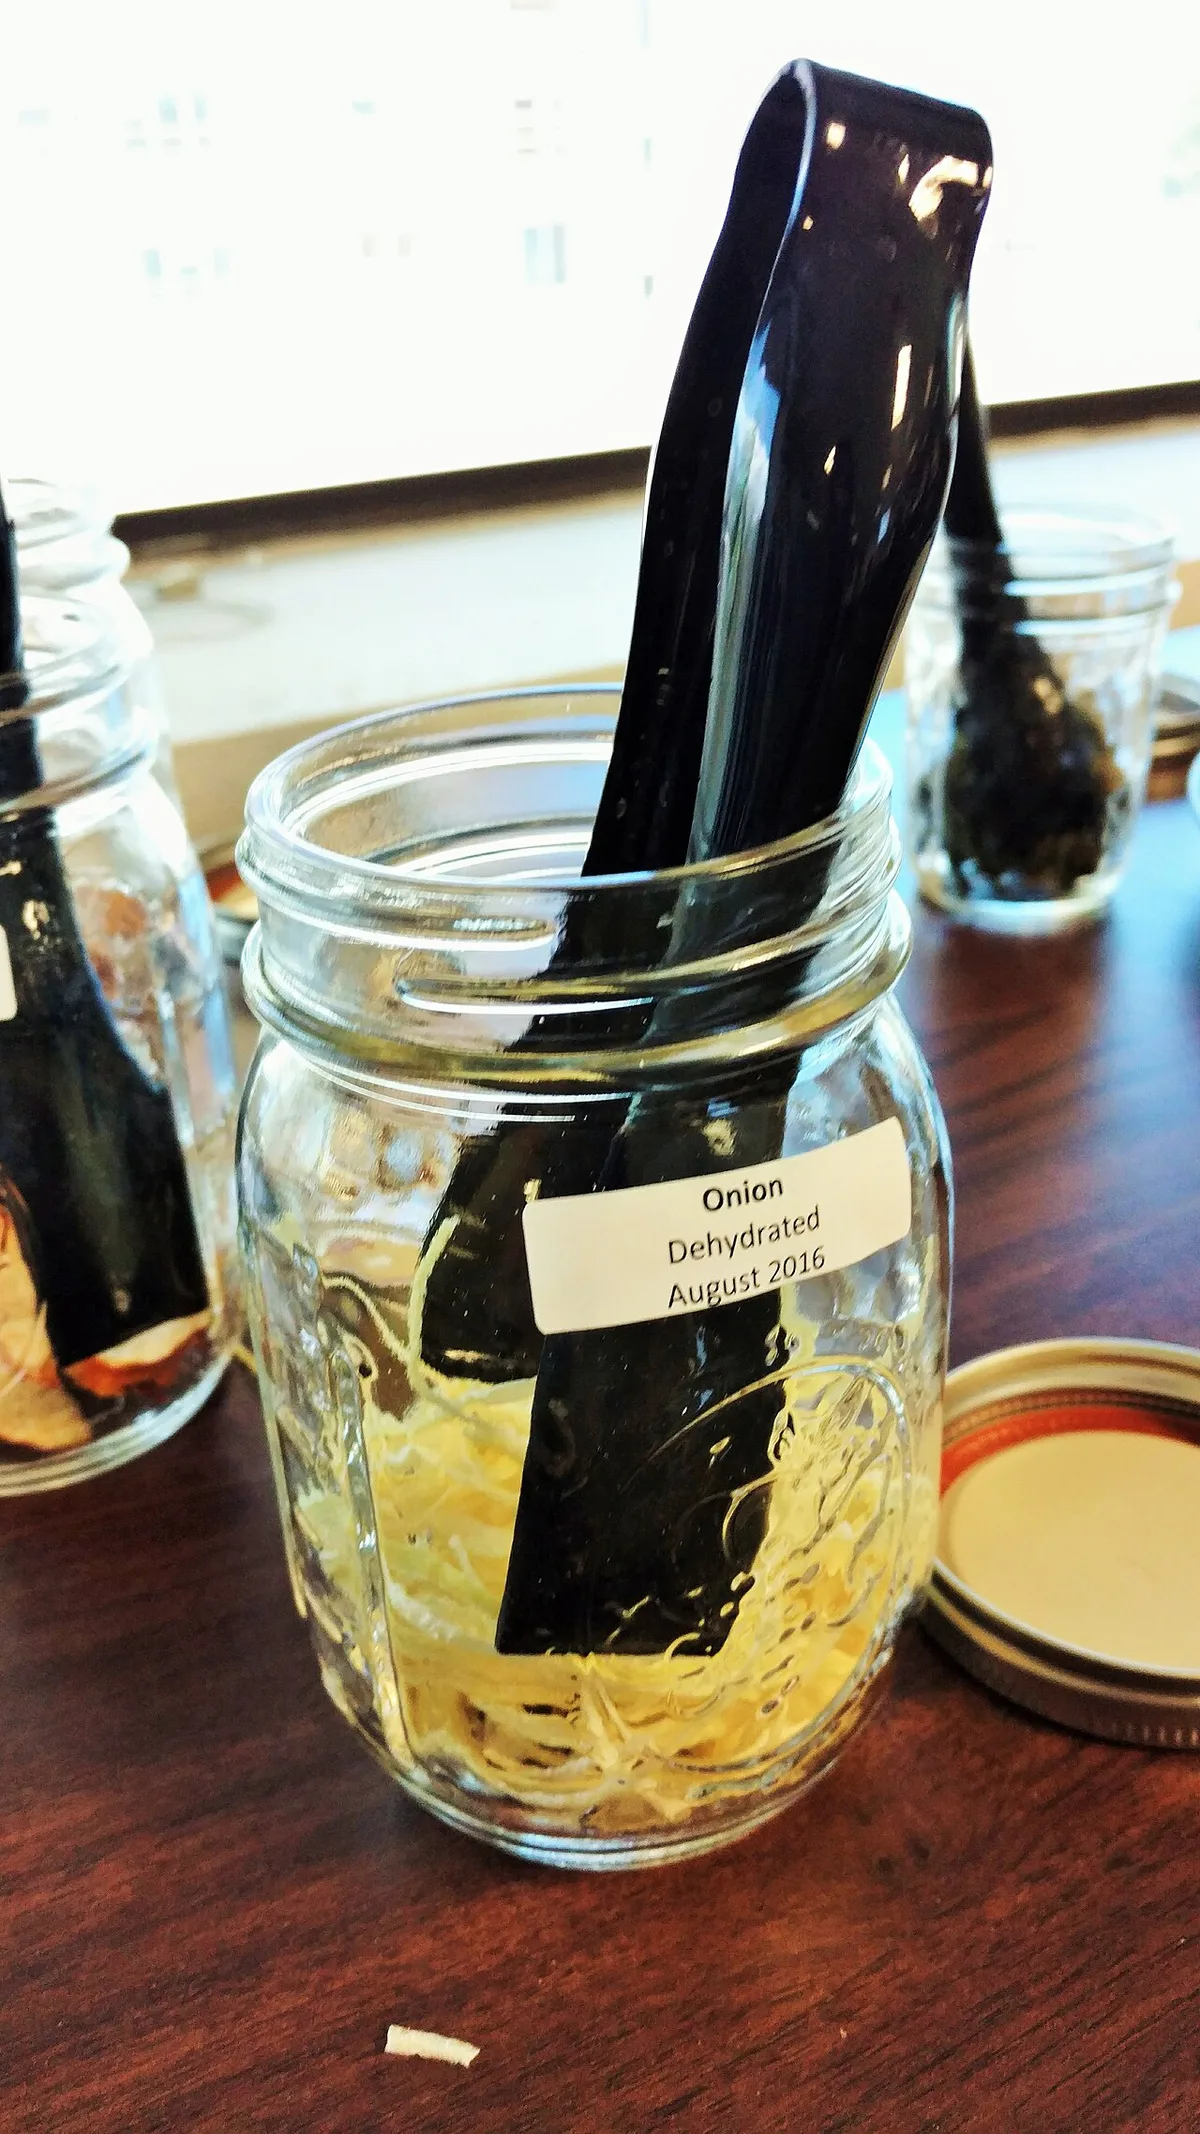
Image source: Wikimedia Commons / U.S. Department of Agriculture
Can You Freeze-Dry Garlic at Home? The Short Answer
Yes, you can freeze dry garlic at home. It works beautifully in a home freeze dryer. A dry-ice method also works, with more effort.
The finished garlic stores for years when sealed properly. All you need is good prep and patience.
Garlic is naturally low in acid and full of moisture, which makes it a strong candidate for lyophilization. Lyophilization is just the technical term for freeze-drying. The process keeps garlic’s volatile oils intact, so the flavor stays punchy instead of fading.
That’s why freeze-dried garlic tastes closer to fresh than store-bought dehydrated garlic does.
Freeze Dryer vs. Dry-Ice Method vs. Dehydrator: Which Route Fits You?
Your best route depends on what you already own and how much garlic you’re preserving. If you have a home freeze dryer, use it. If you’re starting from zero and want the simplest results, save up for one.
If you only have a dehydrator, you can still preserve garlic, but the flavor and shelf life won’t match freeze-dried results.
| Method | Cost to Start | Cycle Time | Flavor Retention | Best For |
|---|---|---|---|---|
| Home freeze dryer | $2,000–$4,000+ | 20–40 hours | Excellent | Big harvests, long-term pantry |
| Dry-ice method | $15–$40 per batch | 2–5 days in freezer | Good | Budget DIY, occasional batches |
| Food dehydrator | $50–$300 | 8–12 hours at 125°F | Good but weaker | Quick use, short-term storage |
Choose a home freeze dryer if you want reliable results and a 10-plus-year shelf life. Choose the dry-ice method if you have a chest freezer and want to test the process without a big investment. Choose a dehydrator if you only need garlic for a few months.
Aggregate user feedback shows that consistency matters more than speed here. For a closer look, our guide on how freeze-dried and dehydrated foods stack up covers the texture, taste, and cost differences.
How to Freeze-Dry Garlic Step by Step
The process is straightforward, but the prep matters more than the machine. Here’s the workflow we recommend after checking manufacturer guides and aggregate user feedback.
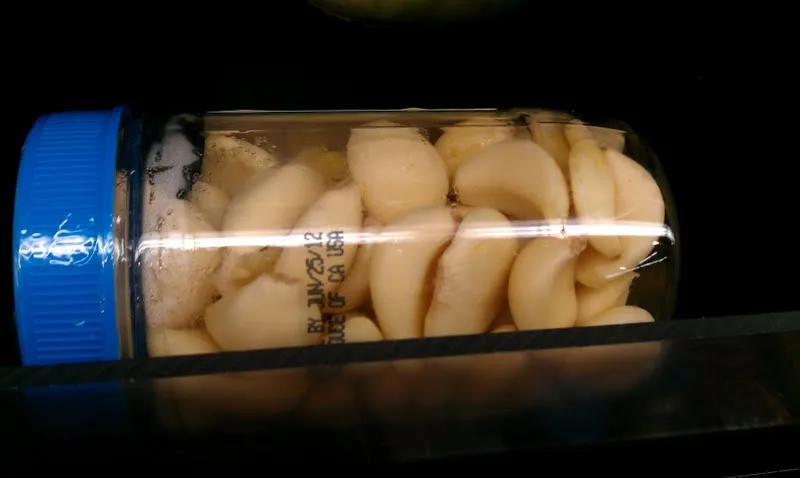
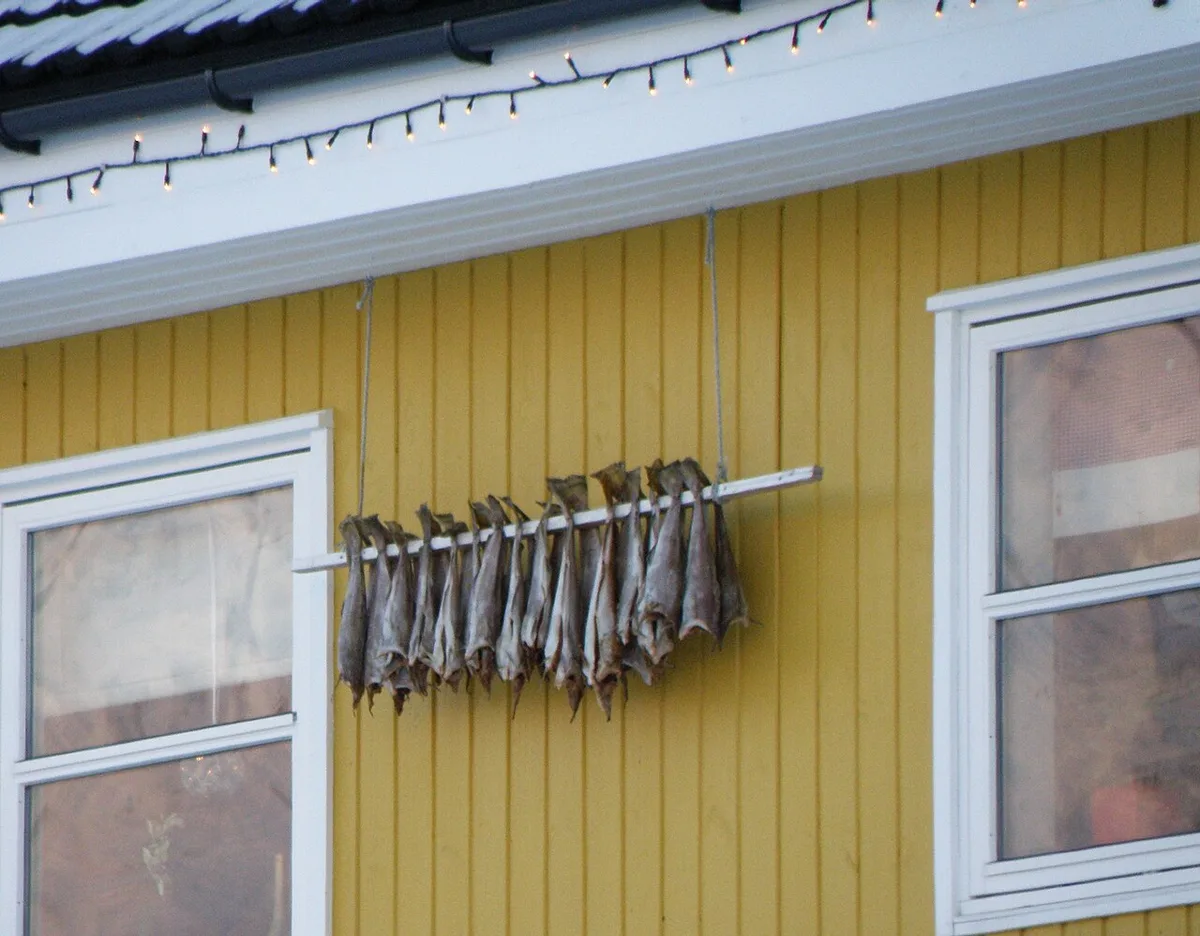
Image source: Wikimedia Commons / Home Cooking Secrets (CC BY-SA)
Using a Home Freeze Dryer
- Peel the garlic cloves. A quick soak in warm water for 10 minutes makes the skins slip off easier.
- Slice evenly. Uniform 1/4-inch slices dry at the same speed. Minced garlic also works, but keep the pieces similar in size.
- Arrange in a single layer on the trays. Don’t overlap. Crowding leads to slow or uneven drying.
- Pre-freeze if your machine needs it. Most home units manage pre-freeze automatically.
- Run the standard freeze-dry cycle. Plan for 20 to 40 hours, depending on thickness and starting moisture.
- Test the garlic before removing it. Break a piece. There should be no visible ice crystals and no cold or spongy center.
If you want the complete walkthrough from setup to unloading, our at-home freeze-drying workflow covers the equipment and timing in more depth.
Using the Dry-Ice Method
This is a lower-cost DIY route, but it’s slower and less consistent. It’s best for small test batches.
- Line a cooler with cardboard or a towel.
- Place dry ice at the bottom. Always wear insulated gloves. Dry ice sits around -109°F (-78°C).
- Put garlic slices on a wire rack above the dry ice, not directly on it.
- Cover the cooler loosely, leaving a small gap for moisture to escape.
- Place the whole cooler in a chest freezer for 2 to 5 days.
- Check daily. The garlic should become light, brittle, and fully dry.
Work in a ventilated space. Dry ice releases carbon dioxide as it sublimes, and you don’t want that building up in a sealed room.
How to Tell If Your Garlic Is Completely Dry
Freeze-dried garlic only lasts if it’s actually dry. Even a small amount of residual moisture can cause mold or enzymatic spoilage inside the jar. This is the step most beginners rush, and it’s usually the one that ruins a batch.
Per USDA food preservation guidance, low moisture is the key to shelf-stable food.
Testing for Residual Moisture
- Break a flake in half. It should snap cleanly, like a cracker, with no soft bend.
- Press it between your fingers. Fully dried garlic crumbles into powder.
- Weigh it before and after. A large weight drop is a good sign, but not proof.
- Look for frost or condensation on the lid after 24 hours. If you see any, the garlic wasn’t dry enough.
What to Do If It’s Still Wet
Don’t seal it. Put the garlic back on the trays and run another 2 to 4 hours on the same cycle. If you’re using a dehydrator, continue at 125°F and check every hour.
If you already stored it and see moisture, take everything out immediately, dry the garlic again, and replace your oxygen absorbers. For more on sealing, check our notes on protecting dried goods from moisture and air exposure.
7 Mistakes That Ruin Freeze-Dried Garlic (and How to Avoid Them)
The process itself is simple, but small errors show up months later when you open a jar. Here are the most common problems we found in user reviews and manufacturer troubleshooting guides.
- Skipping the soak step. Dry garlic skins hold moisture and make peeling a nightmare.
- Cutting uneven pieces. Thick chunks dry slower and can trap a frozen center.
- Crowding the trays. Overlapping garlic blocks airflow and causes clumping.
- Checking too early. Opening the chamber breaks the vacuum and adds time to the cycle.
- Storing before testing. This is the number one killer of freeze-dried garlic.
- Skipping oxygen absorbers. Even tiny amounts of oxygen cause flavor loss and browning.
- Forgetting the smell. Garlic odor can linger in the machine. Run a tray of water after each batch, and don’t ignore it.
Avoid these and your garlic should stay crisp and flavorful for years. If you notice odd machine behavior during a run, like a stuck timer, our troubleshooting guide for a slow-running timer may save the batch. And if you’re curious what else handles this process well, various pantry staples follow the same basic workflow.
Storing Freeze-Dried Garlic: Shelf Life, Containers, and Oxygen Absorbers
Freeze-dried garlic only stays good if you store it right. Moisture is the enemy, and oxygen comes second. Per USDA food preservation guidance, low-moisture foods stored in airtight containers can keep for years.
Your job is to keep both water and air out.
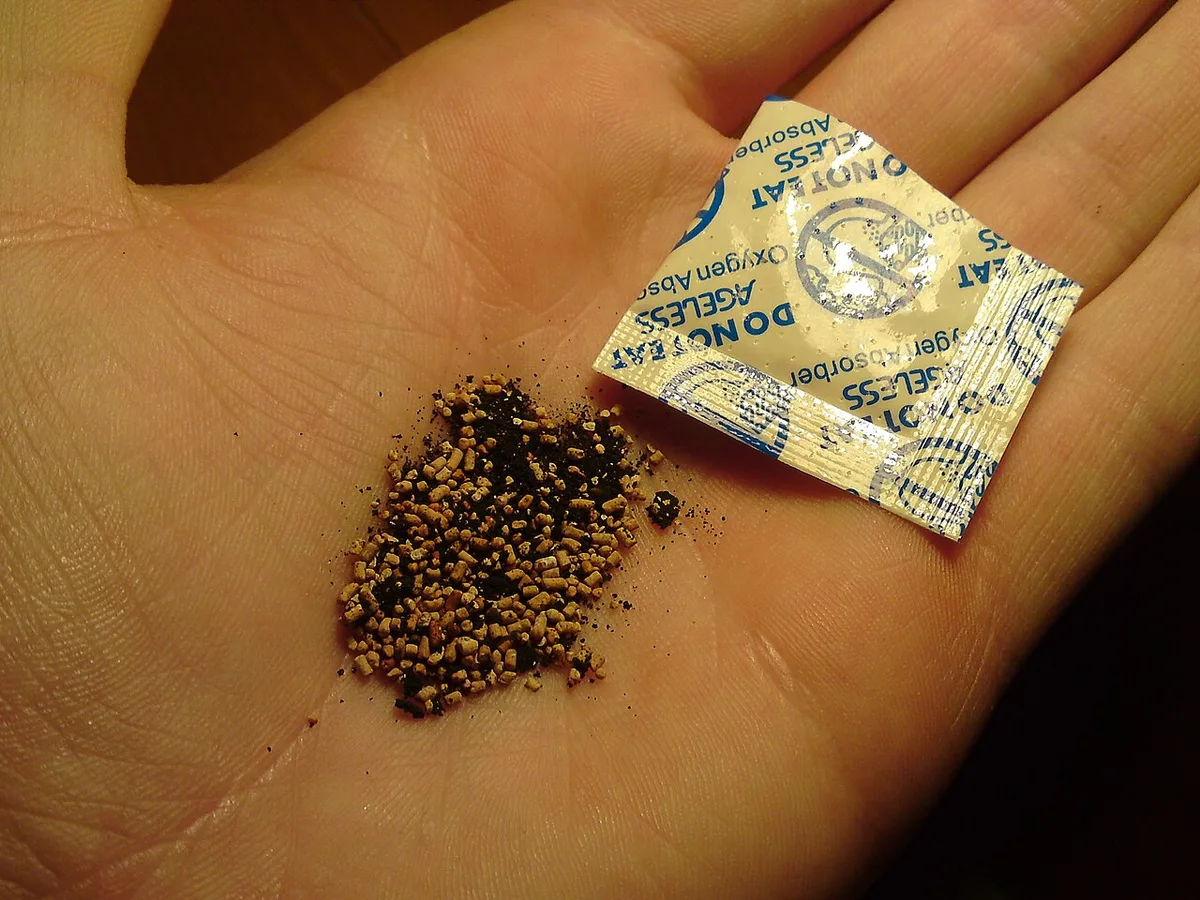
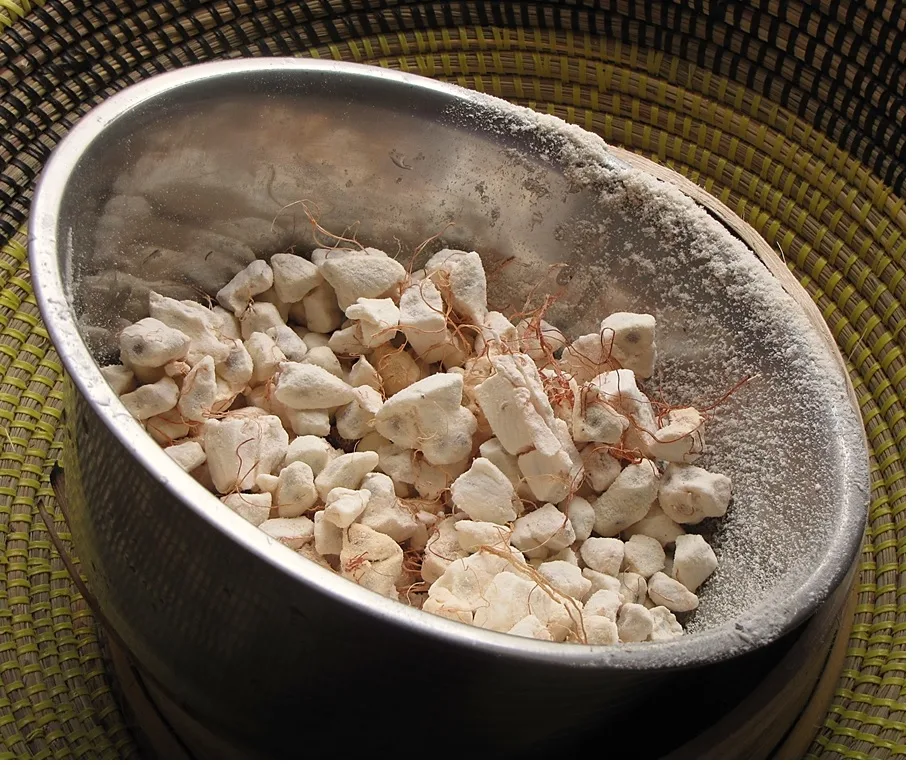
Image source: Wikimedia Commons / Dom0803 (talk)
Glass canning jars work well for short-term use. Mylar bags with oxygen absorbers are the best choice for long-term pantry storage. Add one 100cc oxygen absorber per quart jar or bag.
Seal everything in a cool, dry, dark place.
Properly stored freeze-dried garlic has a shelf life of 10 to 25 years. That’s a massive advantage over dehydrated garlic, which typically lasts 1 to 2 years. Label every container with the date and batch.
If you plan to build a deep pantry, a dedicated long-term storage setup is worth checking out.
Final Verdict: Is Freeze-Drying Garlic Worth It for You?
If you grow garlic or buy it in bulk, yes, freeze-drying is absolutely worth it. The flavor stays fresh, the shelf life stretches decades, and the powder beats anything at the store. For gardeners and preppers, this is a game changer.
If you only use a few bulbs a month, skip it. Fresh garlic is cheap and easy. A dehydrator will do the job for short-term flakes.
Wait until you have a real surplus before investing the time and electricity.
One more consideration: freeze dryers are noisy and run for days. You also lose some raw garlic heat. Cooked or roasted garlic works too, and gifted jars of garlic powder make great thank-you presents.
For most people, it comes down to volume. Big harvests, big payoff. Small batches, not so much.
Frequently Asked Questions
How long does freeze-dried garlic last?
Sealed properly with oxygen absorbers in a cool, dark space, freeze-dried garlic lasts 10 to 25 years. The flavor fades slowly, but the texture stays brittle. Always check for moisture before sealing.
Opening the container often shortens shelf life to about a year.
Does freeze-dried garlic taste like fresh garlic?
Yes, it's the closest thing to fresh garlic you can store. Freeze-drying locks in the volatile oils that give garlic its punch. Dehydrated garlic loses some of that sharpness.
Rehydrate flakes in warm water or add powder directly to soups and stews.
Can you grind freeze-dried garlic into powder?
Yes. Place fully dried flakes in a blender or spice grinder. Run it in short pulses.
The powder is fine and incredibly potent. Use about one-third the amount you would use with fresh garlic. Store the powder in an airtight jar with a desiccant packet.
Can you freeze dry roasted garlic?
Yes, roasted garlic freezes-dries beautifully. The flavor becomes sweeter and milder. Spread roasted cloves on trays and run the normal cycle.
The result is a light, crispy, caramelized snack. Add it to spreads, dips, and roasted vegetable dishes.
Does garlic ruin your freeze dryer?
No, but it does leave a strong odor. Run a tray of plain water through a cycle afterward to clean the chamber. Wipe down the trays with vinegar.
The smell fades with time. It won't transfer to other foods once the machine is clean.

Similar Posts