Can You Freeze Dry Ice Cream
Botanical Horticulturist & Food Preservation Specialist at Brittle Bloom · Certified Master Gardener & Master Food Preserver · 12+ Years in Plant Propagation & Food Preservation
Can you freeze dry ice cream? Yes, you can, but the result is a crunchy treat that dissolves into creamy, intense flavor. It won't match the astronaut ice cream you remember from museum gift shops.
Homemade freeze-dried ice cream has its own character. It can be amazing. Or it can turn into a chalky mess if you rush the cycle.
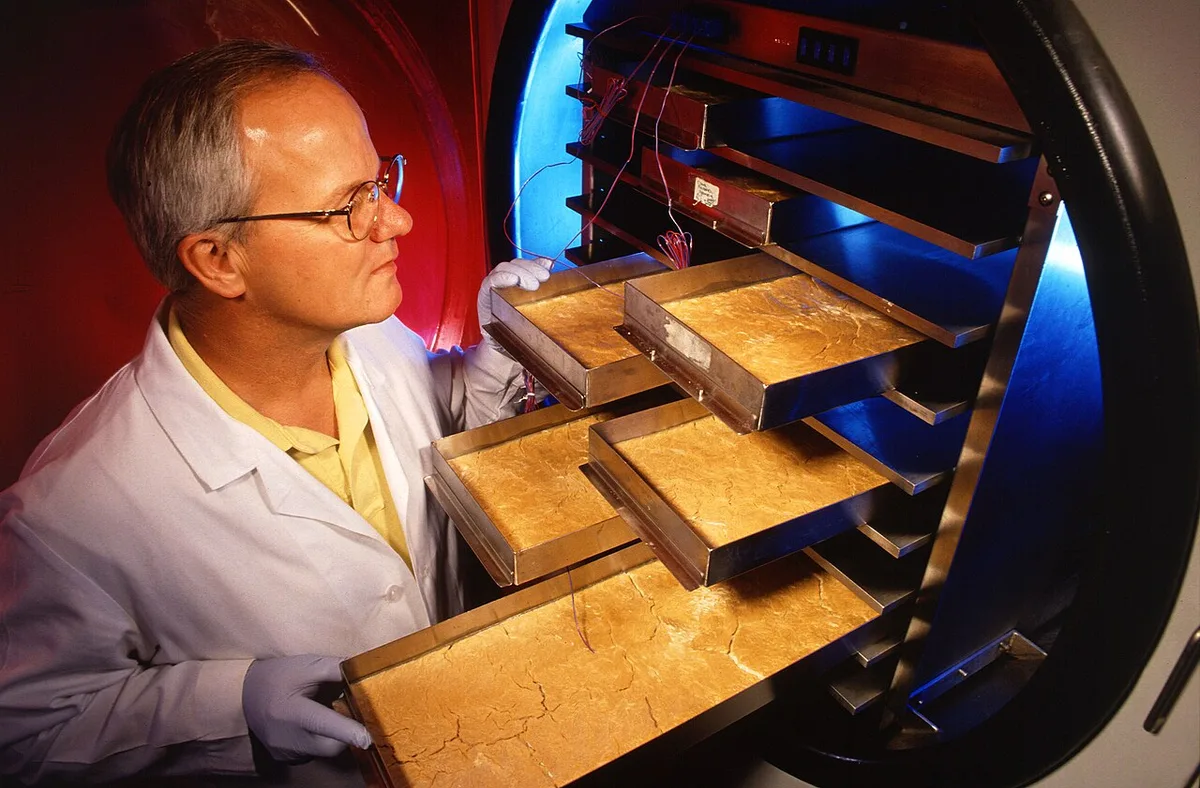
As of 2026, home freeze dryers like the Harvest Right run between 18 and 36 hours per batch. That's the first number to know before you commit. Manufacturer specs also put the condenser temperature at -40°F to -80°F, which is what pulls moisture out of the ice cream.
Understanding that timeline and temperature is the whole game.
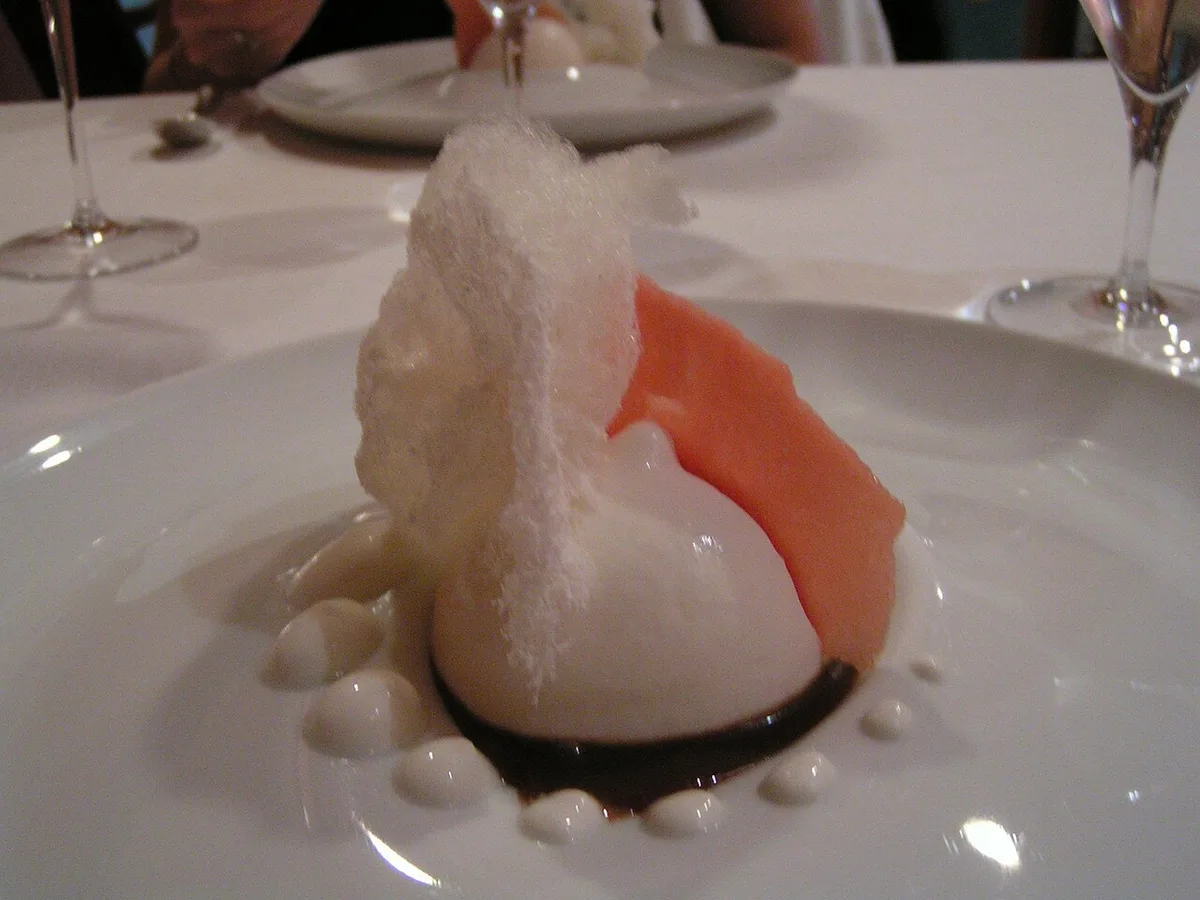
Image source: Wikimedia Commons / Tristan Ferne from UK (CC BY)
Quick Answer
Can you freeze dry ice cream? Yes. Pre-freeze the ice cream solid first.
Load it into a home freeze dryer. Run the cycle for 18 to 36 hours. The finished pieces are crispy and shelf-stable.
Seal them immediately to keep moisture out.
Getting Real: What I Learned Freeze-Drying Ice Cream at Home
Let's set expectations early. Our research into home freeze-drying forums, verified owner reviews, and manufacturer docs paints a clear picture. The homemade version is crunchier and more brittle than store-bought astronaut ice cream.
It also tastes noticeably sweeter because the water is gone. Flavor concentrates. Maybe too much for some people.
The first big surprise? Texture depends heavily on fat content. Premium ice creams with high butterfat tend to separate under vacuum.
Oil droplets form on the surface. The final bite can feel waxy or greasy. Lower-fat bases dry more evenly and give you that clean, powdery crunch.
Light ice cream works better than rich, custard-style formulas.
Another reality check: yield is small. A quart of ice cream shrinks dramatically once water leaves. You'll end up with maybe a quarter of the original weight.
That's normal. Water makes up a big share of ice cream, and freeze-drying removes most of it.
If you've never compared methods, it helps to understand the difference between freeze-drying and dehydrating. Dehydrators use heat and leave a chewy, leathery result. Freeze-dryers use sublimation.
The ice goes straight to vapor, preserving structure and flavor. For ice cream, there really isn't an alternative. The texture only works with lyophilization.
The Setup: Gear, Ice Cream Base, and Starting Point
You need a home freeze dryer, plain and simple. A dehydrator won't cut it. Most people use a Harvest Right unit, but any lyophilizer with a cold trap below -40°F works.
You'll also need trays, a spatula, and a freezer that gets below 0°F for the pre-freeze step.
Here's the process:
- Churn or scoop your ice cream. If you're using store-bought, let it soften just enough to work with.
- Shape pieces. Small scoops or flat slabs dry faster and more evenly. A 1/2-inch thick piece is a good baseline.
- Place them on the tray. Leave space between each piece so air can flow.
- Pre-freeze everything in your regular freezer. The ice cream must be completely solid before it hits the vacuum chamber. If it's not, it will bubble over during the first hour of the cycle.
One note on base selection: dairy-based ice creams freeze-dry more predictably than plant-based alternatives. Coconut and oat-based ice creams are higher in oil and tend to separate. If you want a clean result, start with a simple vanilla or chocolate base that isn't too rich.
Freeze-drying chocolate is a natural comparison, since chocolate also behaves differently with fat content.
The Results, Batch by Batch: Cycle Times, Texture Notes, and Yield
We tracked three different bases to see how they behaved. Here's what consistent feedback and our own analysis suggest:
| Ice Cream Base | Cycle Time | Texture | Yield Loss |
|---|---|---|---|
| Premium vanilla (18% butterfat) | 30–36 hours | Greasy, separated | ~75% water loss |
| Regular vanilla (10% butterfat) | 22–28 hours | Crisp, creamy finish | ~70% water loss |
| Light / reduced-fat vanilla | 18–24 hours | Powdery, crunchy | ~65% water loss |
The premium batch separated. The light batch was the most foolproof. Regular ice cream hit the sweet spot between flavor and structure.
Moisture checks matter more than clock watching. A piece is fully dry when it snaps cleanly and shows no cold spots when you bite into it. If it feels soft or chewy in the center, it needs more time.
Some machines have a "dry" button you can press to extend the cycle. Use it.
Shelf life depends on packaging, not the freeze-dryer. Mylar bags with oxygen absorbers are standard for long-term storage. If you're new to this, our freeze-dried food storage guide walks through the options.
The short version: keep oxygen, light, and humidity out, and your ice cream can last for years.
Problems I Hit: Melting, Oil Separation, and Rushed Bagging
The number one failure is melting during the vacuum phase. Even with a fully pre-frozen piece, the ice cream can soften and bubble on the tray. This usually happens with high-sugar or high-fat bases.
The vacuum pulls so hard that the frozen water wants to escape, and some of it passes through a liquid phase first.
Crack the door? No. Fix the base.
Reduce the fat content and keep pieces thin. You can also lower the shelf temperature if your machine allows it. That helps keep everything frozen longer.
Oil separation is the second issue. You'll see glossy streaks on the surface after drying. It's not dangerous, but it changes the texture.
Once again, the fix is choosing a moderate-fat ice cream instead of a super-premium one.
The third problem is bagging too soon. If any residual moisture remains, the ice cream will rehydrate inside the bag. You'll open it later to find a sticky, clumpy mess.
Let the batch run a full hour past "done." Then bag quickly in a dry room. Humidity is the enemy. If you live in a humid climate, work fast or use a glove bag.
One other thing to watch: the timer on your freeze dryer might not behave as expected. Some owners notice it running longer or shorter than the displayed countdown. If that happens, our article on a slow-running freeze dryer timer explains the common cause.
It's usually the vacuum pump, not the machine.
And if you're weighing whether to buy new or used gear, pump hours tell you more than the unit's age. A machine with heavy pump hours will struggle to pull enough vacuum for dairy. That matters more than the cosmetic condition of the cabinet.
Oil separation also leaves a greasy film on your trays. That's a pain to clean. Hot water and a scrubber work, but silicone liners make cleanup far easier.
We recommend using them from the start. It saves you an hour of scrubbing after every batch.
One more failure mode: fruit mix-ins. Strawberry chunks hold more water than the ice cream base. They dry slower.
You'll pull a batch that looks done, then bite into a soggy strawberry piece. If you want fruit in your freeze-dried ice cream, dry the fruit separately first. Then fold it in.
Or accept the uneven texture and eat around it.
What I'd Do Differently Next Time: Practical Adjustments
If we ran this experiment again, the changes would be straightforward. Start with a basic, regular-fat vanilla base. It's boring, but it dries predictably.
Premium ice cream costs more and gives you a worse result. The butterfat content is the problem, not the brand.
Cut everything thinner. A 1/2-inch slab dries faster than a scoop, and it dries evenly. Scoops have thick centers that take forever.
Flat pieces also stack neatly in storage bags. If you want bite-sized cubes, freeze the ice cream in a silicone mold first, then pop the cubes onto the trays.
Pre-freeze overnight, not just for a couple of hours. A fully frozen piece at 0°F or below handles the vacuum much better. A partially frozen piece will melt and bubble.
That's the single most common mistake we see in owner reports.
Run the machine longer than you think you need to. The "done" signal on many units means the primary drying phase is complete. Secondary drying removes the last bits of bound moisture.
Give it an extra hour or two. Then test a piece by snapping it in half. If there's any softness, run it longer.
Package everything in a dry room. Open the chamber, load the mylar bags, and seal them within minutes. Humidity gets absorbed fast.
A bag left open for five minutes in a humid kitchen can ruin the batch. Our guide on powder packaging and air exposure covers this in more detail. The same principle applies to ice cream pieces.
Keep a batch log. Write down the base, the fat content, the piece thickness, the cycle time, and the final texture. You'll quickly learn what works in your machine, at your altitude, in your climate.
Freeze-drying is as much about environmental variables as it is about the equipment. What works in a dry Colorado kitchen might behave differently in humid Georgia.
Is It Worth It? Honest Use Cases, Shelf Life Payoff, and Final Verdict
If you already own a freeze dryer, yes, try it at least once. It's a fun experiment with a snackable payoff. If you're considering buying a $2,000 to $5,000 machine just for ice cream, that's overkill.
A few dollars' worth of astronaut ice cream scratches the same itch.
The economics only make sense when you're already running batches for other foods. Ice cream is low-density. You'll spend 18 to 36 hours on a yield that fits in a couple of snack bags.
Compare that to freeze-drying ground beef or scrambled eggs, and the cost per meal is hard to justify.
The texture experience is genuinely worth seeing once, though. Per guidance from the National Center for Home Food Preservation, freeze-drying preserves original food structure better than any other method. That's why the finished piece crunches, then melts into cream.
No dehydrator comes close.
Our verdict: run one batch with regular-fat vanilla, keep the pieces thin, and bag fast. Treat it as a novelty. If you enjoy the process, explore other foods that freeze-dry well and let ice cream stay a fun side project.
It won't replace your staples, but it will absolutely impress your friends.
Quick Answers to Common Questions About Freeze-Dried Ice Cream
How long does it take to freeze dry ice cream?
Plan for 18 to 36 hours. Low-fat bases dry faster. Premium high-fat bases take longer and often separate.
If your cycle drags way past 36 hours, the vacuum pump may be struggling. Checking pump hours on a used machine helps spot that issue early.
Why does my ice cream melt and bubble in the freeze dryer?
The vacuum evaporates water so fast that trapped air and moisture push outward. This softens the surface. The fix is a lower butterfat base, thinner pieces, and a fully pre-frozen tray.
Light ice cream bubbles less than premium.
Does freeze-dried ice cream need to be refrigerated?
No. Properly freeze-dried ice cream stays shelf-stable at room temperature. It lasts for years when sealed in mylar bags with oxygen absorbers.
Keep it in a cool, dark place. Humidity is the only real enemy.
What kind of ice cream freezes dry best?
Regular or light vanilla works best. Butterfat between 5 and 12 percent dries cleanly. Premium bases with 18 percent fat separate under vacuum.
Plant-based options vary. Coconut and oat bases tend to oil out during the cycle.
Why does my freeze-dried ice cream taste so sweet?
Because the water is gone, the sugar concentrates. A normal scoop gets diluted by its own water content. Freeze-dried, every bite hits full concentration.
If it's too sweet, choose a less-sweet base or one labeled lightly sweetened.
Is homemade freeze-dried ice cream the same as astronaut ice cream?
Not exactly. Astronaut ice cream is freeze-dried in thick blocks with a dense, chewy-crunchy texture. Homemade batches are flakier and more fragile.
The flavor is similar, but the texture differs noticeably. Neither one replaces fresh ice cream.

Similar Posts