Maximize Savings with Budget-Friendly Supply Kits
Botanical Horticulturist & Food Preservation Specialist at Brittle Bloom · Certified Master Gardener & Master Food Preserver · 12+ Years in Plant Propagation & Food Preservation
Emergencies don't wait for payday. Budget friendly supply kits can give you a solid three-day safety net without wiping out your checking account. The trick is knowing what to buy, what to skip, and what you can assemble yourself.
FEMA and Ready.gov recommend storing at least one gallon of water per person per day and a 72-hour supply of food, medication, and basic gear. As of 2026, that guidance still holds. So you don't need a $300 pre-packed survival bin.
You just need the right supplies, the right quantities, and a smart way to keep costs down. Let's look at how to do that.
Quick Answer
Budget friendly supply kits cost $30 to $60 per person. They cover water, food, first aid, and basic tools for 72 hours. You can buy pre-made or build your own.
DIY kits are cheaper and more customizable. Choose based on your household, space, and budget.
Why "Budget Friendly" Supply Kits Are Easier Said Than Done
Here's the uncomfortable truth. Plenty of inexpensive pre-made kits look great on paper, but open one up and you'll find a flimsy multi-tool that bends on first use, a flashlight with no batteries, and a first aid kit the size of your palm.
We've seen this pattern over and over. Aggregate reviews report the same complaints: over-packaged, under-supplied, and filled with items you'd donate to a garage sale. A $35 kit might claim 150 pieces, but most of those are single-use bandages and foil packets that don't measure up to real gear.
That's not to say every budget kit is junk. It just means you have to read the packing list instead of the marketing. The phrase "budget friendly" should mean good value, not just a low price tag.
When supplies expire, leak, or fall apart, you'll replace them within months. That kills the savings. It's the same reason proper sealing matters for stored food.
A poorly sealed container ruins everything inside, and you won't notice until you need it most.
The Case for Pre-Made Kits: Convenience vs. Filler
Pre-made kits shine when you want everything in one box. No shopping, no comparing brands, no math. You unzip the bag and you're prepared.
That's a real benefit for busy households, first-time preppers, or anyone who just needs something to toss in the trunk.
The trade-off is quality control. Manufacturer specifications for budget kits often list "emergency items" without naming brands. You'll get generic alcohol swabs, a cheap whistle, and a plastic poncho so thin it snags on a zipper.
There are exceptions. The American Red Cross sells kits that are more trustworthy. They cover the basics without inflating piece counts.
But they cost more and still lean on convenience.
The biggest complaint we hear from verified buyer feedback is filler. A 100-piece kit might have 30 bandages, 10 alcohol pads, and a 2-ounce bottle of water. For a family of four, that's laughable.
You'd burn through it in the first hour of a real emergency.
The Case for DIY Kits: Control, Cost, and Customization
Building your own kit is the best way to stretch a tight budget. You control every item, so no money goes to unnecessary gadgets or logo-heavy bags. You also know exactly where each thing came from and when it expires.
Start with a plastic tote or backpack. From there, add one category at a time: water, shelf-stable food, first aid, tools, hygiene. You don't need to buy everything in one trip.
A $20 Walmart run every two weeks can build a solid kit within a month.
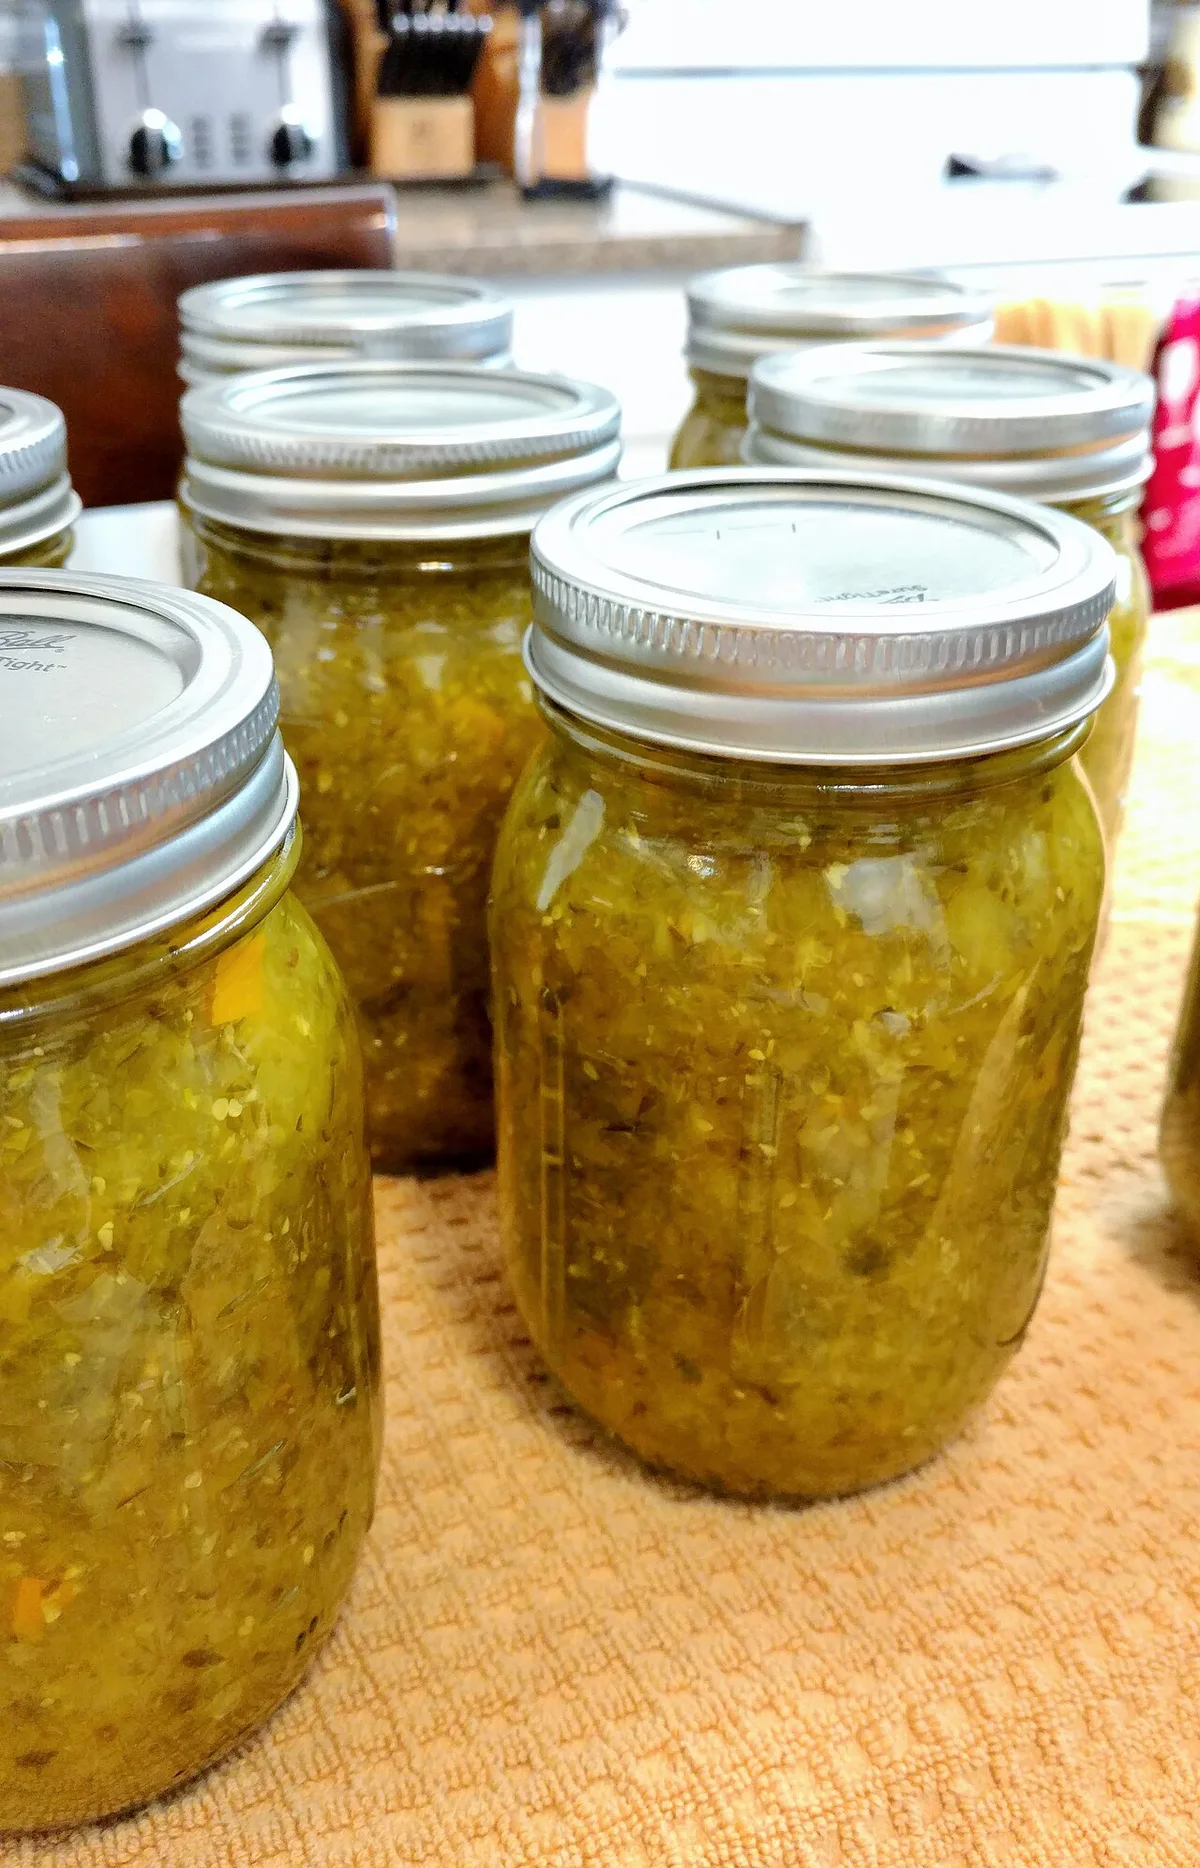
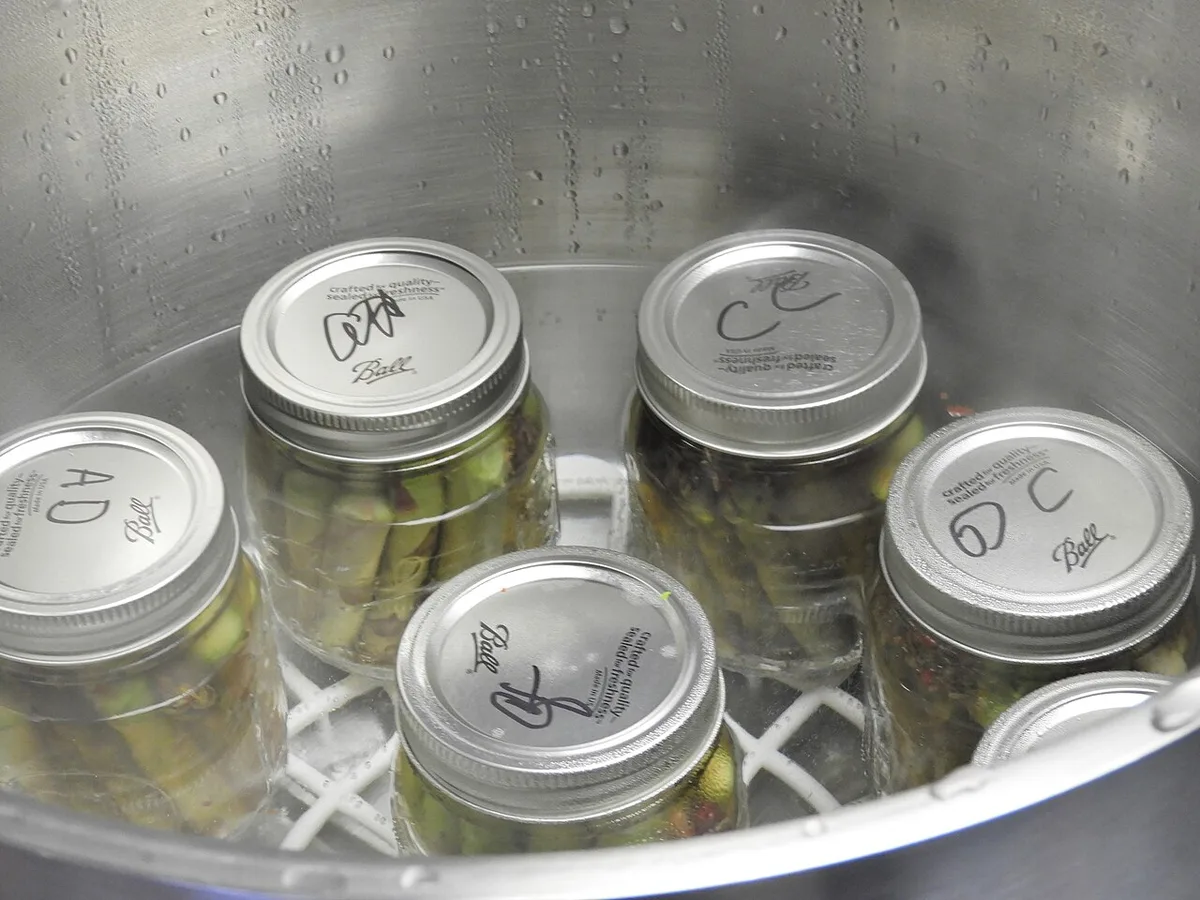
Home-preserved food is a smart way to cut costs even further. If you already water bath can vegetables from your garden, those jars double as emergency supplies. Just remember to check seals and rotate them out regularly.
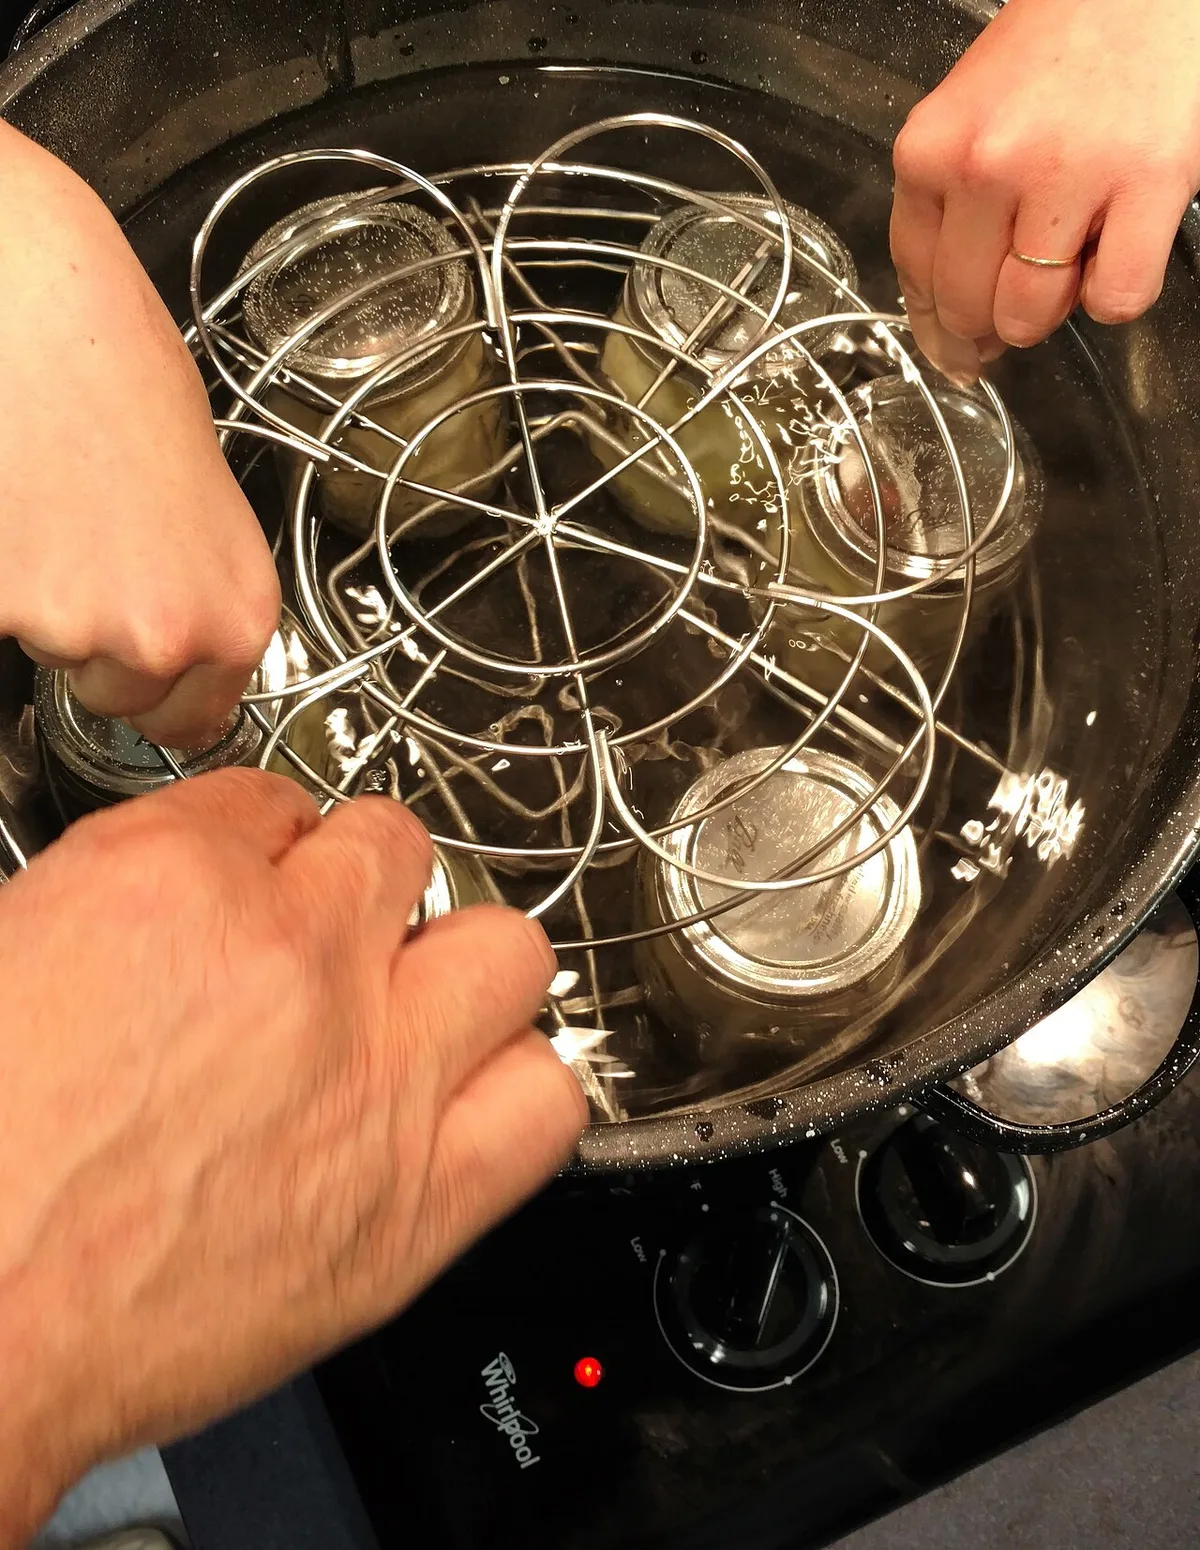
And when you're putting up that food, proper jar sterilization steps are non-negotiable. A contaminated jar ruins your work and can make someone sick.
DIY kits have downsides too. You need time, patience, and the discipline to keep track of expiration dates. But the savings are real.
In our research, a DIY family kit costs roughly 20 to 40 percent less than a similar pre-made kit.
Head-to-Head: Cost, Quality, and Real-World Usefulness
Let's put them side by side. We compared typical budget pre-made kits to DIY kits using the same supply checklist. The numbers reflect 2026 pricing for a 72-hour, one-person kit.
| Metric | Pre-Made Kit | DIY Kit |
|---|---|---|
| Cost per person | $40 to $80 | $25 to $50 |
| Quality control | Mixed, lot-dependent | Full control |
| Customization | Limited to fixed contents | Totally flexible |
| Expiration management | Harder to spot-check | Easy to rotate |
| Setup time | Instant | 1 to 3 hours |
The cost gap is real but not huge. For a four-person family, the difference can be $100 or more. That extra money could pay for a better flashlight, a proper first aid kit, or extra water storage.
Quality is where DIY pulls ahead. You can buy a name-brand flashlight from a hardware store and know it works. Pre-made kits sometimes include unbranded items that are hard to research before you buy.
Still, pre-made kits win on speed. If you have zero supplies and a limited weekend, grab one and add your own upgrades later. It doesn't have to be all or nothing.
Which Route Fits Your Life? Matching Kits to Real Scenarios
Not everyone needs the same kit. A college student in a dorm has different constraints than a family of five on a farm. Here's how we break it down.
If you live in a small apartment, a pre-made backpack kit is the most practical. It fits in a closet and can be grabbed in under a minute. Space is your main constraint, not cost.
If you're stocking for a family, build your own kit with bulk supplies. Buy a 5-gallon water jug, a larger tote, and rotate food through your pantry. You'll pay less per person and cover more days.
You can also add preserved foods from your own kitchen to save more.
If you commute, keep a compact pre-made kit in your car. It doesn't need cooking gear or extra water. Just first aid, a flashlight, a blanket, and some energy bars.
If you're in a rural area, emergency response can take days. That's when a DIY kit with pressure-canned meats and vegetables makes more sense. You need a longer supply window, not just a 72-hour bag.
The bottom line: buy pre-made for instant readiness, build your own for long-term value. Most households end up with a mix of both.
Budget Kit Mistakes That Cost You More Later
The biggest mistake? Buying a kit and never touching it again until disaster strikes. Food goes stale, water containers crack, and batteries corrode.
You end up with a bag of gear that fails exactly when you need it.
Forgetting to rotate supplies is the classic trap. A kit isn't a one-time purchase. It's a living system.
Check expiration dates every six months, swap out water yearly, and replace batteries at the same time. Ready.gov has a simple schedule worth following.
Second mistake: assuming a generic kit fits your family. A one-person kit won't cover four people. A kit without medication space won't help if you take daily prescriptions.
Read the full contents list before you spend a dollar.
Third mistake: ignoring storage conditions. A cardboard box in a damp garage invites mold, rust, and ruined food. Use a plastic tote or a sealed backpack.
The same logic applies to home-canned goods. A cracked lid breaks the seal, and checking for those warning signs is part of regular upkeep. If you're storing your own preserved food, understanding common sealing failures before an emergency is far better than discovering them during one.
Fourth mistake: never testing your gear. A flashlight dies at the worst moment. A radio has dead batteries.
Every six months, pull everything out and test anything that runs on power. That ten minutes of your time is worth more than any single supply in the bag.
My Verdict: What to Buy and What to Build
Here's the honest bottom line. Most households should do both. Keep a small pre-made kit in the car for immediate needs, and build a DIY kit for the home that covers at least 72 hours.
If you're starting from zero, buy a compact pre-made kit first. Get one with a real flashlight, a proper first aid kit, and food that won't expire within six months. Stash it in your trunk tonight.
You're covered tomorrow morning.
Then build your DIY kit over a few weeks. Do it in phases. Water one week, food the next, first aid upgrades after that.
Spreading the cost across several trips makes it painless and still lands you at a serious savings.
For longer-term supplies, think about food rotation. Home-canned vegetables and meats fit perfectly here, especially if you already have a pantry stocked. Just know the difference between water bath and pressure canning, because that distinction determines which foods are safe to store.
Our pressure canning decision guide walks through the key factors worth checking before you commit.
Spend any leftover budget on a water filter and an NOAA weather radio. Those two items outperform a hundred filler pieces you'll never use.
The verdict is simple. Pre-made for speed, DIY for value, and a mix of both for real preparedness.
Frequently Asked Questions
How much does a budget emergency kit cost per person?
A basic 72-hour kit runs $30 to $60 per person. That covers water, food, first aid, a flashlight, and basic tools. Building your own kit usually lands on the lower end of that range, often 20 to 40 percent cheaper than buying pre-made.
What should be in a budget friendly supply kit?
You need water, shelf-stable food, a first aid kit, a flashlight, batteries, a multi-tool, and personal hygiene items. Add copies of important documents, cash in small bills, and a phone charger. One gallon of water per person per day is the baseline.
Is it cheaper to build your own emergency kit?
Yes. DIY kits cost 20 to 40 percent less than pre-made kits with similar contents. You also get better quality control and full customization.
The trade-off is time. It takes a few hours of planning and shopping to assemble your own kit.
How often should you replace emergency kit supplies?
Replace water every six to twelve months. Swap out food according to its expiration dates. Replace batteries annually, and rotate medications before they expire.
Set a reminder twice a year, like when you change your clocks, and make it a habit.
Can I use canned food from my pantry in an emergency kit?
Yes, absolutely. Canned food works well as long as you check expiration dates and rotate it regularly. Just remember to mark the cans with the date you stored them.
Home-canned items need extra attention. Always verify the seals before adding them to your kit.

Similar Posts