Must-Have Gear for Home Drying and Fermentation
Botanical Horticulturist & Food Preservation Specialist at Brittle Bloom · Certified Master Gardener & Master Food Preserver · 12+ Years in Plant Propagation & Food Preservation
Preserving food at home can feel like a maze of trays, crocks, airlocks, and thermometers, and a lot of people don't know where to start. Drying and fermentation gear is the foundation of that setup, and choosing the right pieces makes the difference between a pantry full of usable food and a garbage bag of moldy experiments. The good news?
You don't need a huge budget or a dedicated food lab to get consistent results. What you need is a handle on how the gear works, what it's designed to do, and where your money is better spent.
The National Center for Home Food Preservation recommends keeping vegetable ferments between 65 and 75 degrees Fahrenheit. Anything cooler stalls the process, and anything warmer risks mushy texture and spoilage. Meanwhile, the USDA Food Safety and Inspection Service states that raw meat for jerky should reach 160 degrees Fahrenheit before drying.
Those two numbers shape the entire market, and as of 2026, most home equipment is built around hitting them reliably.
Why the Right Gear Actually Matters
In our research, the biggest divide between successful home preservers and frustrated ones isn't skill. It's matching the gear to the job. A cheap stackable dehydrator can dry herbs beautifully, but it struggles with thick-cut jerky or fruit leather.
A 2-gallon ceramic crock makes excellent sauerkraut, yet it's overkill for someone who just wants a quart of kimchi every few weeks.
Gear also protects you from food-safety pitfalls. Badly ventilated dehydrators trap moisture, which invites mold during storage. Fermentation containers without proper weights let vegetables float above the brine line, and that's where mold and kahm yeast take hold.
The USDA FSIS notes that drying and fermenting at incorrect temperatures can allow pathogen growth. So gear decisions are safety decisions, not just convenience choices.
The goal here is to build a setup that matches how you actually cook. If you're already into canning, think of drying and fermentation as complementary routes. Both extend shelf life, but they need different conditions.
Tomato and pickle recipes often use a mix of methods, which is a good reminder that one size rarely fits all. In the sections ahead, we'll break down the main categories, the tradeoffs, and the specific situations where each option earns its keep.
Food Dehydrators: Shelf vs Stackable vs Budget Options
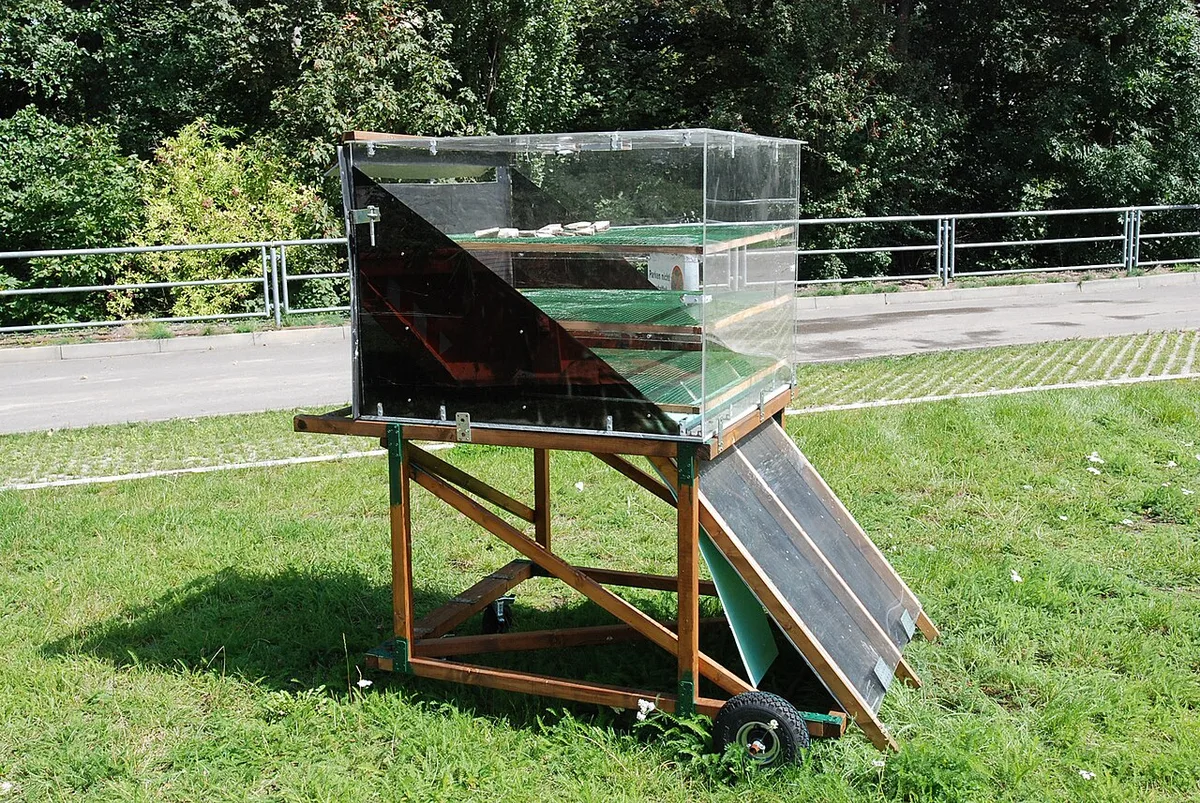
Image source: Wikimedia Commons / Claudio Tennie at German Wikipedia (Original text: Claudio Tennie)
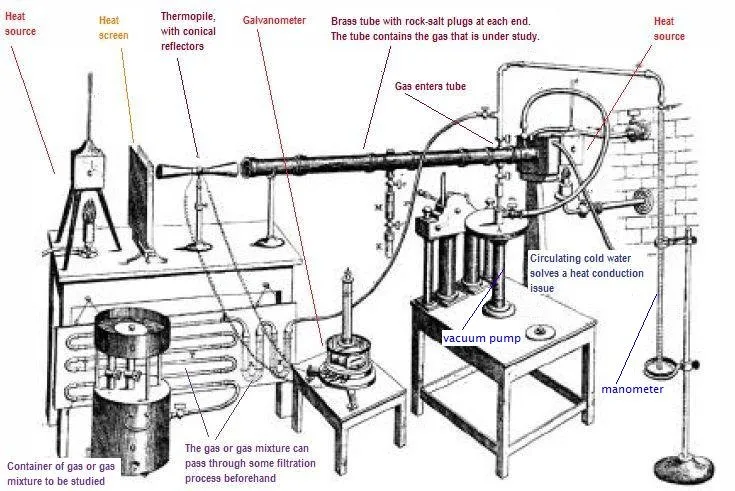
Dryers split into two basic layouts: horizontal shelf units and vertical stackable ones. Shelf dehydrators have a fan and heating element built into the back, so air flows across each tray evenly. Stackable units push heated air up from the bottom through perforated trays, which can create hot spots.
As of 2026, most stackable models cost between 40 and 100 dollars; shelf units with a fan run anywhere from 150 to 300 dollars or more.
For even results, shelf dehydrators are the safer bet. Their consistent temperature makes short work of fruit leather, jerky, and vegetables. Stackable dehydrators still work well for herbs, mushrooms, and seed-drying, provided you rotate the trays every couple of hours.
Keeping the unit on a counter helps because airflow around the base improves consistency.
Budget dehydrators usually lack a fan and have fixed heat settings. Manufacturer specifications show most run at around 165 degrees Fahrenheit max, which is fine for high-temperature drying but not for gentle herb drying. That's why cheap units often scorch basil or chives.
If you're only drying fruit for snacks, it won't matter much. If you plan to make jerky, remember the USDA FSIS says to bring meat to 160 degrees Fahrenheit before drying, so a 165-degree machine leaves little margin for error.
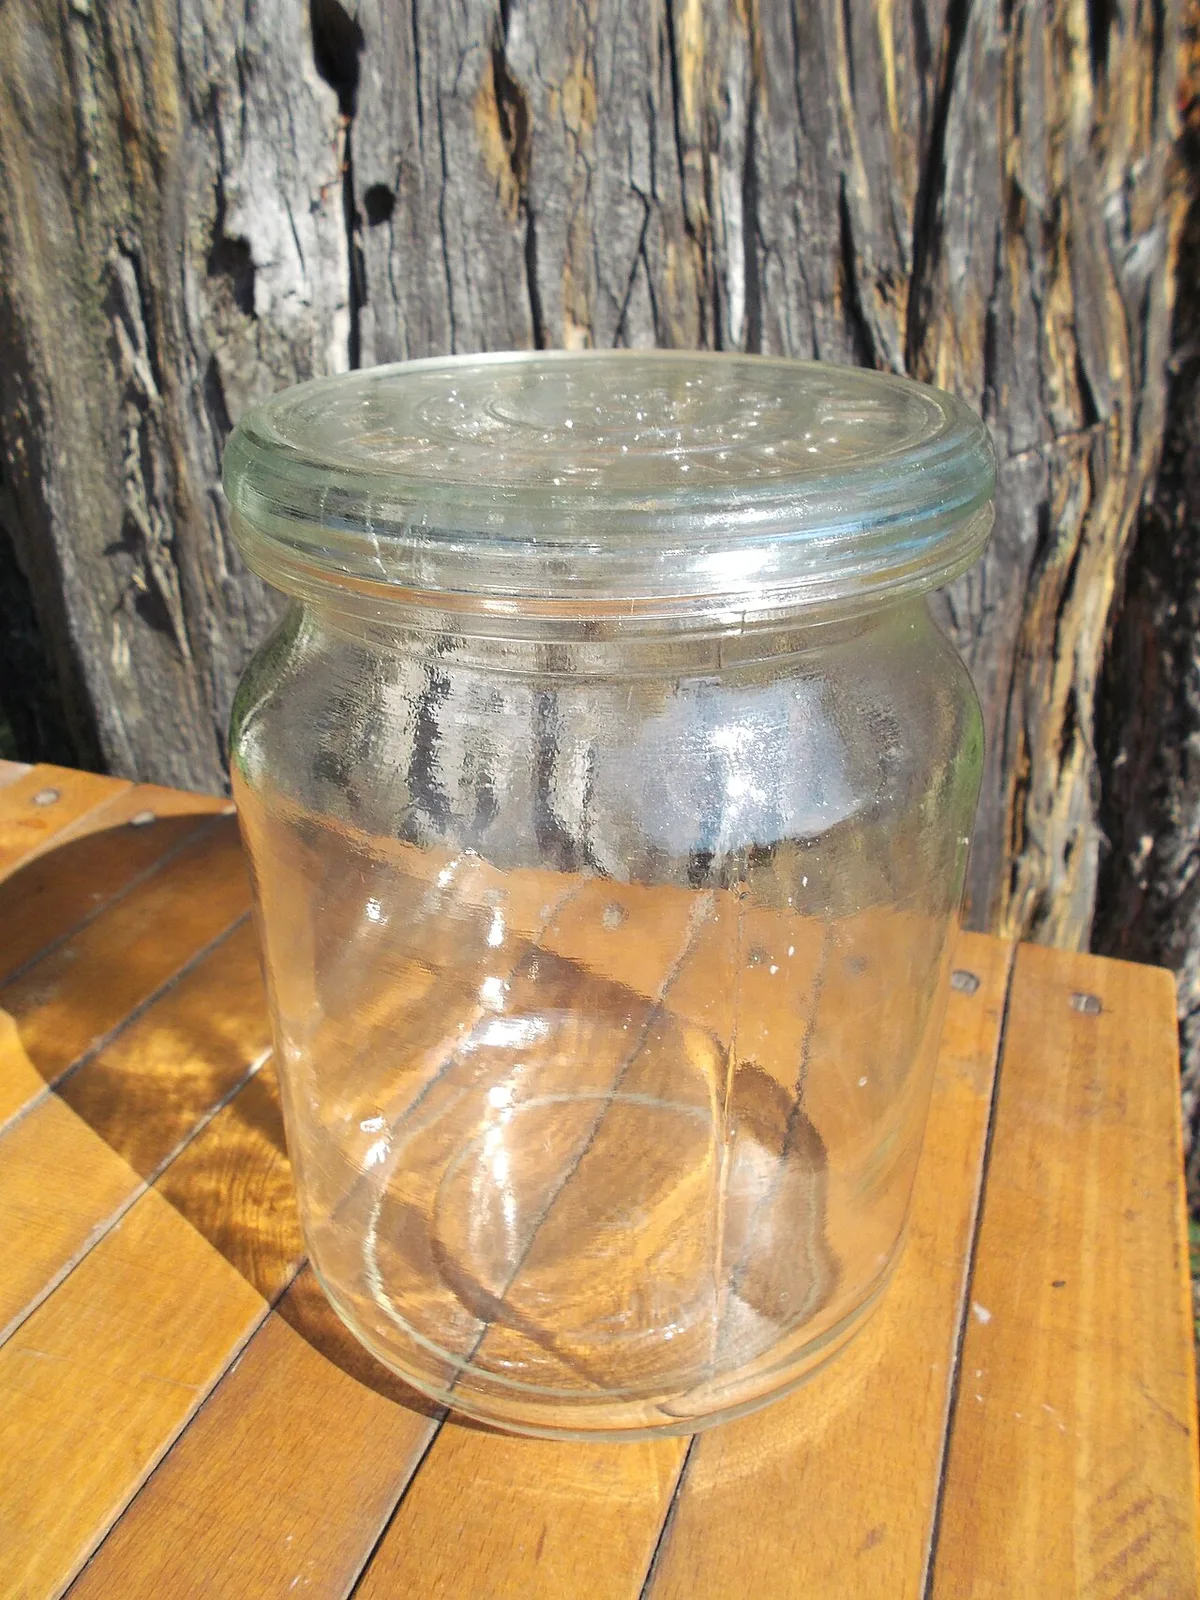
If you're storing dried goods, avoid reusing jars with compromised seals. Sanitizing jars before storage prevents moisture and pests from ruining your work.
Fermentation Gear: Crocks, Jars, Airlocks, and Weights
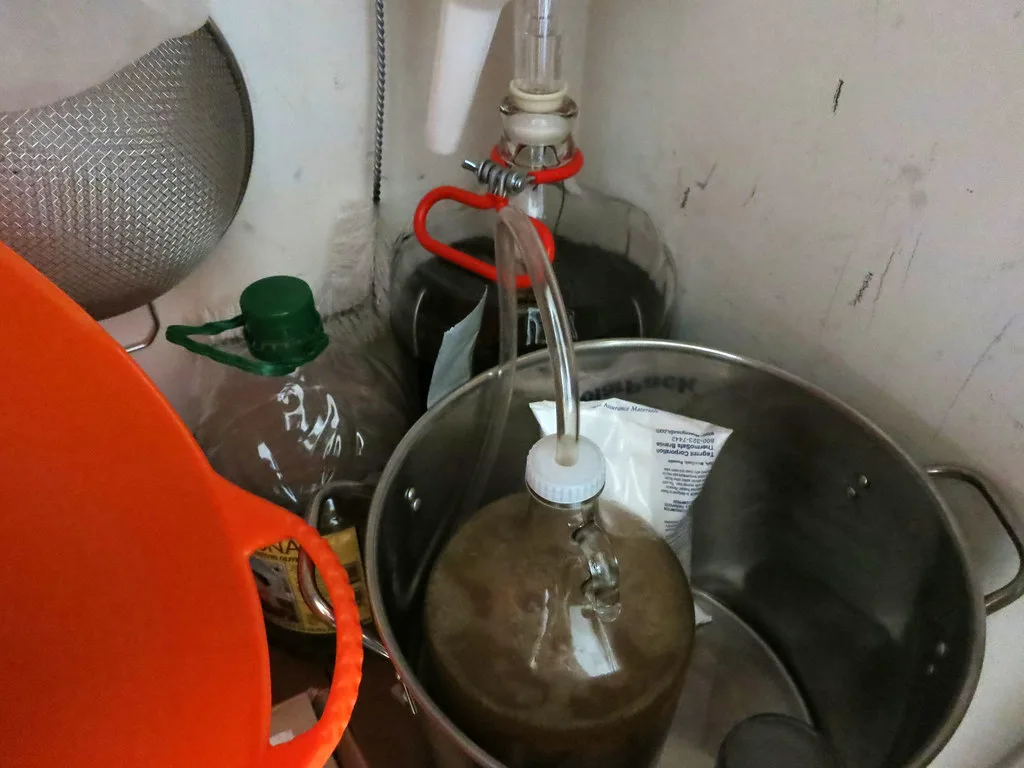
Image source: Openverse / Daquella manera
Fermentation gear is simpler than drying equipment, but it has its own rules. The vessel, the airlock, and the weight do three different jobs. A crock or jar holds the vegetables and brine; an airlock lets carbon dioxide escape without letting oxygen in; and a weight keeps everything submerged below the brine line.
That last part is the one most beginners skip, and it's why batches turn fuzzy.
Ceramic water-seal crocks are the classic option. They hold temperature well, block light, and the water-filled rim creates a one-way valve. But they're heavy, awkward to clean, and can chip.
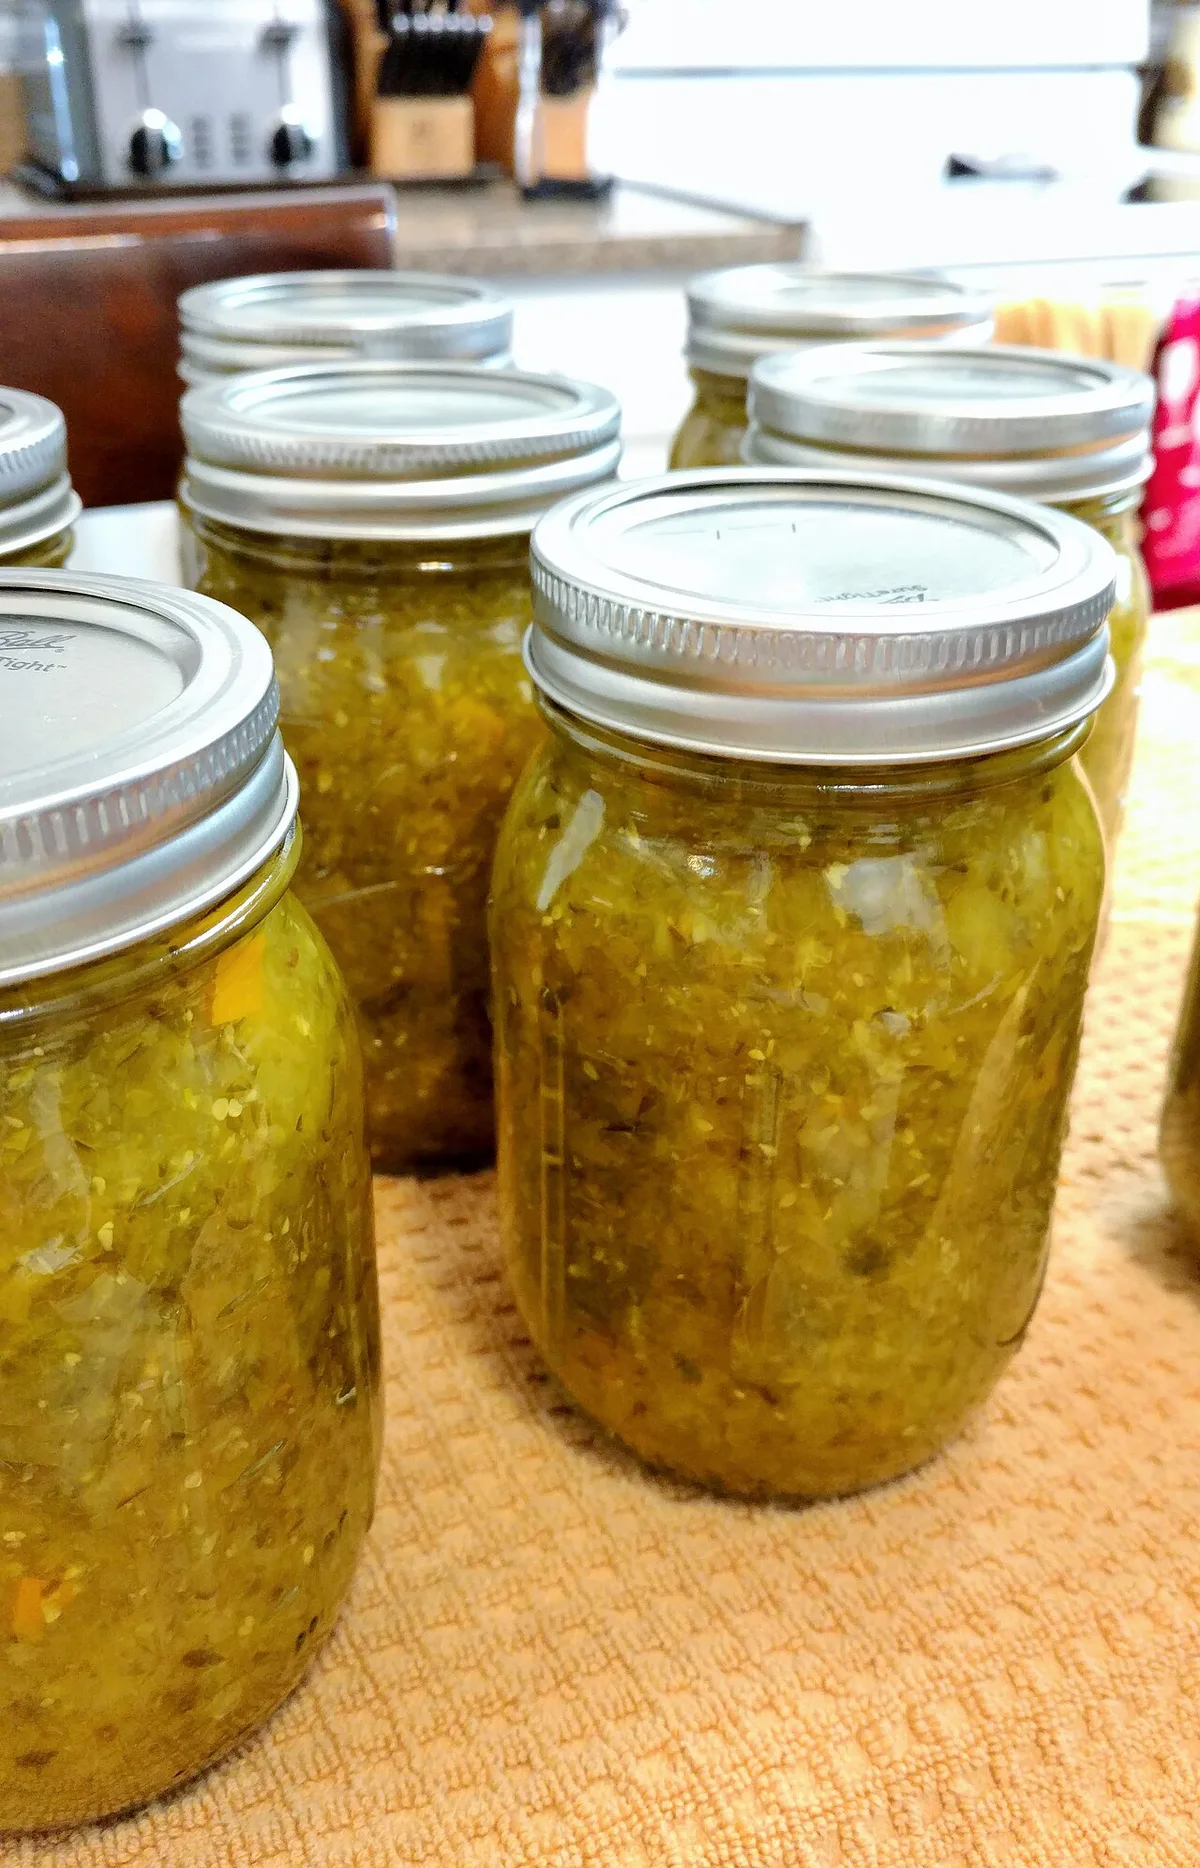
Glass mason jars with airlock lids are easier to store and sanitize, but they let in light, which can affect color and flavor. Food-grade plastic buckets with airtight lids work for large batches, but they're less attractive and can scratch over time.
Weights come in glass, stone, and ceramic. Glass weights fit inside wide-mouth jars; ceramic weights sit heavier and work well in crocks. Whatever you pick, it needs to hold the produce completely underwater.
The National Center for Home Food Preservation calls this one of the most important steps in safe fermentation.
If you're just starting, pickling and brining basics are a good place to see these tools in action. You'll notice the same jar logic shows up in many fermented vegetable recipes.
Drying Gear vs Fermentation Gear: Side-by-Side Comparison
These two methods both preserve food, but they operate on opposite principles. Drying removes moisture; fermentation creates an environment where good microbes outcompete bad ones. That difference drives every gear choice.
| Factor | Drying | Fermentation |
|---|---|---|
| Main goal | Remove moisture | Encourage beneficial microbes |
| Core gear | Dehydrator, racks, screens | Crock or jar, airlock, weight |
| Temperature | 95 to 165 degrees Fahrenheit | 65 to 75 degrees Fahrenheit |
| Time | 4 to 24 hours | 3 days to several weeks |
| Shelf life | Months to years | Weeks to months refrigerated |
| Noise | 45 to 60 dB | Silent |
Given those differences, choose based on your lifestyle. Drying is better for grab-and-go snacks and long-term storage. Fermentation is better for live cultures and flavor.
They actually complement each other. Many kitchen setups include one dehydrator and a few fermentation jars.
If you're weighing canning as another route, comparing preservation methods helps. That guide lays out the time and safety tradeoffs between canning, drying, and fermenting so you don't duplicate gear.
Best Gear for Your Kitchen and Lifestyle
Start with what you actually make. If you're drying herbs from the garden and making fruit snacks, a stackable dehydrator in the budget range is fine. If you're a serious jerky maker or want uniform results every time, invest in a shelf-style unit with a rear fan.
If you can't justify the counter space, a solid stackable with a timer is a reasonable compromise.
For fermentation, begin with mason jars and airlock lids. They're cheap, easy to clean, and fit in the fridge. Move up to a ceramic crock once you're making big batches of sauerkraut or kimchi.
The water seal matters, but a 1-gallon glass jar will produce the same tangy results for most home cooks.
Also think about your climate. In warm, humid regions, fermentation works better with a temperature-controlled spot or a small fridge with a thermostat. In dry climates, sun-drying works for some foods, but a cheap dehydrator is still more reliable.
If you're already set up for water-bath canning, fermentation uses similar jar logic and shares some of the same prep routines. The right setup is the one that makes you actually use it.
Mistakes That Waste Money and Ruin Batches
The most common failure in drying is overloading trays. Stackable dehydrators need space between pieces for air to move. Aggregate reviews show that overlapping fruit slices double drying time and turn the bottom layer into a sticky mess.
Fermentation fails for a different reason. People use the wrong salt. Table salt with iodine or anti-caking agents can leave a bitter taste and slow down the good bacteria.
Use sea salt or kosher salt without additives, and weigh it rather than measuring by volume. The National Center for Home Food Preservation states that salt concentration should be between 2 and 5 percent for most vegetable brines.
Another big mistake is lifting the lid too often. Every time you open a jar, you introduce oxygen. That's the fastest way to invite kahm yeast or mold.
If you're uncertain about safe storage, check for compromised seals in your other jars, because the same principle applies to canned goods. Common sealing failures can happen in fermented jars too, especially if the rim is cracked.
USDA Food Safety and Inspection Service guidelines for meat drying require a minimum internal temperature of 160 degrees Fahrenheit. Many budget dehydrators struggle to reach that. If you're making jerky, always pre-heat the meat in an oven or use a unit with an adjustable thermostat.
Frequently Asked Questions
How long do dried foods last?
Properly dried and stored foods can keep for 6 months to a year at room temperature. Low-moisture items like herbs and flours last longer in vacuum-sealed containers. The National Center for Home Food Preservation emphasizes storing dried goods in airtight packs away from light and heat.
Do I need a dehydrator to dry herbs?
No. Herbs with low moisture content can air-dry in a warm, ventilated room inside paper bags. Electric dehydrators work faster and preserve more volatile oils, but they're not required.
A standard oven on the lowest setting with the door propped open also works in a pinch.
What's the difference between a water-seal crock and a mason jar?
A water-seal crock allows gas to escape through the liquid in its rim without letting air in. That makes it ideal for long ferments like sauerkraut. Mason jars with airlock lids offer the same protection but in smaller volumes.
Both work well, and the choice comes down to batch size and storage space.
Can I ferment in a plastic bucket?
Yes, if the plastic is food-grade and BPA-free. Use a bucket with a plastic lid and an airlock grommet. Avoid metal containers.
Acidic brine can react with metal and leach off-flavors. Always sanitize the bucket thoroughly before use.
How do I know if my fermentation is safe?
Trust your senses. Healthy ferments smell tangy, yeasty, and pleasant. Discard anything with a sour-rotten smell, slimy texture, or visible mold beyond a white film.
Use a pH meter to confirm readings below 4.6 for long-term storage.
Final Verdict: What to Buy First and What to Skip
Start with a single shelf-style dehydrator if you dry fruit and jerky regularly. It earns the higher price through even airflow and consistent temperature. Skip the expensive ceramic crock until you've made a few successful quart jars of sauerkraut.
For fermentation, buy a set of wide-mouth mason jars and silicone airlock lids first. They're under 20 dollars, fit in your fridge, and handle small batches perfectly. Add a glass weight and a basic funnel.
That's a complete rig for a year of kimchi and pickles.
A bench scale for measuring salt by weight is non-negotiable. A pH meter helps once you ferment frequently. Everything else, from pickling pipes to heating wraps, is optional gear you can add as your recipes grow.
The smart move is to match the equipment to the routine you'll actually sustain. Drying and fermentation gear doesn't need to be extensive. It needs to fit your kitchen, your climate, and your habits.
If you already can, water bath canning basics share the same jar logic and prep rhythms. Start simple, use what you have, and add pieces only when they solve a real problem.

Similar Posts