Jars and Lids Basics: How to Choose the Best
Botanical Horticulturist & Food Preservation Specialist at Brittle Bloom · Certified Master Gardener & Master Food Preserver · 12+ Years in Plant Propagation & Food Preservation
If you're hunting for the Best jars and lids basics, you've probably noticed the shelf is crowded. Mason jars, Weck jars, clip-tops, plastic deli containers, one-piece lids, two-piece lids. It's easy to grab the wrong one and end up with spoiled pickles, rusty bands, or a pantry full of jars that don't fit anything.
The good news? The choice comes down to matching the jar system to the job.
In our research, the most important spec isn't the brand or the price tag. It's the opening width. A regular mouth measures about 2.375 inches across, while wide-mouth jars sit closer to 3 inches.
That difference decides whether you can get a head of cauliflower into a fermenting jar, and it determines which lids and accessories you can buy. As of 2026, wide-mouth has become the default for serious home preservers. Let's break down why that matters and which system fits your kitchen.
Why Jar Choice Matters More Than You Think
A jar is not just a glass container. It's a sealing system. The lid, the gasket, the band, and the glass all work together to keep air out, flavors in, and harmful bacteria from multiplying.
When those parts don't match, your food pays the price.
The stakes are different depending on what you store. Dry pasta in a leaky clip-top jar just goes stale. That's annoying.
But low-acid vegetables canned with the wrong lid system can harbor botulism. That's dangerous. The USDA has clear guidelines on which jars are safe for pressure canning, and they are strict about it.
Reusing a commercial pasta sauce jar is a classic mistake that can lead to seal failure or glass breakage.
Here's the core truth: there is no single best jar. There is only the best jar for what you're doing. Trying to make one system handle canning, fermenting, meal prep, and pantry storage means compromising somewhere.
You'll either overpay for features you don't need or under-spec the safety essentials.
That's why we're comparing the four main systems side by side. Once you know what each one does well, you can build a mixed collection that costs less and works harder than a matching set of anything.
The Main Contenders: Mason Jars, Weck Jars, and Clip-Top Jars
Mason Jars: The Reliable Workhorse
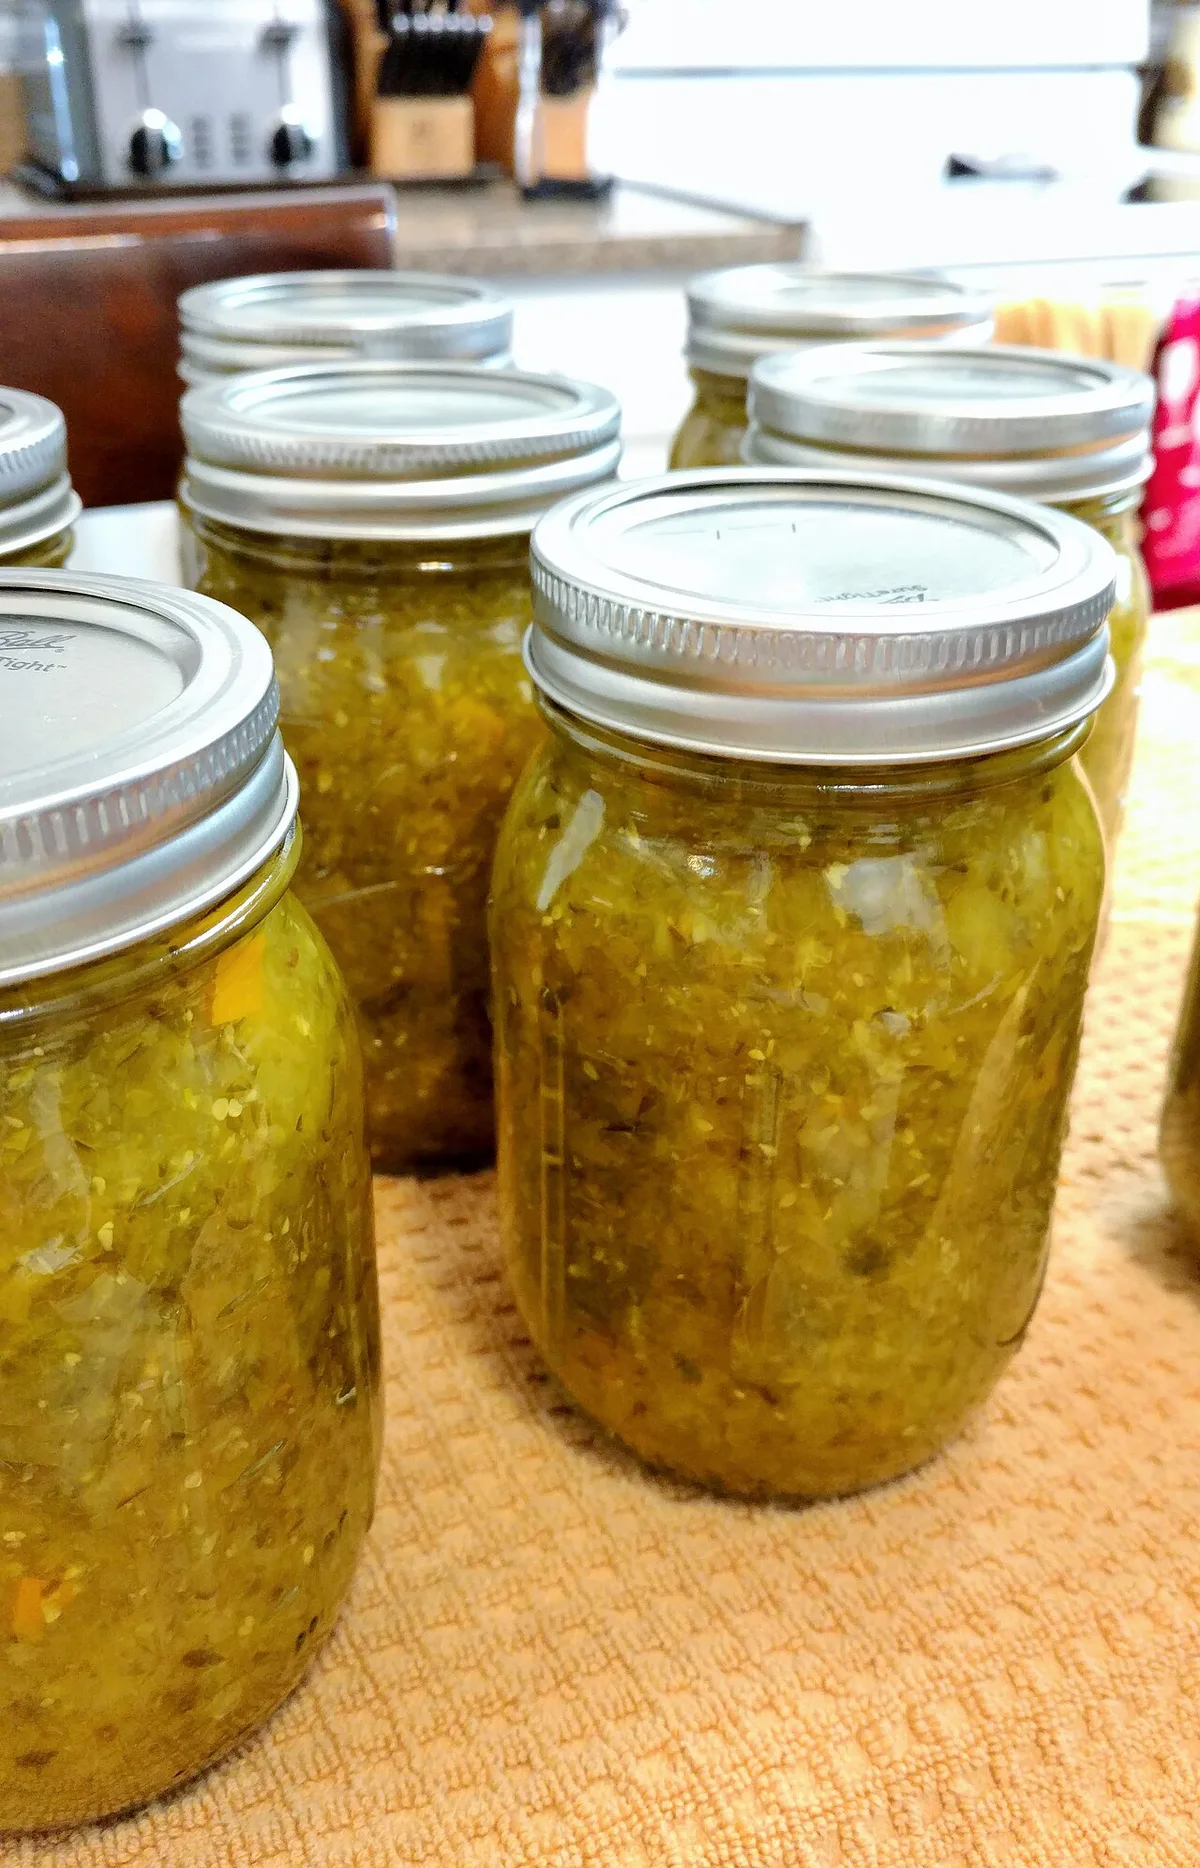
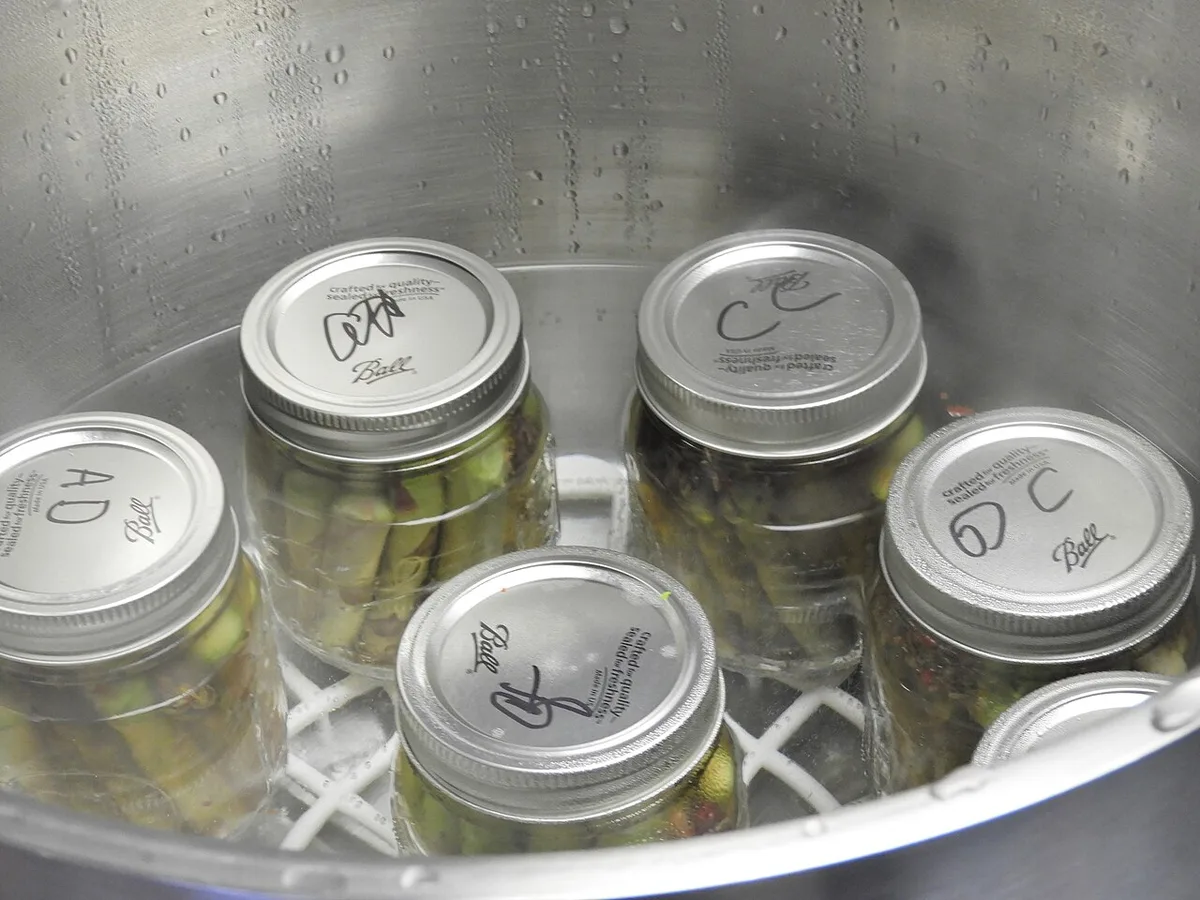
Mason jars dominate the US market for good reason. They're cheap, everywhere, and backed by a century of canning knowledge. The two-piece lid system, a flat metal disc with a rubber sealing compound and a separate screw band, is the gold standard for home canning.
When the jar cools after processing, the lid pops down to create a vacuum seal you can test by pressing the center.
Ball and Kerr are the big names in the United States. Both make identical thread patterns, so lids are interchangeable across brands. That's a huge advantage.
You can buy a cheap case of store-brand jars and use Ball-brand replacement lids without issues. The glass is tempered for thermal shock, meaning it handles boiling water baths and pressure canner temperatures safely.
The downside? Metal bands rust over time. The flat lids are technically single-use for canning, which costs money if you process a lot.
And while the jars look fine on the shelf, they're not the prettiest option for serving or gifting.
Weck Jars: The Gasket-and-Clip System
Weck jars come from Germany and use a completely different seal. A thick rubber gasket sits between the glass lid and the jar body, held in place by metal clips. When you process the jar, the heat softens the gasket and creates a vacuum as it cools.
You can hear the classic "pop" as the lid seals, and you test it by removing the clips and trying to lift the lid off.
These jars are gorgeous. The glass is heavy and thick, and the rounded shape looks great on the table or in a pantry. They're also freezer safe and work beautifully for fermenting because the rubber gasket lets gases escape while keeping air out.
The trade-offs are real. Replacement gaskets wear out and need periodic swapping. The glass lids are fragile compared to metal.
And the jars cost roughly twice as much as Mason jars. If you're preserving large amounts of food for survival or budget reasons, Weck jars get expensive fast.
Clip-Top Jars: The European Fridge Staple
Kilner, Le Parfait, and Fido make clip-top jars with a wire bale and rubber gasket. Unlike Weck jars, the lid is usually glass and hinged, so there are no loose clips to misplace. These jars seal tightly without needing heat processing.
You just press the gasket down, clip the wire closed, and the jar is airtight.
That makes clip-tops fantastic for refrigerator storage, fermented pickles, and dry goods. They're also my pick for storing soups, broths, and leftovers because the wide opening and tight seal beat any plastic Tupperware. Many people buy these jars expecting to can in them, though.
That's a problem. European clip-top jars are not designed for pressure canning, and most aren't rated for water bath canning either without significant risk.
The rubber gaskets are the weak point. They absorb odors, degrade with heat, and eventually dry out. Replacement gaskets are available, but they're another thing to replace and keep track of.
Plastic and Deli Containers: The Meal Prep Alternative
Not everything needs glass. Plastic deli containers, the kind your takeout soup comes in, are cheap, stackable, and nearly indestructible. They're also dishwasher safe and microwave safe, which glass often isn't.
The catch is sealing. Most deli containers don't create a vacuum, and their snap lids are fine for a few days but not for long-term storage. They also stain and hold onto odors, especially after tomato sauce.
For meal prep and snacks, they're unbeatable. For preserving and long-term storage, they're the wrong tool.
If you want a plastic option that lasts, look for BPA-free lids and thick, reusable containers. Avoid single-use takeout containers for anything beyond leftovers. Their thin plastic cracks and warps quickly.
Side-by-Side: How the Jar Systems Really Compare
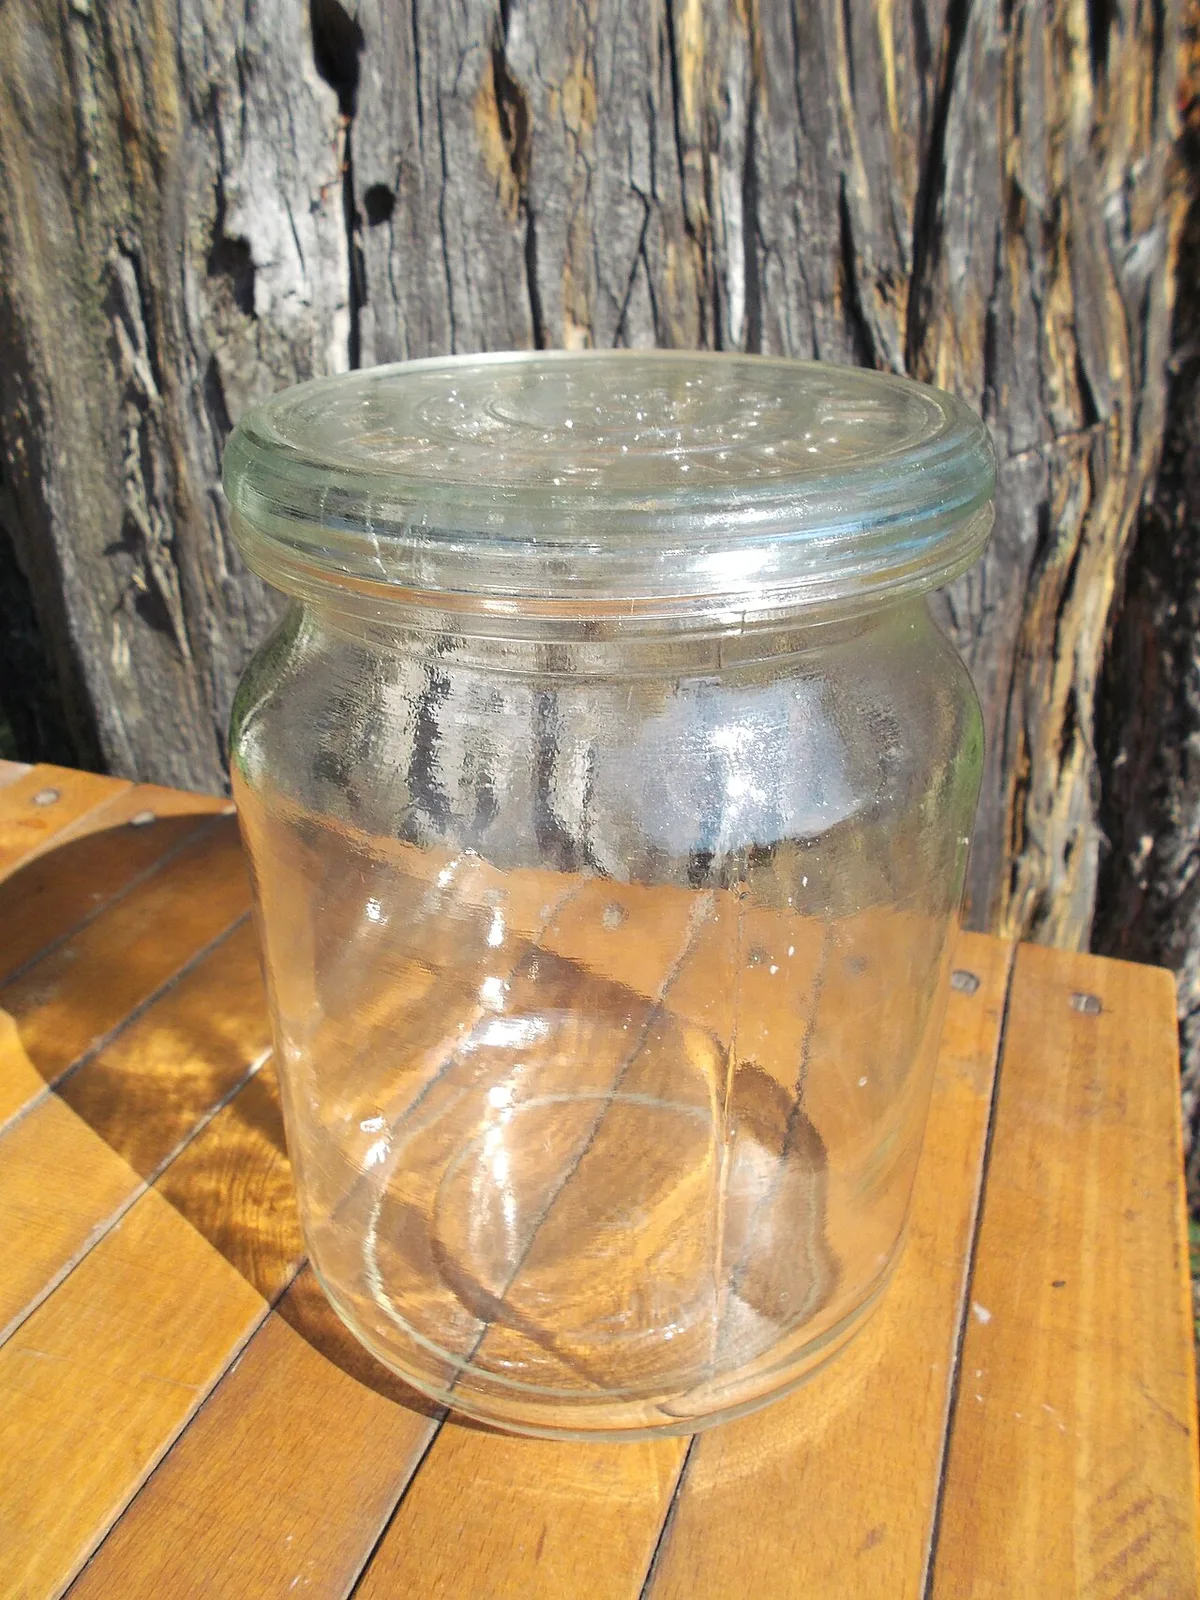
Image source: Wikimedia Commons / Witia (CC BY)
Now that we've covered each system, here's the honest side-by-side. These numbers come from manufacturer specs, USDA canning guidelines, and aggregate user reviews across home preservation forums.
Mason Jars
- Seal type: Two-piece metal lid creates a vacuum
- Canning safe: Yes, both water bath and pressure
- Seal testing: Lid pops down, tight when pressed
- Price: $1 to $2 per jar
- Lid replacement cost: Low, widely available
- Best for: Canning, freezing, everyday storage
Weck Jars
- Seal type: Glass lid with rubber gasket and clips
- Canning safe: Water bath only, if following specific instructions
- Seal testing: Remove clips, lift lid edges
- Price: $3 to $6 per jar
- Lid replacement cost: Medium, gaskets need replacing
- Best for: Fermenting, serving, pantry display
Clip-Top Jars
- Seal type: Rubber gasket and wire bale
- Canning safe: No, not rated for pressure canning
- Seal testing: Airtight seal, no vacuum
- Price: $2 to $5 per jar
- Lid replacement cost: Medium, gaskets wear out
- Best for: Fridge storage, dry goods, fermenting
Plastic Deli Containers
- Seal type: Snap lid, no vacuum
- Canning safe: Never
- Seal testing: N/A
- Price: Less than $1 per container
- Lid replacement cost: Low, but not worth replacing
- Best for: Meal prep, leftovers, lunches
The data makes one thing clear. What you store changes what you should buy. You don't need a $5 Weck jar for overnight oats.
But you absolutely need a proper Mason jar for canning tomatoes. That's where the "best jar" question gets real.
Best Jar for Every Kitchen Task: Canning, Storage, Fermenting, and Meal Prep
Let's match the right jar to the job. This is the practical part where the comparison turns into a shopping list.
Water bath canning (jams, pickles, tomatoes):
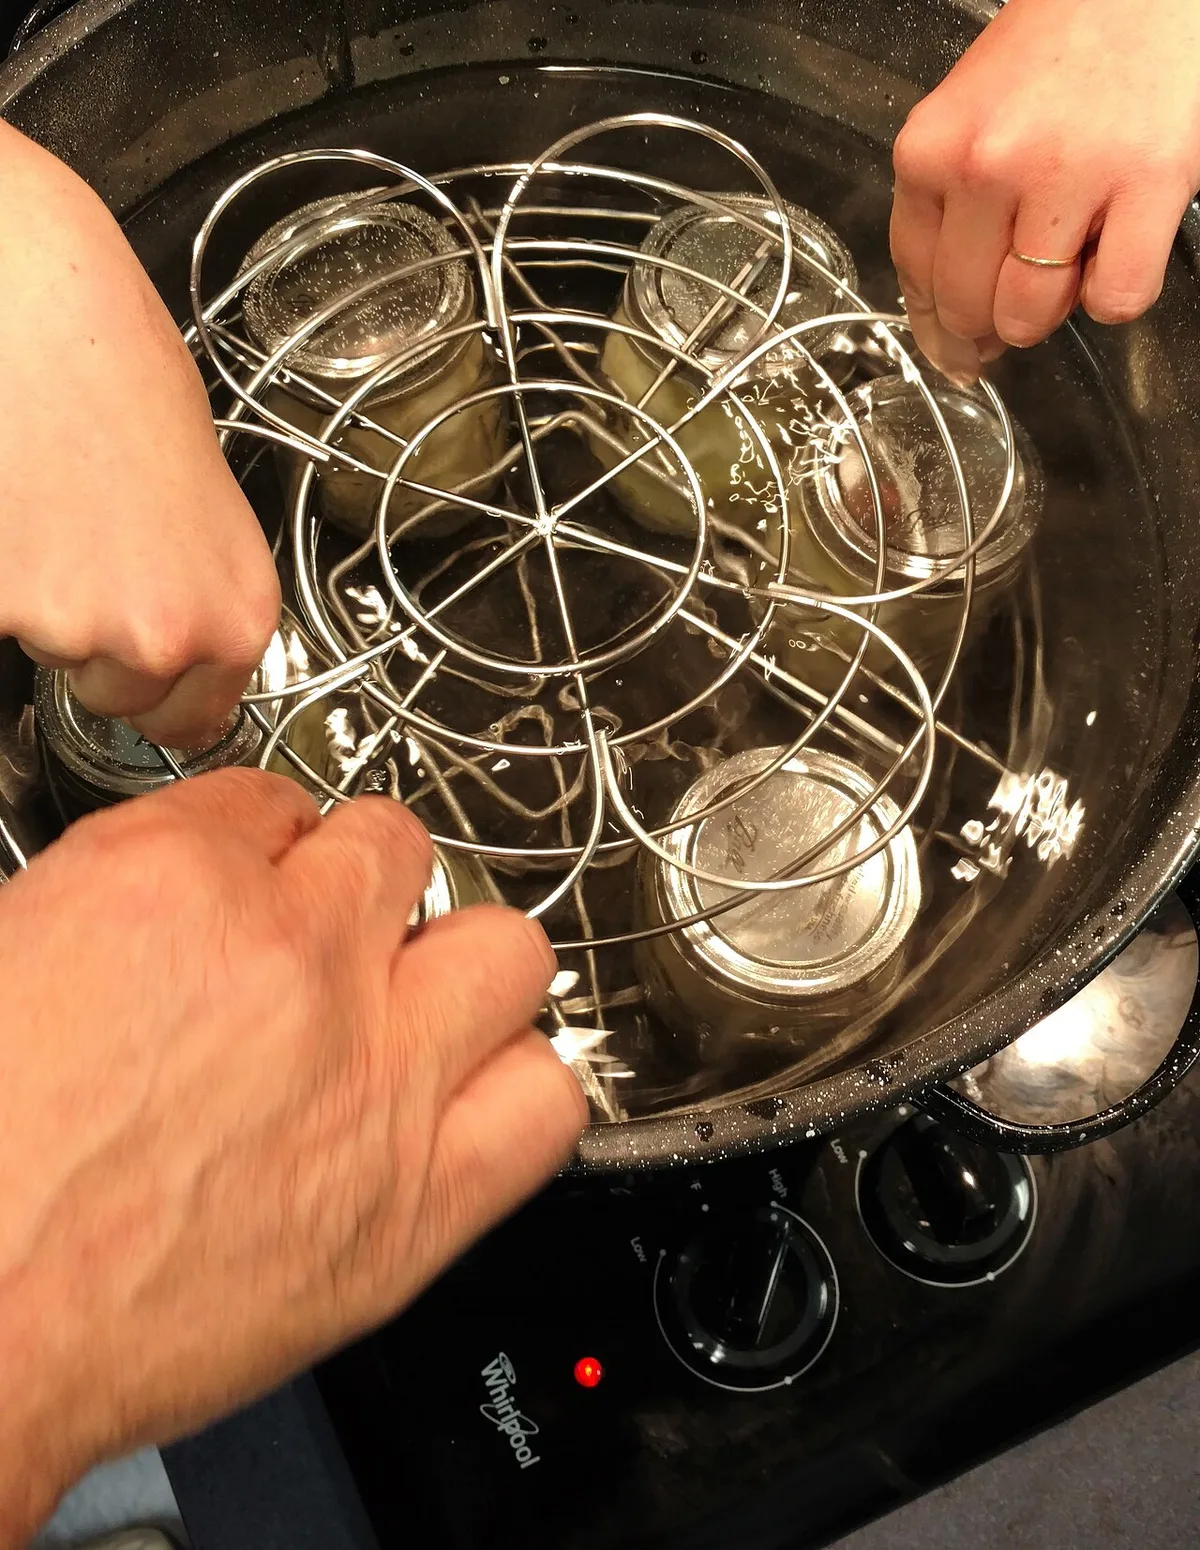
Use standard or wide-mouth Mason jars. The two-piece lid system is the only one the USDA officially recommends for home canning. Check out our water bath canning basics to understand headspace and processing times.
Never use a clip-top jar for this job.
Pressure canning (low-acid vegetables, meat, soup):
Mason jars only. Wide-mouth quart jars are the workhorse here. The glass must withstand high pressure and temperature, and only Mason jars are tested and certified for this.
Our pressure canning decision guide explains when to step up from water bath to pressure canning.
Fermenting vegetables (sauerkraut, pickles, kimchi):
Weck jars are the fermenter's favorite because the gasket lets gas escape while blocking oxygen. Wide-mouth Mason jars with an airlock lid also work well. The key is leaving enough headroom and using a wide opening so you can pack vegetables densely.
Fermenting vegetables is where a 3-inch neck makes life dramatically easier.
Dry pantry storage (flour, sugar, pasta):
Any airtight glass jar works. Clip-tops are easiest for everyday scooping. Weck jars look beautiful on open shelving.
The seal isn't vacuum-tight, but it doesn't need to be for dry goods. Just keep them away from direct sunlight to prevent food fading and heat damage.
Freezer storage (broth, soups, leftovers):
Use wide-mouth Mason jars only. Always leave at least an inch of headspace for expansion. Narrow-neck jars are prone to cracking because the food expands upward into a tight neck.
Plastic deli containers are even safer because they flex. Just don't fill them to the brim.
Meal prep (salads, overnight oats, snacks):
Plastic deli containers win for portability. Glass Mason jars win for anything vinegar-heavy, because they won't stain or hold odors. Use regular mouth jars for these, since they hold a single serving nicely.
If you're new to this, start with a case of wide-mouth Mason jars. They cover 80% of kitchen tasks, and the lids are cheap to replace. Add a couple of Weck jars for fermenting and a stack of deli containers for meal prep.
That's a complete setup for less than the cost of a fancy matching set.
Common Jar and Lid Mistakes That Ruin Food (and How to Avoid Them)
Even with the right jars, small errors cause big failures. We see the same handful of mistakes in aggregate reviews and preservation forums. Let's fix them now.
Mistake 1: Reusing flat lids for canning
The sealing compound on a flat lid only works once. After that, the rubber is compressed and won't form a new vacuum. Some people reuse lids for dry storage, which is fine, but never for canning.
Always use new lids when you process jars.
Mistake 2: Over-tightening the screw band
The band should be "fingertip tight" before processing. That means tight enough to hold the lid in place, but not cranked down. If the band is too tight, air can't escape during processing, and the jar won't seal properly.
Worse, you might get a false seal that looks safe but isn't.
Mistake 3: Improper sterilization before filling
Dirty jars cause food spoilage and canning failures. Wash jars with hot soapy water, rinse thoroughly, and keep them warm before filling. If the recipe calls for sterilizing, use a boiling water bath for the required time.
Our jar sterilization steps cover this in detail, and it's worth reading before your first batch.
Mistake 4: Ignoring the headspace
Headspace is the gap between the top of the food and the rim of the jar. Each recipe specifies the right amount, usually between 1/4 inch and 1 inch. Too little headspace and food expands out of the jar, breaking the seal.
Too much headspace and the jar won't vacuum seal because there's too much air left inside.
Mistake 5: Storing jars with the bands on
After the jars cool, remove the screw bands. If you leave them on, moisture gets trapped under the metal and rusts the band. More importantly, a rusted band can break the vacuum seal over time.
Store jars bandless and check the seal before eating.
Mistake 6: Assuming all glass jars are canning-safe
That pretty pasta sauce jar you rinsed out is not safe for canning. Commercial jars have thinner glass and aren't tempered for repeated high heat. They crack under pressure.
One shattered jar in a pressure canner is a mess. In a worst case, it's a safety hazard. Use real Mason jars or nothing at all.
Mistake 7: Using damaged jars
Chips, cracks, and scratches are danger zones. A scratch in the glass can cause a jar to shatter under heat or pressure. Inspect jars before every use.
If you're unsure, toss the jar. They're cheap to replace.
If you run into seal failures, don't panic. Check our common sealing failures guide for troubleshooting. Most seal failures come from the band being too tight, the rim being greasy, or the lid compound being old and worn.
Fix those three things and your success rate jumps dramatically.
The final step is the easiest to get right: labeling. Write the date and the contents on every jar. Even experienced preservers forget what's in a jar six months from now.
A grease pencil or paper label takes ten seconds and prevents a very disappointing dinner.
FAQs About Jars, Lids, and Sealing
Can I reuse mason jar lids for canning?
No. The flat lid's sealing compound is one-time use for canning. It compresses permanently during processing, so a second run won't form a proper vacuum.
That risks spoilage and worse. Always use new flat lids when you process jars. Screw bands are reusable indefinitely if they stay rust-free.
Are Weck jars safe for pressure canning?
Not recommended. The gasket-and-clip system isn't certified for high-pressure processing, and the glass isn't rated for it either. Weck jars work for water bath canning and storage, but pressure canning requires Mason jars.
The National Center for Home Food Preservation has detailed guidance on safe canning containers, and they're worth reading before you branch out.
How do I know if a jar sealed properly?
Wait 12 to 24 hours after processing. Press the center of the flat lid. If it's flat and doesn't flex, the vacuum held.
Remove the screw band, then try to lift the jar by the lid edge. If it stays put, you're safe. Store jars without bands and check the seal before eating anything three months later.
Can I freeze food in mason jars?
Yes, but only wide-mouth jars. Narrow necks give the food nowhere to expand, and the glass cracks under the pressure. Leave at least one inch of headspace for liquids.
Thaw in the fridge overnight, not on the counter, to keep the glass from shocking.
What's the actual difference between regular and wide-mouth jars?
It's the diameter of the opening. Regular mouth measures about 2.375 inches; wide mouth sits closer to 3 inches. That extra half-inch changes everything.
Wide mouth jars fit cauliflower florets, dry ingredients, and your hand for cleaning. They also take standard canning accessories, like funnel rings and fermenting airlocks.
If you're just starting out, grab wide-mouth jars first. They handle more jobs with less frustration. Swap to regular mouth only when a recipe or storage rack specifically calls for them.
The Bottom Line: Which Jar Should You Buy?
Here's the honest verdict. Start with wide-mouth Mason jars. They're the safest option for canning, the most versatile for freezing, and the easiest to find replacement lids for.
Aggregate reviews across preservation forums consistently rank them as the best first purchase. A dozen wide-mouth quarts plus a dozen pints runs about $30 to $40 total.
Add Weck jars if you're into fermenting. The gasket-and-clip system releases gas without letting oxygen in, which makes for crisper pickles and tangier kraut. Pick up clip-top jars for fridge storage and dry goods.
They seal tight without heat and won't dent or rust like plastic containers.
For meal prep, grab plastic deli containers. They're cheap, stackable, and dishwasher safe. That gives you four systems covering every job in the kitchen.
You'll spend less than $60 and never reach for the wrong jar again. Pair that with our tomato and pickle recipes for your first canning batch, and you're set for the season.
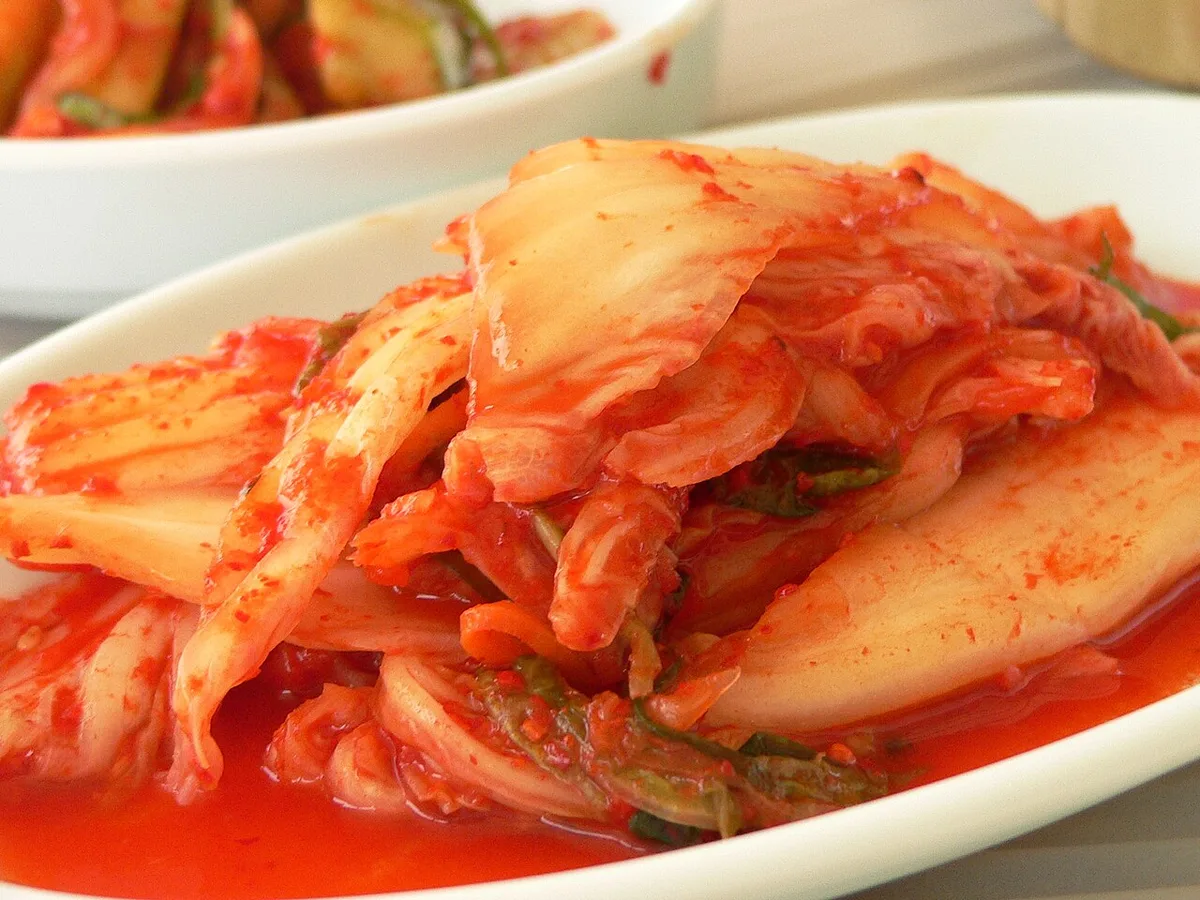
Image source: Wikimedia Commons / Nagyman, a flickr user (CC BY-SA)

Similar Posts