Jar Sterilization Steps
Botanical Horticulturist & Food Preservation Specialist at Brittle Bloom · Certified Master Gardener & Master Food Preserver · 12+ Years in Plant Propagation & Food Preservation
Jar sterilization steps might seem like the easiest part of canning to skip, but they're actually the step that protects everything after them. Miss a detail, and your carefully made jam could spoil, or worse, make someone sick. The real danger is that contamination doesn't always look or smell wrong.
Per the USDA Complete Guide to Home Canning, jars processed in a boiling water canner for less than 10 minutes must be sterilized before filling. That means boiling them for a full 10 minutes, adjusted for altitude. As of 2026, that guidance remains the gold standard.
Once you understand why the process exists, it stops feeling like a chore and starts feeling like common sense.
Why Jar Sterilization Is Non-Negotiable for Safe Canning
The quick answer: sterilizing jars kills mold, yeast, and bacteria that a normal wash can leave behind. It's the difference between a shelf-stable batch and a gamble with your health.
The real danger is Clostridium botulinum. These spores live in soil and on fresh produce. They survive boiling at 212°F.
In a sealed jar with low acidity, they can produce botulism toxin. That's why canning safety relies on heat, time, and acidity working together.
Sterilized jars are not the same as clean jars. Clean means free of food residue. Sterilized means virtually all microorganisms are dead.
The National Center for Home Food Preservation and the USDA both make this distinction clear.
Before you decide whether you need the extra step, it helps to know which canning method your recipe actually uses. Our guide to which canning method fits your batch walks through the differences.
When You Actually Need to Sterilize Jars (And When You Don't)
This part confuses a lot of new canners. The rule is simple: follow the processing time in your tested recipe, not a general rule.
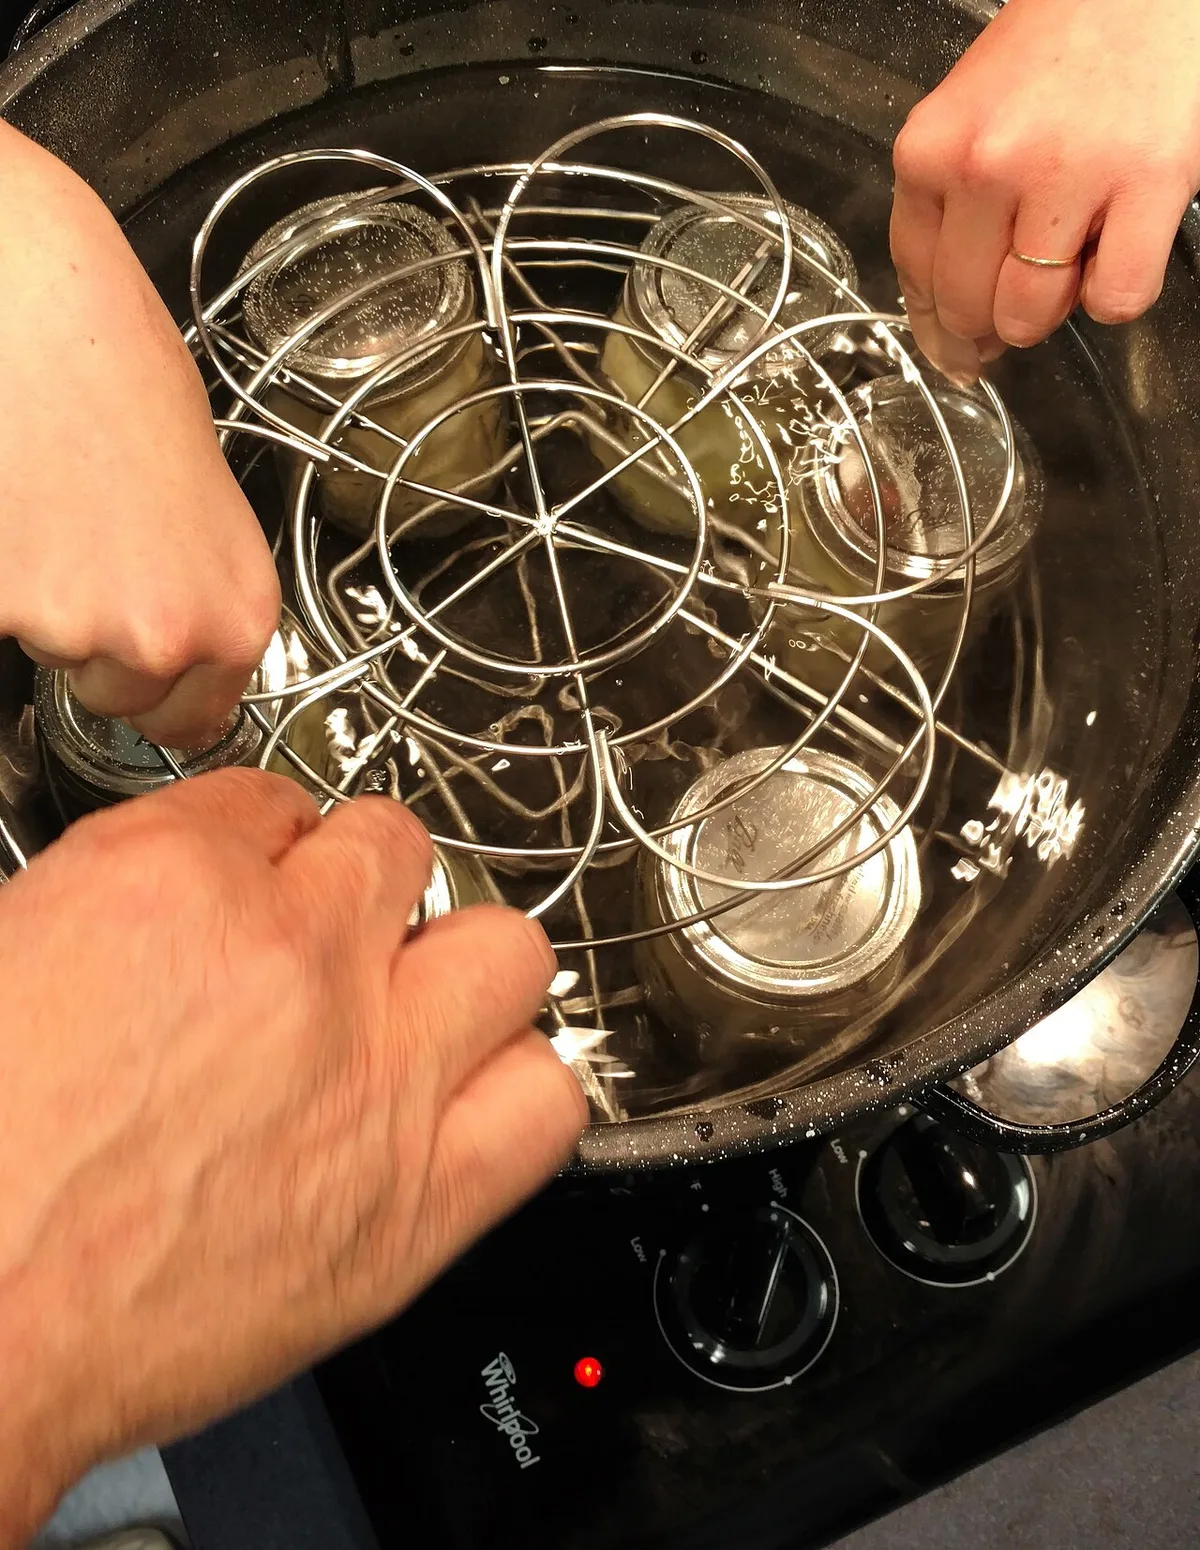
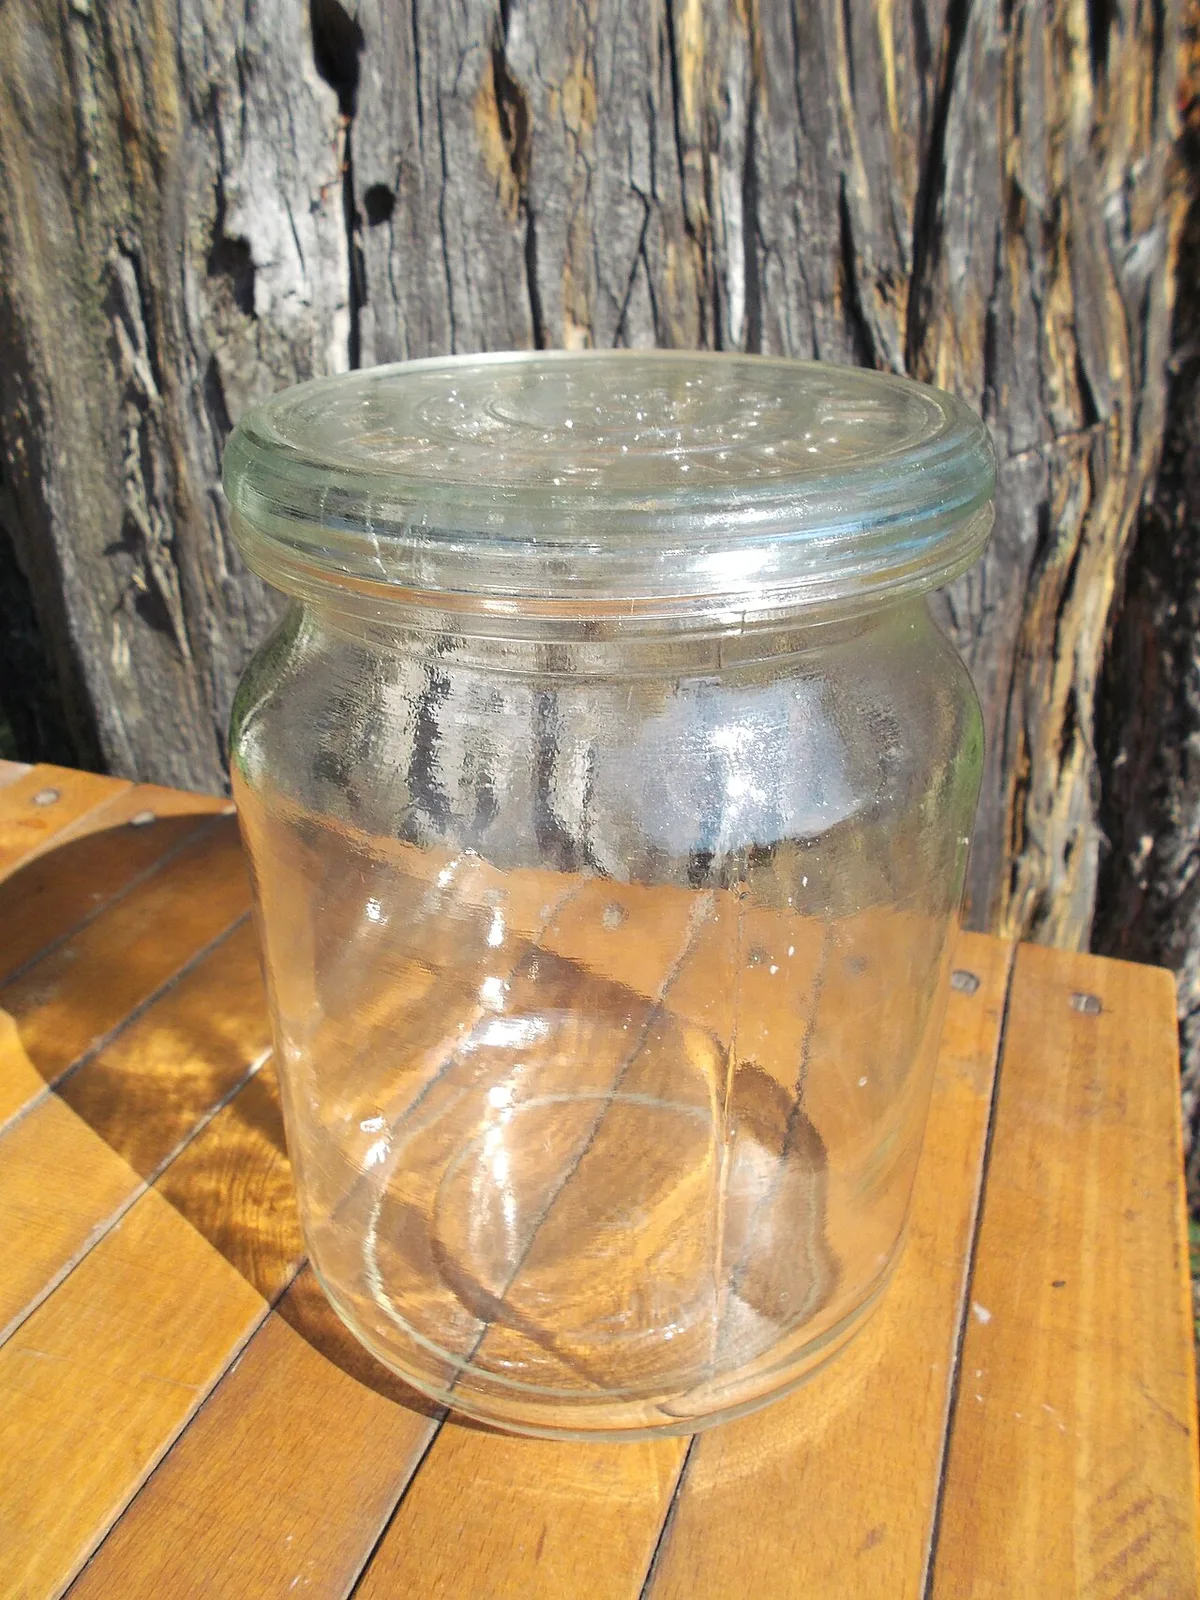
Image source: Wikimedia Commons / Nutrition, Food Safety & Health
The 10-minute rule comes straight from USDA canning guidelines. If the recipe's processing time is shorter than 10 minutes, the boiling water bath isn't long enough to kill spores hiding in the glass. So you sterilize the jars first.
If processing runs 10 minutes or more, you can skip the pre-sterilization. The bath does the work while the food processes.
| Processing time | Sterilize jars first? | Why |
|---|---|---|
| Under 10 minutes | Yes | Short bath won't kill all spores |
| 10 minutes or more | No | Full bath sterilizes jars with food inside |
| Pressure canning | No | 240°F heat reaches low-acid safety |
Altitude changes the math. Water boils below 212°F at higher elevations, so you add 1 extra minute per 1,000 feet above 1,000 feet. At 5,000 feet, that's 14 minutes instead of 10.
Pressure canning changes the equation entirely. Those machines reach 240°F, which kills botulism spores even in low-acid foods. Clean jars are sufficient there.
Our comparison of water-bath and pressure canning explains when each method is the right call.
Your Jar Sterilization Equipment Checklist
Good news: you don't need a lab-grade setup. You probably already own most of this gear.
- Boiling water canner with a rack, a large stockpot works too, as long as it's deep enough for 1 inch of water over the jars
- Mason jars, regular-mouth or wide-mouth, with no cracks, chips, or rough edges
- Jar lifter, not optional. Tongs can't grip wet glass securely.
- Clean dish towel, for landing the hot jars after they come out
- Hot water source, either a kettle or the canner itself
Keep the flat lids and screw bands nearby but out of the boiling water. Boiling the flat lids can weaken their sealing compound. Warm them in a small saucepan at around 180°F instead.
The Step-by-Step Guide to Sterilizing Jars in a Boiling Water Canner
This process matches tested extension guidance. Work through it in order and don't rush.
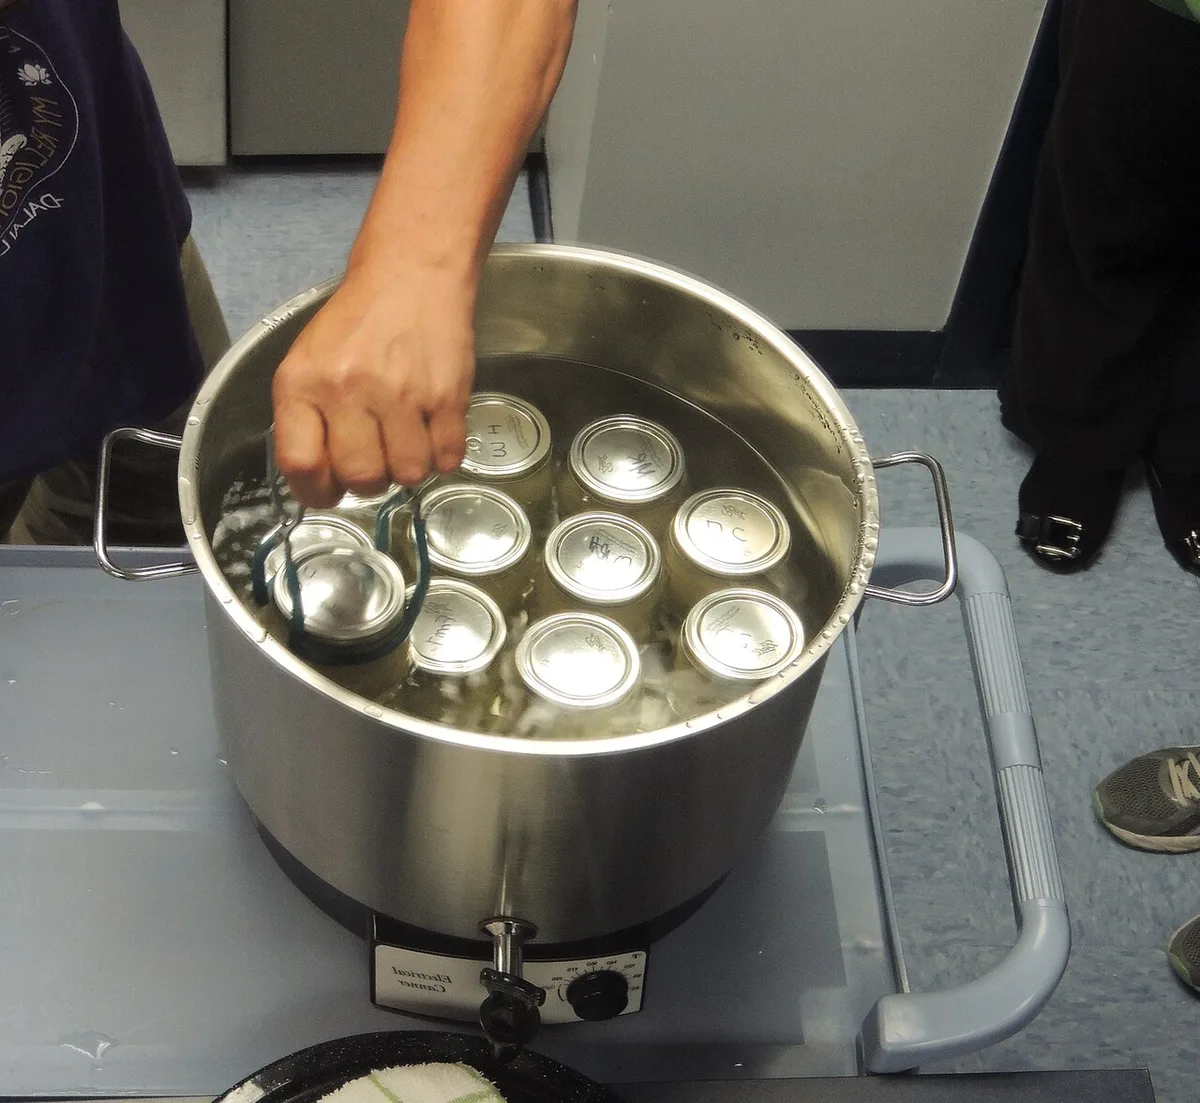
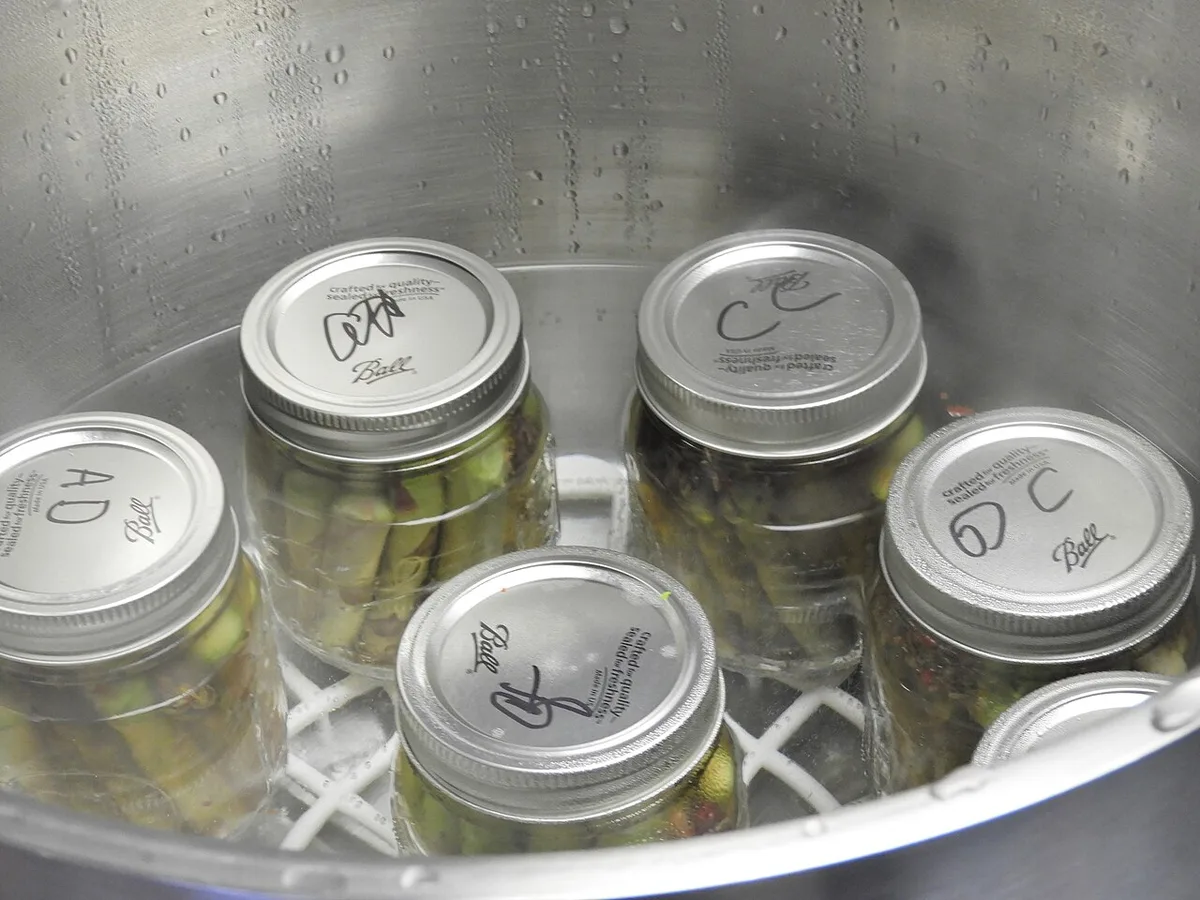
Image source: Wikimedia Commons / Nutrition, Food Safety & Health
- Inspect every jar. Look for nicks, cracks, or rough edges. Chipped glass can break in the canner and ruin the whole batch.
- Wash jars in hot, soapy water. Rinse well. Keep them hot until they go into the canner.
- Set jars upright on the canner rack. Pour in hot water to cover the jars by at least 1 inch.
- Bring the water to a full rolling boil. Start your timer when it's boiling fast, not when the jars first go in.
- Boil for 10 minutes. Add 1 extra minute per 1,000 feet above 1,000 feet.
- Remove the jars with a jar lifter. Tilt each one to drain the water back into the canner, then place it on the clean towel.
Keep the sterilized jars in the hot water until you're ready to fill them. The moment they cool to room temperature, they start picking up airborne microbes again.
Common Jar Sterilization Mistakes That Ruin Batches
Most canning failures trace back to a handful of avoidable errors. Here's where things go wrong.
Adding cold jars to boiling water. That's a recipe for thermal shock. The glass cracks, the batch is lost, and you've got a mess to clean. Always put jars into the canner before the water heats, or start with warm jars in warm water.
Trusting the oven or dishwasher. Oven "sterilization" uses dry heat, and it doesn't penetrate the same way moist heat does. It also stresses the glass unevenly. A dishwasher's hot water cycle never gets hot enough, long enough, to destroy stubborn spores.
Letting jars cool before filling. Sterilized jars are only sterile while they're hot. Once they sit on the counter, they're exposed to dust and bacteria from the air.
Forgetting altitude math. At 5,000 feet, a 10-minute boil isn't enough. You need 14 minutes. Check your elevation before canning season starts.
Touching the rims. Even clean fingers carry bacteria. Handle jars by the outside and the neck, not the rim.
Avoid these mistakes, and sterilization becomes a simple 15-minute step that protects every jar on your shelf.
Sterilized Jars vs. Clean Jars: What the Recipe Actually Means
The difference comes down to one factor: heat exposure.
If your recipe processes for 10 minutes or more, the boiling water bath sterilizes the jars while the food cooks. Clean jars are all you need. Wash them well, rinse, and fill.
If processing time is under 10 minutes, the bath can't finish the job. The jars must be pre-sterilized to kill spores before the food ever touches the glass.
Read the recipe's processing time first. That number decides everything.
Say you're canning strawberry jam. Most tested jam recipes process for 5 or 10 minutes. If yours says 5, sterilize.
If it says 10, you're clear.
Why long processing times do the work for you
Think about pickles processed for 15 minutes. The jars sit in boiling water long enough to neutralize lingering spores. That's the step that lets you skip separate sterilization.
When a pressure canner changes the equation
Pressure canners run at 240°F, not 212°F. That temperature kills botulism spores even in low-acid foods. Jars come out sterile after processing.
Clean jars going in are perfectly safe.
This is where people get confused. They sterilize jars for a pressure canner batch, and honestly, it's wasted effort. Clean hot jars suffice.
A full method-by-method comparison explains why.
One thing we see in our research: people over-sterilize for the wrong reasons. Sterilization isn't a ritual. It's a math problem.
Match the method to the recipe, and you're golden.
Jar Sterilization FAQs
Do I need to sterilize jars for pressure canning?
No. Pressure canning reaches 240°F, which is hot enough to destroy botulism spores. The jars sterilize themselves during processing.
Wash them thoroughly and keep them warm, but skip the 10-minute pre-boil. It's an unnecessary step for this method.
Can I use the dishwasher to sterilize jars?
Not reliably. A dishwasher's hot water cycle tops out around 140°F to 160°F, well below boiling. That heat kills some bacteria but leaves stubborn spores alive.
Dishwasher-dried jars are clean, not sterile. If your recipe needs true sterilization, use boiling water.
How long do sterilized jars stay sterile?
Only while they're hot. Once a jar cools to room temperature, airborne microbes start settling on the glass. Keep sterilized jars in the hot water bath until you're ready to fill them.
Don't boil jars an hour ahead and let them sit on the counter.
Does altitude really change processing time?
Yes. Water boils at lower temperatures as elevation rises. At 1,000 feet, add 1 minute of sterilization time.
At 5,000 feet, add 4 minutes. Check your elevation before canning season starts, then adjust every recipe accordingly.
Can I reuse commercial jars like pasta sauce jars?
Only if the manufacturer designed them for home canning. Most commercial jars have thinner glass and narrower shoulders. They can crack under the heat stress of a canner.
Standard Mason jars are tempered for repeated use. It's not worth the risk to save a few cents.
The Bottom Line on Safe Jar Sterilization
The rule fits on an index card: short bath means sterilize first. Long bath or pressure canner means clean jars are enough.
Check the processing time. Confirm your altitude. Keep the jars hot until the moment you fill them.
That's the whole system.
Here's the quick checklist:
- Jars inspected for cracks or chips
- Washed in hot, soapy water
- Boiled for 10 minutes plus altitude adjustment
- Kept hot until filling
- Handled by the body, not the rim
When to trust the process and when to double-check
Trust the process when you follow a tested recipe from a USDA or university extension source. Double-check when you adapt recipes, use old jars, or process at high altitude.
When in doubt, sterilize. It adds 15 minutes and removes a real risk. If a jar fails to seal after cooling, don't wipe the rim and reprocess.
Chill it and use it within a few days instead.

Similar Posts