Spider Plant Repotting: Secrets for Thriving Roots
Botanical Horticulturist & Food Preservation Specialist at Brittle Bloom · Certified Master Gardener & Master Food Preserver · 12+ Years in Plant Propagation & Food Preservation
Your spider plant is looking rough, and spider plant repotting is probably the fix it needs. The leaves are pale, the water runs straight through, and roots are squeezing out the drainage holes. These aren't random plant problems.
They're clear signals that the plant has run out of room beneath the soil.
As of 2026, the standard guidance from university cooperative extension services hasn't changed much: spider plants thrive when repotted every 12 to 18 months, or whenever the roots visibly overtake the pot. The good news? This is one of the most forgiving plants you'll ever own.
It won't punish you for waiting a month or two. Let's walk through exactly how to read the signals, do the job cleanly, and get the plant bouncing back within a week or two.
Quick Answer
Repot your spider plant when roots push out of the drainage holes or water runs straight through the soil. Choose a new pot that's 1 to 2 inches wider. Use standard potting mix with perlite added.
Water thoroughly after repotting, then wait 6 weeks before fertilizing.
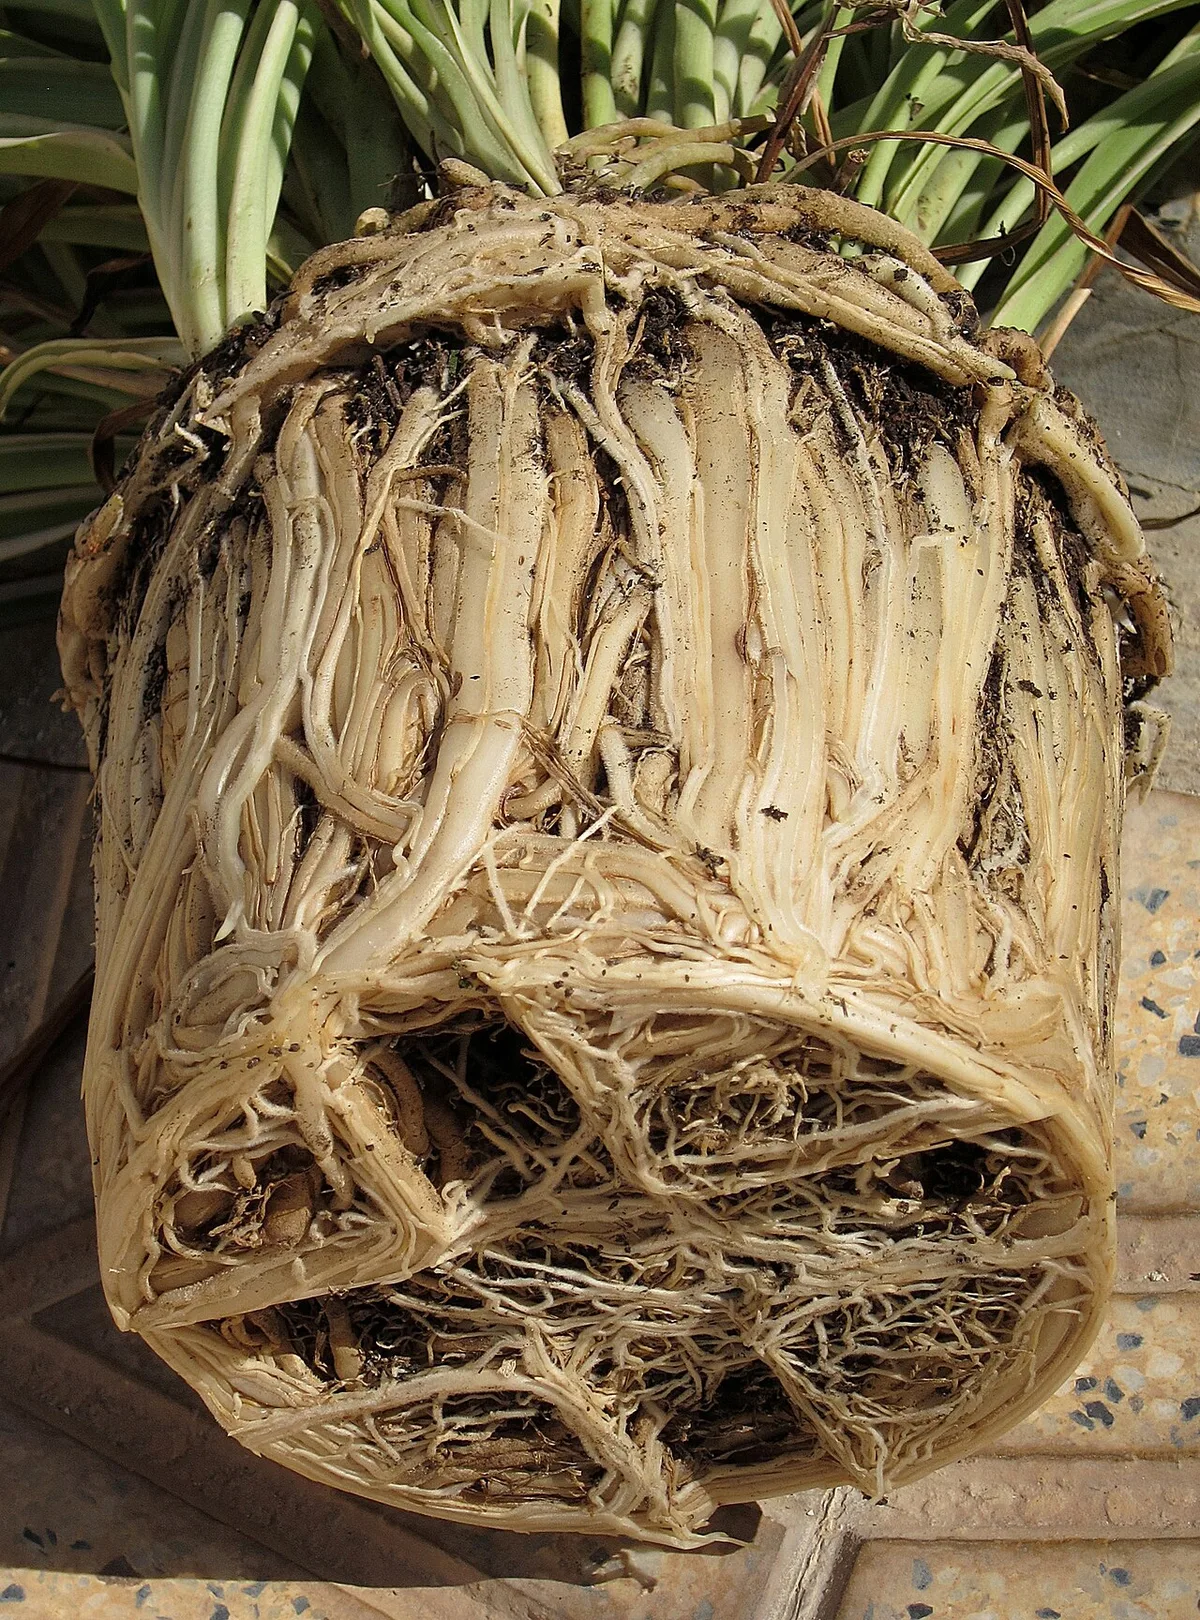
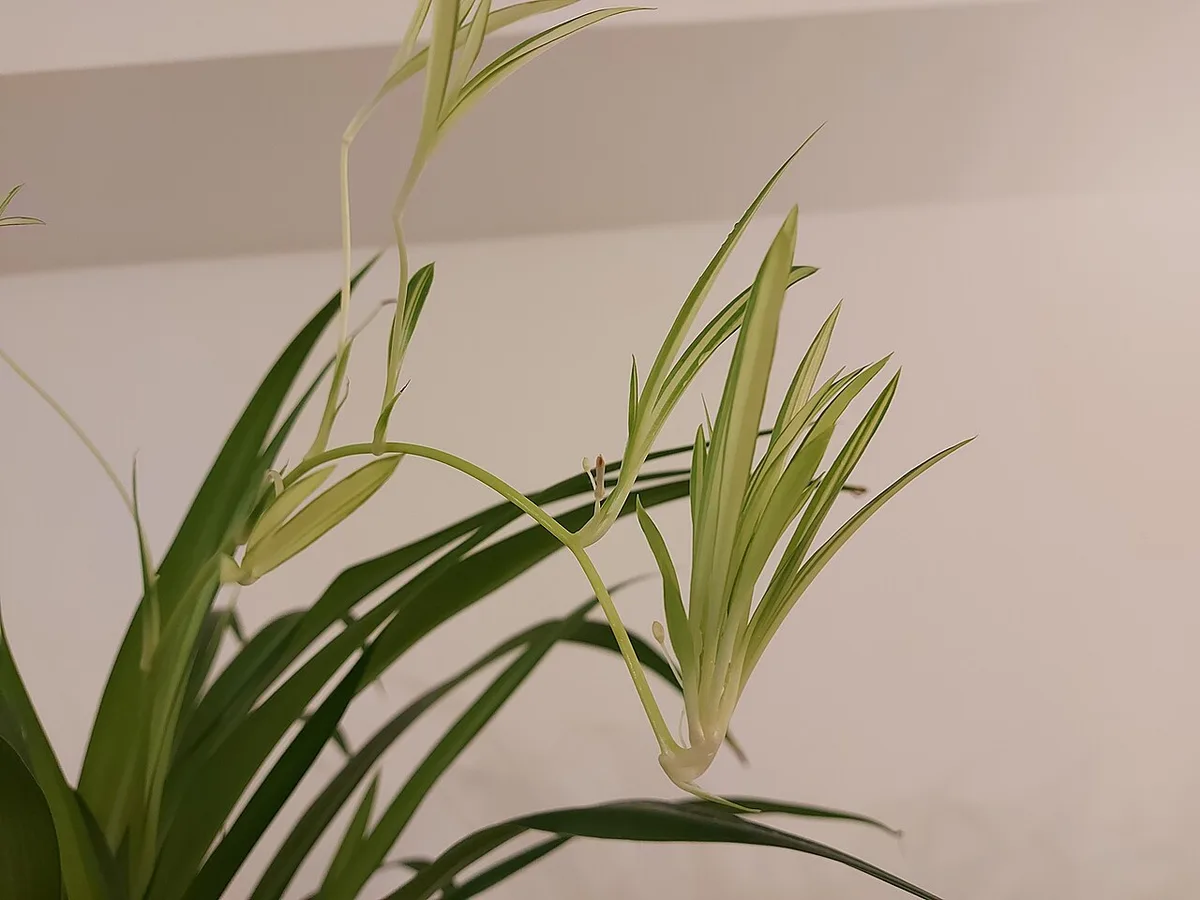
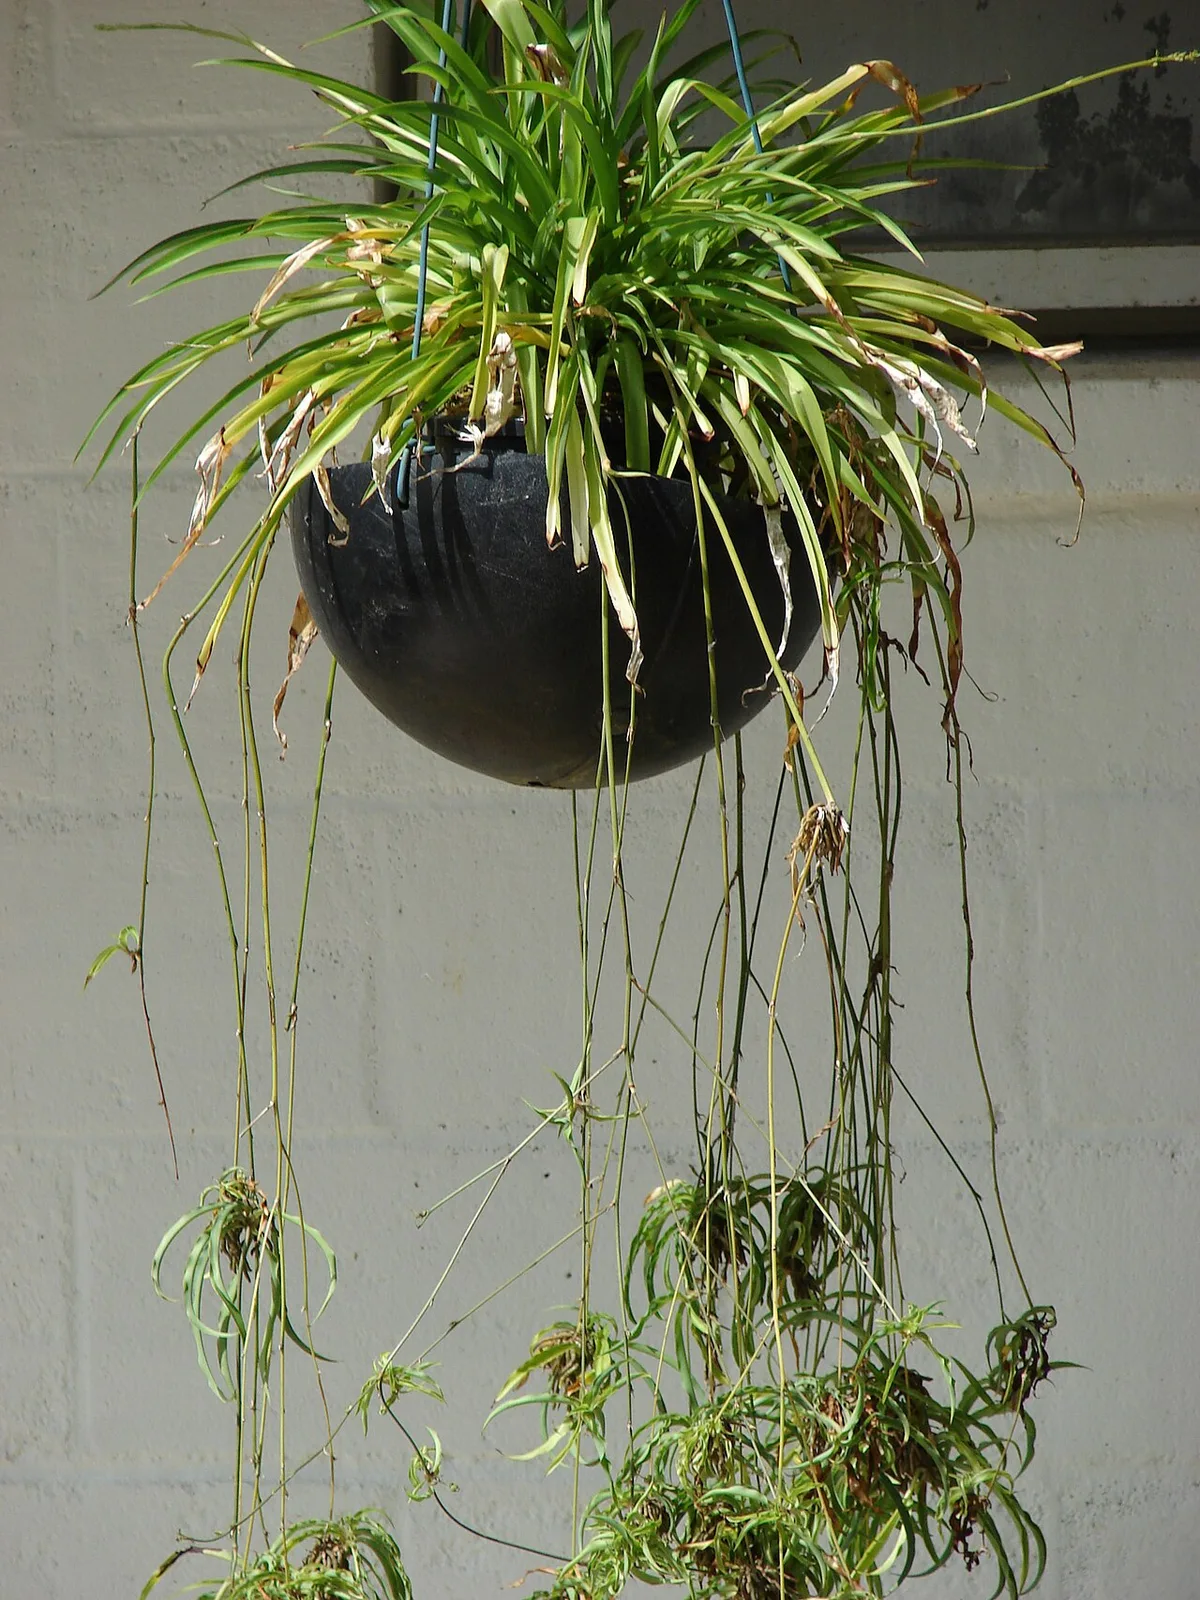
Image source: Wikimedia Commons / Keith Williamson (CC BY)
1. Is Your Spider Plant Begging for a New Pot?
Here's the tricky part about spider plants. They like being crowded. A snug root system actually pushes the plant to produce those trailing babies, the spiderettes you love so much.
So you can't just repot every year and call it good.
You have to look for physical signs that the plant has hit its limit. The good news is that those signs aren't subtle.
The Three Diagnostic Questions
If you answer "yes" to any of these three questions, it's time to repot. If you only answer "yes" to one, you've got a week or two. If two or three are true, make time this weekend.
- Are roots growing out of the bottom holes? Thick white tubers poking through the bottom are the most obvious signal. That means the root ball has completely filled the space.
- Does water run straight through the pot? When you water and it drains instantly, the soil has broken down. There's barely any dirt left to hold moisture.
- Is the pot bulging or distorted? Plastic pots will literally bend and bulge under root pressure. Terracotta pots might even crack.
The Decision Branch
Here's where the workflow forks, and you need to decide before you start.
- If the plant looks healthy, green, and is producing pups while still showing roots at the surface: leave it alone. It's happy. Crowded is fine.
- If growth has stalled, leaves are yellowing, or the soil dries out within a day: repot immediately. The plant has exhausted its soil.
There's a middle ground too. Sometimes only a few roots poke out, but the plant looks great. In that case, top-dressing, replacing the top inch of soil with fresh mix, buys you another six months.
That's a lighter intervention that lots of plant owners overlook.
2. What Actually Changes Before and After Repotting
Repotting isn't just "moving to a bigger house." It changes how the plant behaves on a fundamental level.
Why Snug Roots Matter
Spider plants produce spiderettes when they feel root-bound. That's the plant's survival instinct kicking in. It senses the space is getting tight, so it starts pushing out pups to colonize new territory.
If you move it to a huge pot, the plant relaxes and focuses all its energy on filling that new space with roots. Pup production stops. Sometimes for months.
That's why we recommend jumping up just 1 to 2 inches in pot diameter. Go bigger than that and you lose the pup production entirely. You also risk waterlogging, since all that extra soil stays wet much longer.
The Soil Breakdown Timetable
Fresh potting mix has structure and air pockets. After about 12 to 18 months, that structure collapses. The mix turns dense and dusty.
Water stops absorbing evenly and just channels straight down the sides of the root ball. This is a major reason why root-bound plants look thirsty even after you water them. The water never actually reaches the roots.
What the Plant Gains from Repotting
When done right, repotting delivers three concrete benefits:
- Fresh nutrients that help the leaves regain a deep, rich green color.
- Improved oxygen flow to the roots, which reduces the risk of root rot.
- More space for new tuberous root growth, which pushes out bigger, healthier leaves.
The plant loses nothing except a week of adjustment. That's a fair trade.
3. The 6-Step Repotting Routine That Won't Set You Back
Some plant owners hate repotting because they've lost plants to transplant shock. That usually happens because they made one of the classic mistakes. If you follow this routine, the plant shouldn't even blink.
Step 1: Water Your Plant 24 Hours Before
Give the plant a thorough drink the day before. Damp soil holds its shape better when you tip the pot over. It also keeps the roots hydrated and flexible, which means less breakage during handling.
Step 2: Coax the Plant Out Gently
Turn the pot sideways or upside down. Squeeze the sides of a plastic pot to break the suction. Tap the bottom of the pot on a table edge to loosen the root ball.
Do not grab the leaves and yank. The leaves rip before the roots release. If it's really stuck, run a knife around the inside edge of the pot.
Step 3: Loosen and Inspect the Root Ball
Once it's out, you'll see a dense mass of thick white tubers. That's a good sign. Use your fingers to gently tease the roots apart, especially at the bottom where they circle the pot.
If the roots are circling tightly, tease them loose so they'll grow outward instead of strangling themselves.
Step 4: Trim Where Necessary
Inspect for dark, mushy, or black roots. Those are rotting and need to go. Snip them with clean scissors.
You can also trim up to one-third of the healthy thick roots if you need to keep the plant in the same pot. This sounds brutal, but spider plant roots are tough and regenerate quickly.
Step 5: Position and Backfill
Add a layer of fresh soil to the bottom of the new pot. Set the plant on top so the crown, the point where leaves meet roots, sits about 1 inch below the rim. Hold it in place while you backfill around the sides.
Gently tap the pot to settle the mix. Don't compress the soil with your hands.
Step 6: Water Thoroughly
Water until liquid runs out the drainage holes. That flushes the soil into contact with every root and eliminates air pockets. Then drain the saucer completely.
Never let the pot sit in standing water.
4. What to Do With Those Spiderettes
Every spider plant eventually grows spiderettes, the baby plantlets that hang from the mother plant on long stems called stolons. When you repot, you need to make a decision about them.
Keep Them Attached
If you want a full, dramatic trailing look, leave the babies attached. The mother plant will continue feeding them. Just repot the whole thing as one unit.
It works fine as long as the stolons aren't tangled or broken.
Remove and Propagate
If you want more plants, now is the perfect time. Look for the spiderettes that have roots at least 1 inch long. Those are ready for independent life.
Here's the process:
- Snip the stolon a couple of inches away from the baby.
- Plant the spiderette directly in a small pot of moist potting mix.
- Keep the soil consistently damp, not soggy, for the first two weeks.
- Place it in bright, indirect light.
Spiderettes without visible roots can still propagate, but they need different treatment. Instead of planting them directly, rest them on top of moist soil in a shallow tray. They'll put out roots within a couple of weeks.
Then you can plant them.
The "Too Many Babies" Problem
Here's a real scenario. You repot a mother plant and suddenly have 15 spiderette babies sitting around. What do you do?
- Give them away. Spider plants are the ultimate sharing plant.
- Pot several together. Three spiderettes in one pot creates a fuller plant faster than one alone.
- Mulch them. If you truly have too many, the greenest thing is to compost the extras. Don't toss them in the trash.
That's the beauty of this plant. It's practically self-replicating.
5. The Aftermath: Managing Transplant Shock
Expect some drama for the first few days. That's not a sign of failure. Even the smoothest repotting is still a disturbance to the root system.
What "Normal" Looks Like
In the first 3 to 7 days after repotting, you might see:
- Drooping leaves that look tired and less perky.
- Slightly pale or washed-out green color.
- One or two yellow lower leaves falling away.
- Slowed leaf growth for a week or two.
These are all normal stress responses. The plant is redirecting energy into root recovery.
What You Should Do (and Not Do)
- Keep light bright but indirect. Direct sun right now burns stressed leaves.
- Maintain slightly moist soil, but don't water again until the top inch feels dry.
- Don't fertilize. The fresh soil already contains nutrients. Adding more too soon burns tender new roots.
- Wait a full 6 weeks before feeding with any fertilizer.
When to Worry
Watch for leaves that turn completely yellow and collapse en masse, a soft, mushy stem base, or black roots when you check. Those are signs of overwatering after repotting, not transplant shock. If the pot has no drainage holes, that's almost certainly the culprit.
Repot again into a pot with drainage, trim the mush, and the plant will recover.
The Recovery Timeline
Most spider plants bounce back fully within 10 to 14 days. If your plant is still looking rough after 3 weeks, check for rot. If it's actively growing new leaves, you're in the clear.
Give it time.

Similar Posts