Spider Plant Care Guide
Botanical Horticulturist & Food Preservation Specialist at Brittle Bloom · Certified Master Gardener & Master Food Preserver · 12+ Years in Plant Propagation & Food Preservation
Your spider plant has brown tips, droopy leaves, or maybe it just refuses to grow those cute baby plantlets. Sound familiar? This spider plant care guide walks you through the most common problems and the exact fixes that work, based on the conditions in your home.
The good news: spider plants (Chlorophytum comosum) are famously forgiving. According to the NASA Clean Air Study, they’re also one of the few houseplants proven to remove indoor air pollutants like formaldehyde. As of 2026, they remain a top choice for beginners and busy plant parents alike.
Let’s figure out what your plant is telling you.
Why Your Spider Plant Looks Off
Plants don’t talk, but they do signal. The trick is learning to read those signals before things get worse.
Spider plants are resilient. They can survive neglect, low light, and missed waterings. But they’re also dramatic when unhappy.
Brown leaf tips, yellowing foliage, and stunted growth all point to specific care issues. The challenge is that different symptoms can share the same cause, so context matters.
Here’s the mental model: treat your spider plant like a patient describing symptoms. Each symptom narrows down the likely cause. Then you adjust one variable at a time.
| Symptom | Likely Cause | Quick Fix |
|---|---|---|
| Brown leaf tips | Fluoride in tap water, low humidity, salt buildup | Use distilled water, flush soil |
| Yellow, mushy leaves | Overwatering or root rot | Let soil dry out, check drainage |
| Pale, bleached patches | Direct sun exposure | Move to bright but indirect light |
| Drooping, limp leaves | Underwatering or heat stress | Water deeply, move away from vents |
| No pups forming | Pot too spacious or too young | Let roots get snug, wait for maturity |
Notice the pattern? Most spider plant problems trace back to watering habits and light placement. Get those two right, and the rest tends to fall into place.
The Quick Answer: Light, Water, Soil, and Potting
Spider plants want bright, indirect light. That’s the sweet spot. Direct morning sun is tolerable for a few hours, but harsh afternoon rays will scorch those striped leaves.
If you’re unsure, a spot a few feet back from a north or east-facing window works beautifully.
Watering is where most people go wrong. Spider plants store water in their thick, tuberous roots. They prefer drying out between waterings. Stick your finger about an inch into the soil.
If it’s dry, water thoroughly. If it’s still damp, wait another few days.
The soil needs to drain well. A standard indoor potting mix with some perlite or sand added works great. Avoid dense, moisture-retaining soils that stay soggy for days.
That’s a one-way ticket to root rot.
Temperature-wise, keep your plant between 60°F and 75°F (15°C to 24°C). Cold drafts and heat vents both stress the plant. Consistent room temperature is ideal.
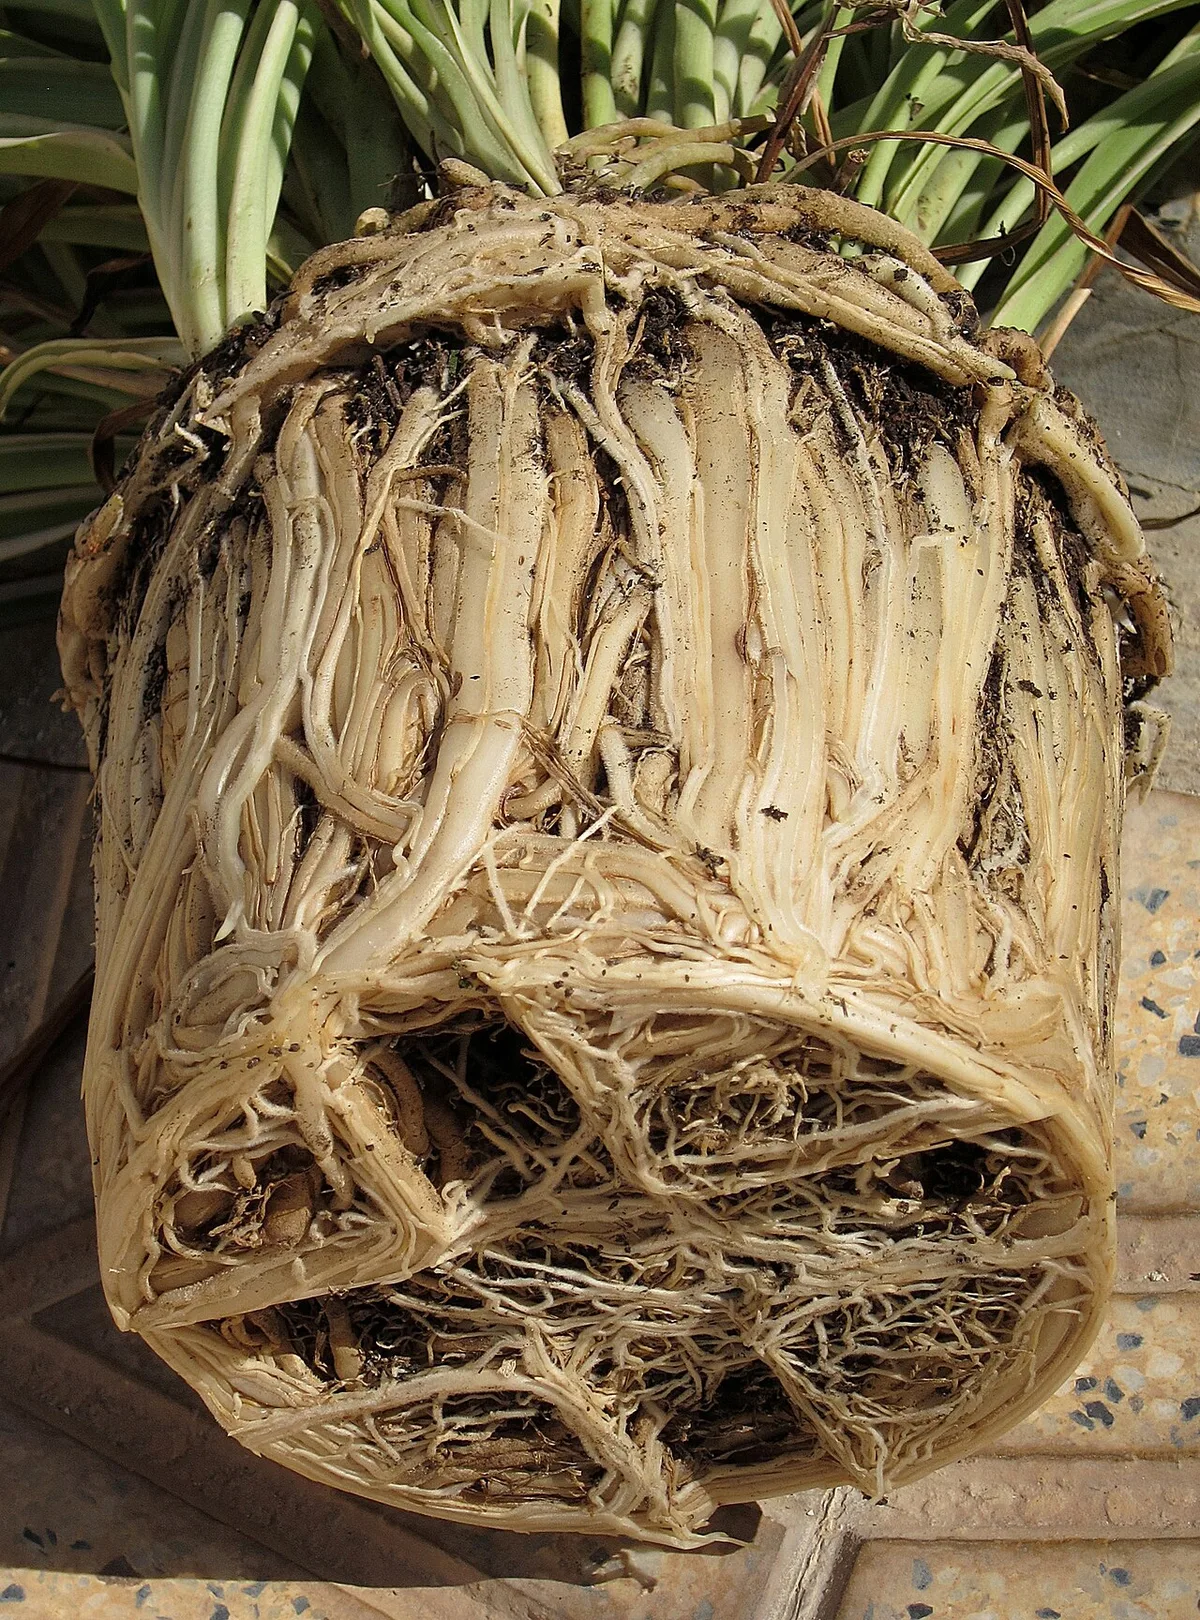
The pot matters too. Spider plants actually thrive when slightly root-bound. That snug feeling triggers pup production.
If your pot is too large, the plant focuses on root growth and skips making babies.
How to Diagnose Spider Plant Problems
Now let’s get specific. Different issues require different fixes. Here’s how to diagnose what’s actually wrong.
Brown Leaf Tips
This is the most common complaint. If the tips of your spider plant’s leaves are turning brown and crispy, the usual culprits are:
- Fluoride in tap water. Spider plants are sensitive to it. Switch to distilled or rainwater, and you’ll likely see improvement within a few weeks.
- Low humidity. Dry indoor air, especially in winter, makes leaf tips brown out. Grouping plants together or using a pebble tray helps.
- Fertilizer salt buildup. If you fertilize regularly without flushing the soil, salts accumulate and burn the tips. Flush the pot with water every month or two.
Yellowing Leaves
Yellow leaves usually mean too much water. Spider plants like their soil to dry out between waterings. If the soil stays soggy, the roots can’t breathe and begin to rot.
Check the drainage holes. If water pools at the bottom, your pot might be trapping moisture. Also, look at the roots themselves.
Healthy roots are white and firm. Rotting roots are brown, mushy, and smell bad.
If you catch root rot early, repot into fresh, well-draining soil and trim away damaged roots. The plant can recover, but it needs time.
Pale Leaves and Lost Variegation
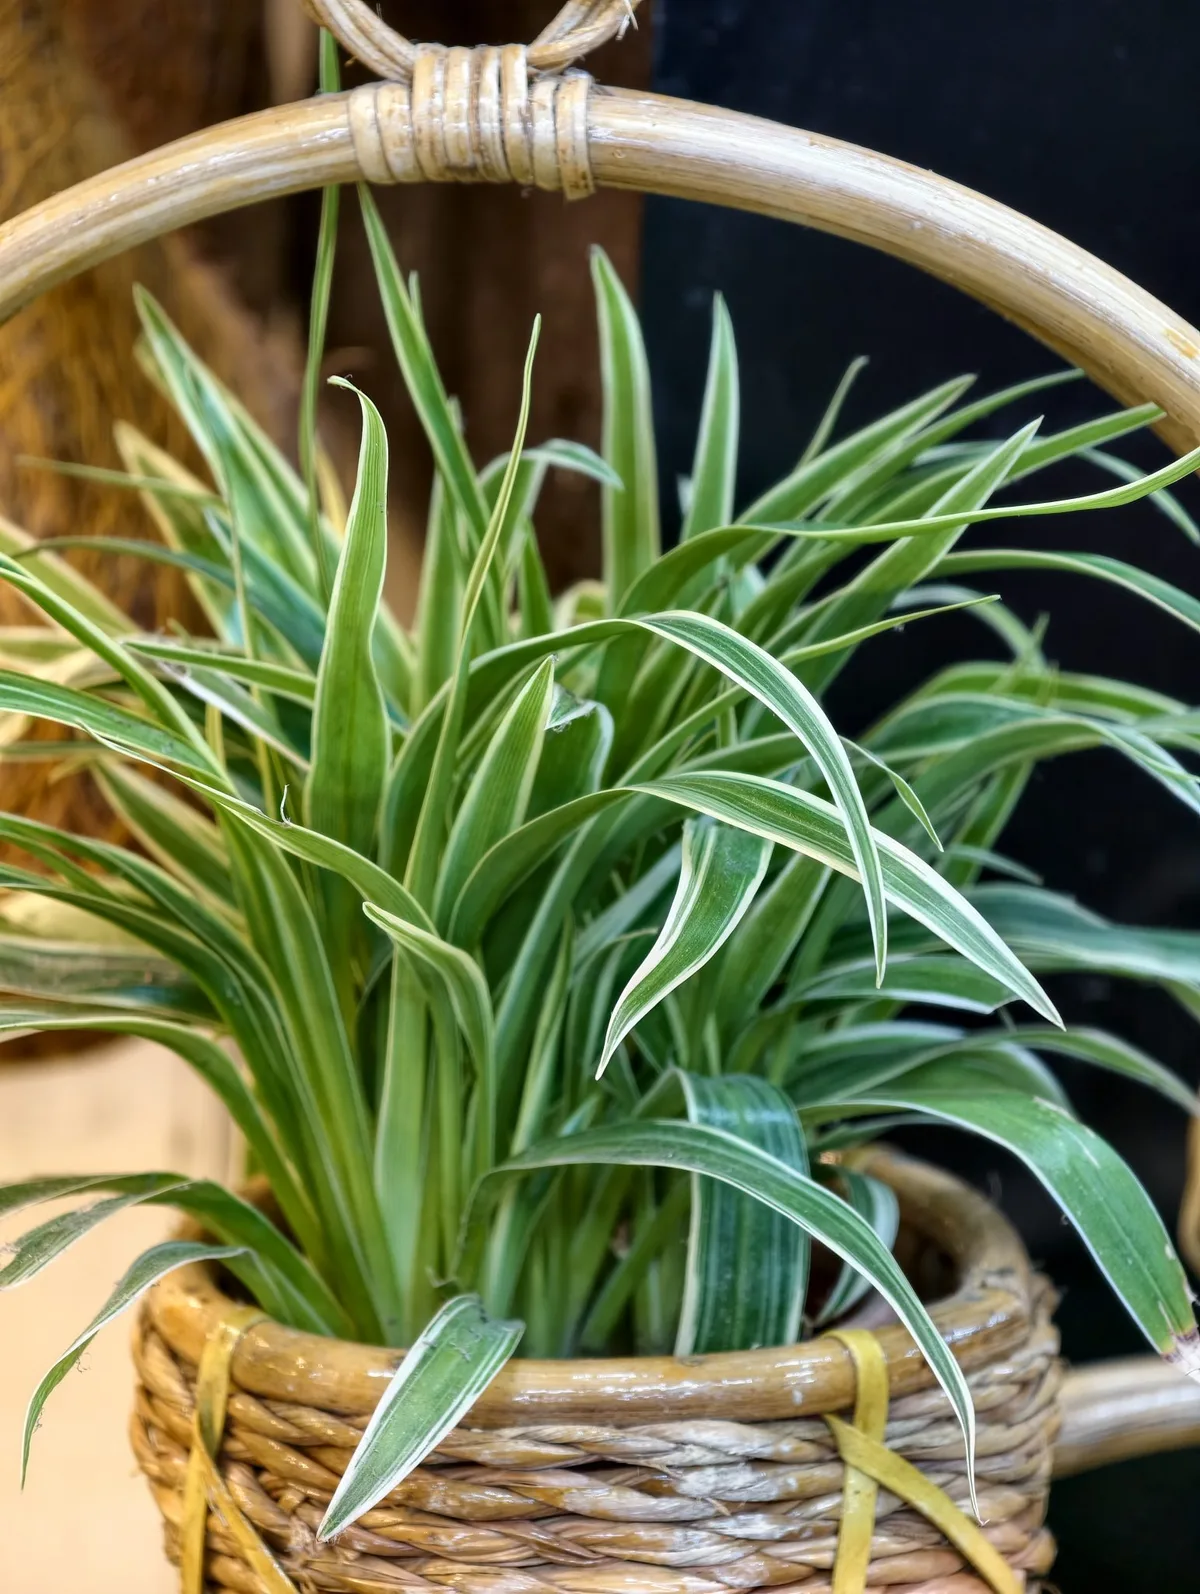
Those white and green stripes are the spider plant’s signature look. When they fade, light is usually the problem. Too little light means the plant produces less chlorophyll in the variegated areas, making them look washed out.
Move the plant to a brighter spot. That said, keep it out of direct afternoon sun. The goal is bright, indirect light for most of the day.
No Pups Forming
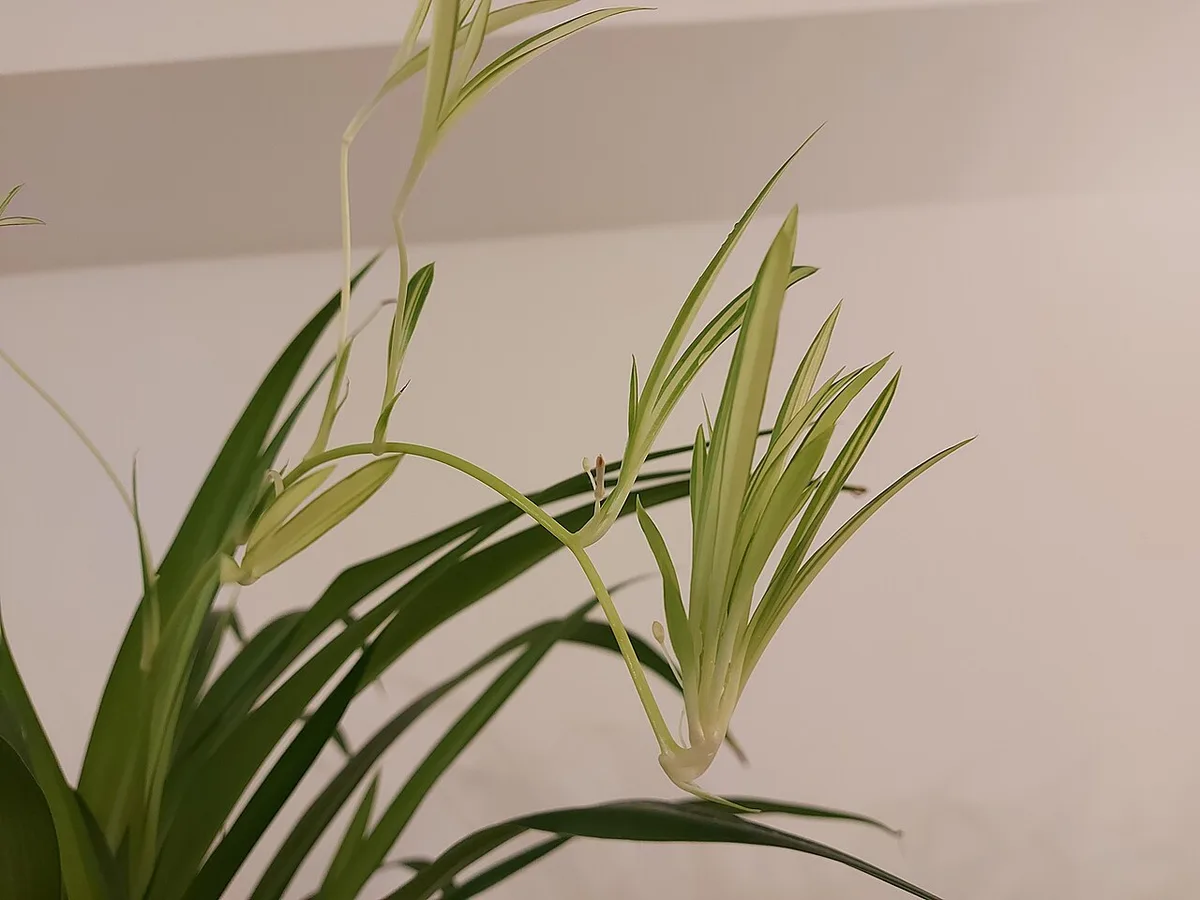
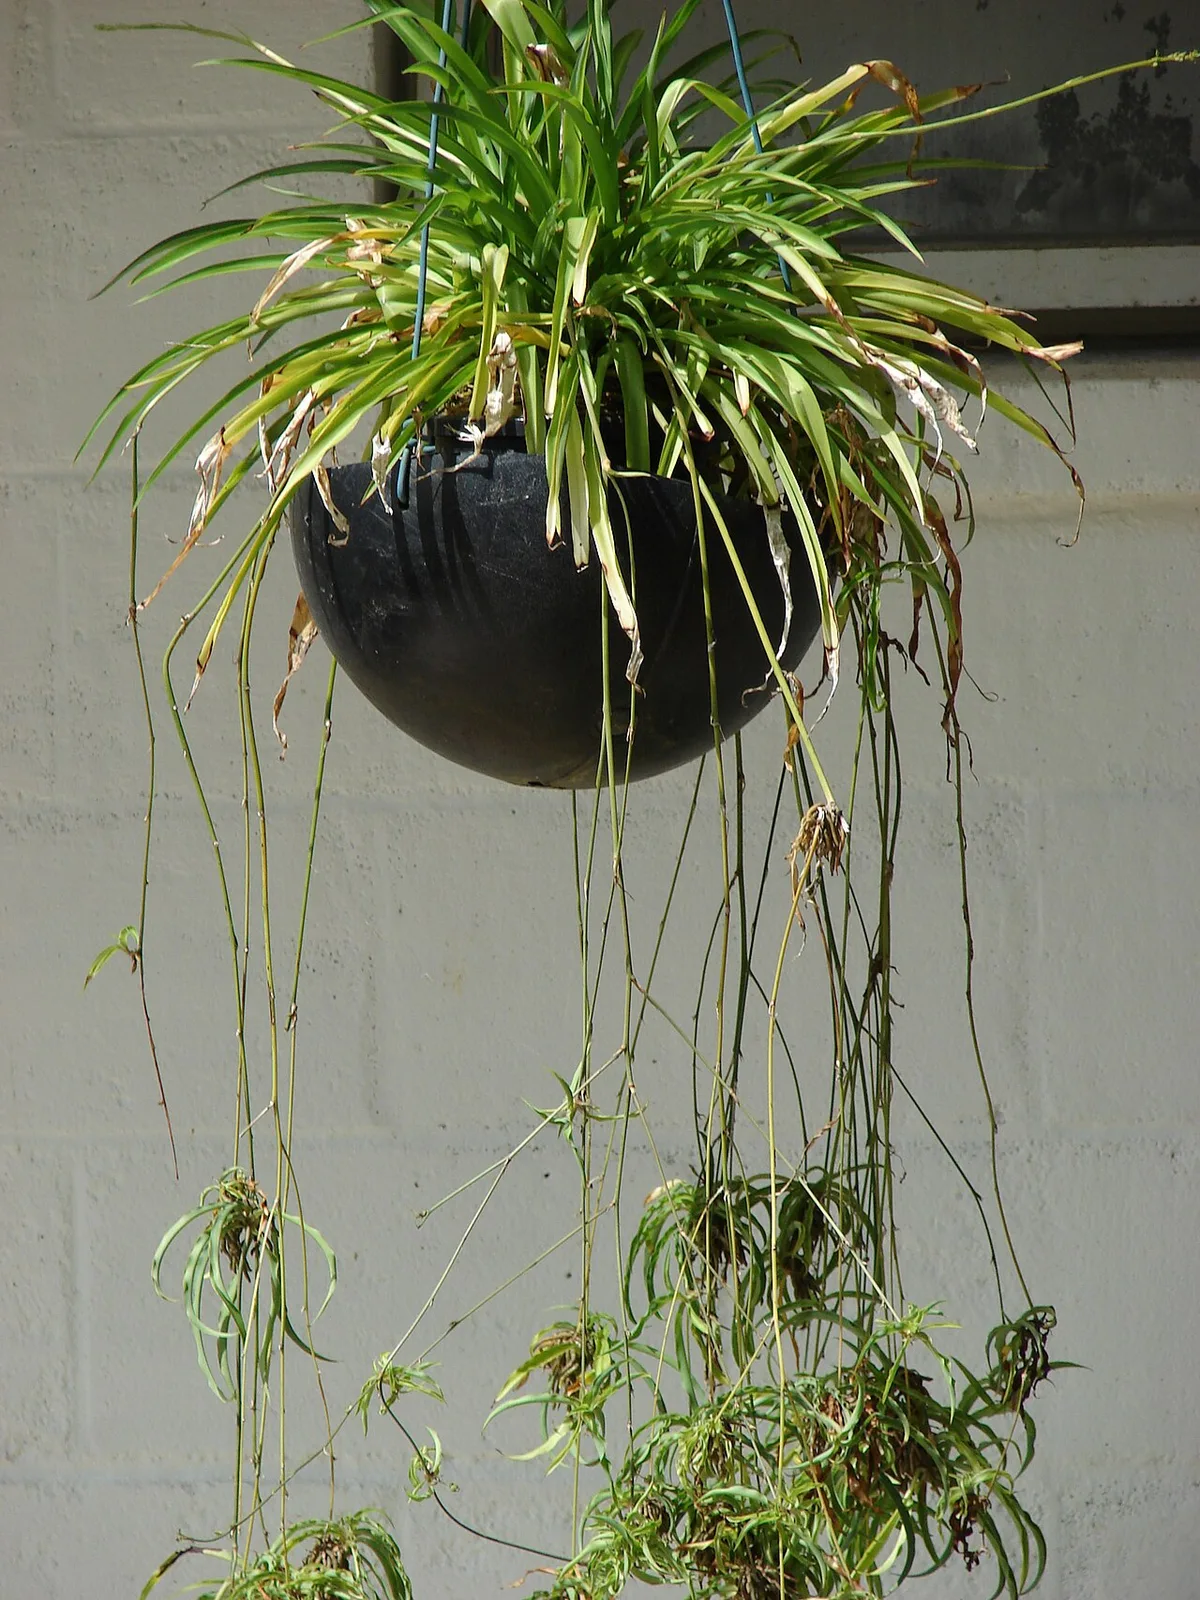
Spider plants produce baby plantlets, called spiderettes or pups, when they’re happy and slightly root-bound. If yours isn’t producing any, check two things. First, is the plant mature enough?
Young plants need a year or two before they start pup production. Second, is the pot too big? A spacious pot delays pup formation because the plant prioritizes root growth.
Move it to a snugger pot if needed. And don’t be afraid to let the roots fill in. That’s exactly what you want.
Common Pests
Spider plants are generally pest-resistant, but they’re not immune. Watch for spider mites, mealybugs, and aphids. Spider mites leave fine webbing on leaves.
Mealybugs look like tiny white cottony spots. Aphids cluster on new growth.
Treat infestations early with a gentle insecticidal soap or a strong spray of water. Isolate the plant to keep pests from spreading to your other houseplants.
Image source: iNaturalist / Irene
Step-by-Step Care: Watering, Repotting, and Propagating Pups
Let’s walk through the practical care routine step by step.
Watering the Right Way
The finger test is simple and reliable. Stick your index finger about an inch into the soil. If it feels dry, water thoroughly.
If it feels damp, wait a few more days.
When you water, do it deeply. Let water run through the drainage holes until the soil is saturated. Then empty the saucer so the pot doesn’t sit in standing water.
Seasonal adjustments matter. Spider plants grow actively in spring and summer, so they need more water then. In fall and winter, growth slows, and you can ease off. Let the soil dry out more fully between waterings.
Repotting Without Shock
Repot every 12 to 24 months or when roots push through the drainage holes. Choose a pot one or two sizes larger. Any bigger, and you risk overwatering issues.
Gently remove the plant from its current pot. Loosen the root ball with your fingers. Place it in the new pot and fill around the edges with fresh potting mix.
Water thoroughly and let it settle.
The best time to repot is spring. The plant is entering its active growth phase and recovers faster.
Dividing the Root Clump
If your spider plant has grown large, you can divide it during repotting. This is a free way to get more plants. Simply cut the root ball into sections, each with healthy leaves and roots.
Pot each section separately.
Divide every few years to keep plants vigorous. Overcrowded roots can strangle each other over time.
Propagating Spiderettes
Once your plant produces pups, propagation is easy. Two methods work well:
- Water propagation. Snip the pup off the stolon. Place the base in a small jar of water. Roots appear within one to two weeks. Once roots are an inch or two long, pot in soil.
- Soil propagation. Leave the pup attached to the mother plant and press its base into a small pot of moist soil nearby. After a few weeks, roots anchor, and you can cut the stolon.
Both methods work reliably. Water propagation is easier to watch progress. Soil propagation skips the transplant step.
Flushing Soil to Prevent Salt Buildup
Fertilizer salts accumulate in potting soil over time. This buildup causes brown leaf tips. Flush the soil every month or two to wash away excess salts.
Take the plant to a sink or outside. Run water through the soil slowly for a few minutes until it drains clear. Let the pot drain completely before returning it to its spot.
This simple habit prevents many nutrient-related problems.
Mistakes to Avoid: Overwatering, Salt Buildup, and Wrong Light
Even experienced plant parents make mistakes with spider plants. Here are the most common ones and how to avoid them.
Overwatering is the number one killer. More spider plants die from too much water than too little. The thick roots store water, so dry spells are manageable. Soggy soil is not.
When in doubt, skip a watering. The plant will forgive you.
Wrong light placement causes slow decline. Too much direct sun burns leaves and fades the variegation. Too little light makes the plant grow thin and leggy. Bright, indirect light is the Goldilocks zone.
Ignoring water quality is a quiet problem. Tap water with fluoride or chlorine causes brown tips over time. If you notice browning despite consistent watering, switch to distilled water. Many people don’t realize this simple fix solves their issue.
Skipping seasonal adjustments is common. Watering the same amount year-round ignores the plant’s natural growth cycle. Ease off in winter. Ramp up in spring.
Your plant will respond accordingly.
Forgetting to flush the soil slowly poisons the plant. Regular fertilizing without flushing creates salt buildup, which looks like overwatering. If you fertilize monthly, flush the soil every second or third month.
Spider plants are forgiving, but they’re not indestructible. Avoid these five mistakes, and your plant will reward you with lush foliage and a steady supply of pups for years to come.

Similar Posts