Spider Plant Propagation: Easy Steps for More Plants
Botanical Horticulturist & Food Preservation Specialist at Brittle Bloom · Certified Master Gardener & Master Food Preserver · 12+ Years in Plant Propagation & Food Preservation
You don't need a green thumb to turn one spider plant into a whole houseplant collection. Spider plant propagation is one of the most forgiving, low-pressure plant projects you can try, and the success rate is genuinely high when you follow a few simple rules. If you've got a healthy mother plant sitting in a pot, you already have everything you need to start multiplying it for free.
As of 2026, spider plants remain one of the most common houseplants in American homes, and for good reason. A single mature Chlorophytum comosum can send out dozens of spiderettes over one growing season, and those plantlets root successfully in about nine out of ten attempts when handled correctly. Two reliable methods exist, and your choice comes down to how hands-on you want to be.
Quick Answer
Spider plant propagation means rooting the plantlets that grow on the mother plant's long runners. The two best methods are water propagation and soil propagation. Water rooting is faster and more satisfying to watch.
Soil rooting skips the transplant step and reduces shock. Try water first if you're a beginner, soil if you want less handling.
Which Method Should You Actually Use?
There's no single right way to do this. The method that works best for you depends on your current setup, your patience, and the state of your mother plant.
If you have a healthy, mature plant with visible spiderettes, water propagation is your fastest option. Roots usually appear within 7 to 10 days, which is quick enough that you'll see progress before you lose interest. It's also the most rewarding route because you get to watch the roots develop day by day in a clear jar.
Choose this if you're a beginner or if you want a fun project for kids.
If you prefer a low-touch approach, go straight to soil. Plant the spiderette directly into a small pot of potting mix, and it will root in roughly 3 to 4 weeks. The advantage here is that you never subject the cutting to the stress of moving from water to soil, which is where many otherwise healthy plantlets fail.
This method suits anyone who tends to forget about their plants for a few days at a time.
If your plant is overcrowded and root-bound, skip the spiderettes entirely. Division is the better move. You pull the whole plant out, split the root ball into sections, and repot each section as an independent plant.
It's more invasive upfront, but you end up with two or three mature plants instantly rather than waiting months for cuttings to catch up.
What if your spiderettes have no visible roots yet? They'll still root fine. Water propagation takes a bit longer to show progress, often closer to 2 weeks, but the the success rate stays high as long as the plantlet is at least 2 inches long.
| Method | Best for | Time to root | Transplant shock |
|---|---|---|---|
| Water propagation | Beginners, kids | 7-10 days | Medium |
| Soil propagation | Low-maintenance | 3-4 weeks | Low |
| Division | Root-bound plants | Instant | Medium |
Whatever method you choose, time it for spring or summer. The plant's active growth phase makes rooting faster and more reliable. Winter propagation works, but the timeline stretches considerably.
What You'll Need Before You Start
Spider plants are stubborn survivors, so you won't need much. Here's the complete shopping list.
- Clean, sharp scissors or pruning shears.
- A small clear glass jar for water propagation.
- Small pots with drainage holes, 4-inch pots are ideal.
- Well-draining houseplant potting mix.
- Fresh, room-temperature water.
Sanitizing your scissors matters more than people expect. Wipe the blades with rubbing alcohol before cutting. A quick swipe kills bacteria that could enter the fresh wound and cause rot.
This one step takes ten seconds and saves you from losing cuttings to stem rot.
Skip the rooting hormone. There is no evidence that spider plant cuttings benefit from it, and in many cases it does more harm than good. The plant roots readily on its own.
The University of Minnesota Extension notes that most common houseplants, including spider plants, propagate easily without any chemical assistance if you just follow basic sanitation practices. Water quality deserves more attention than people give it. Tap water with high fluoride causes those classic brown tips at the leaf ends.
Filtered water or rainwater avoids the problem entirely. Regular tap water still works, but you'll see the difference within a few weeks of switching.
| Item | Why you need it | What to look for |
|---|---|---|
| Scissors | Clean cuts | Sharp, sanitized |
| Glass jar | Water rooting | Clear, any size |
| Pot | Soil rooting | Drainage hole, 4-inch |
| Potting mix | Rooting medium | Houseplant mix |
| Water | Root development | Room temp, low fluoride |
Don't start a new cutting in a huge pot. Excess soil holds too much water, and that trapped moisture rots the tender young roots before they can establish. A small 4-inch pot is plenty for the first several months.
How to Propagate from Spiderettes (The Easier Way)
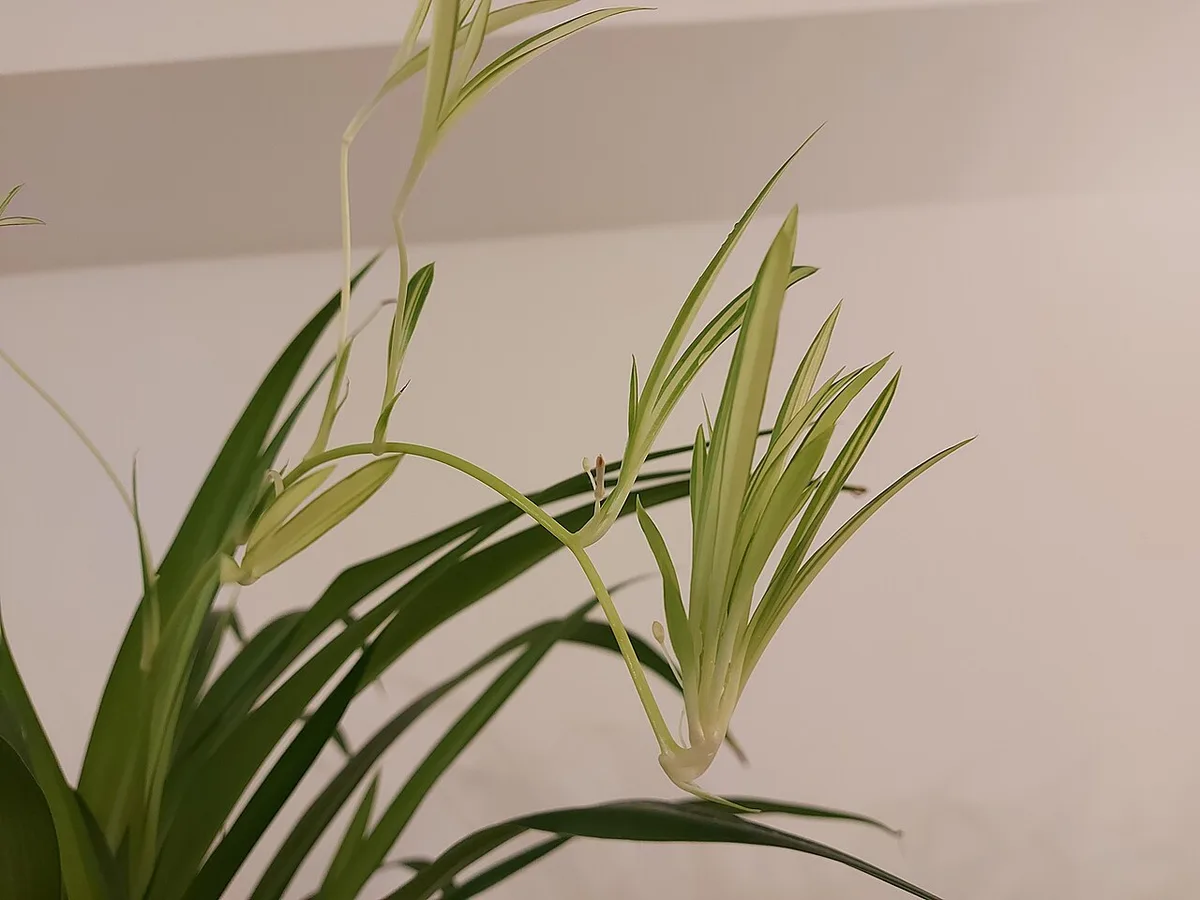
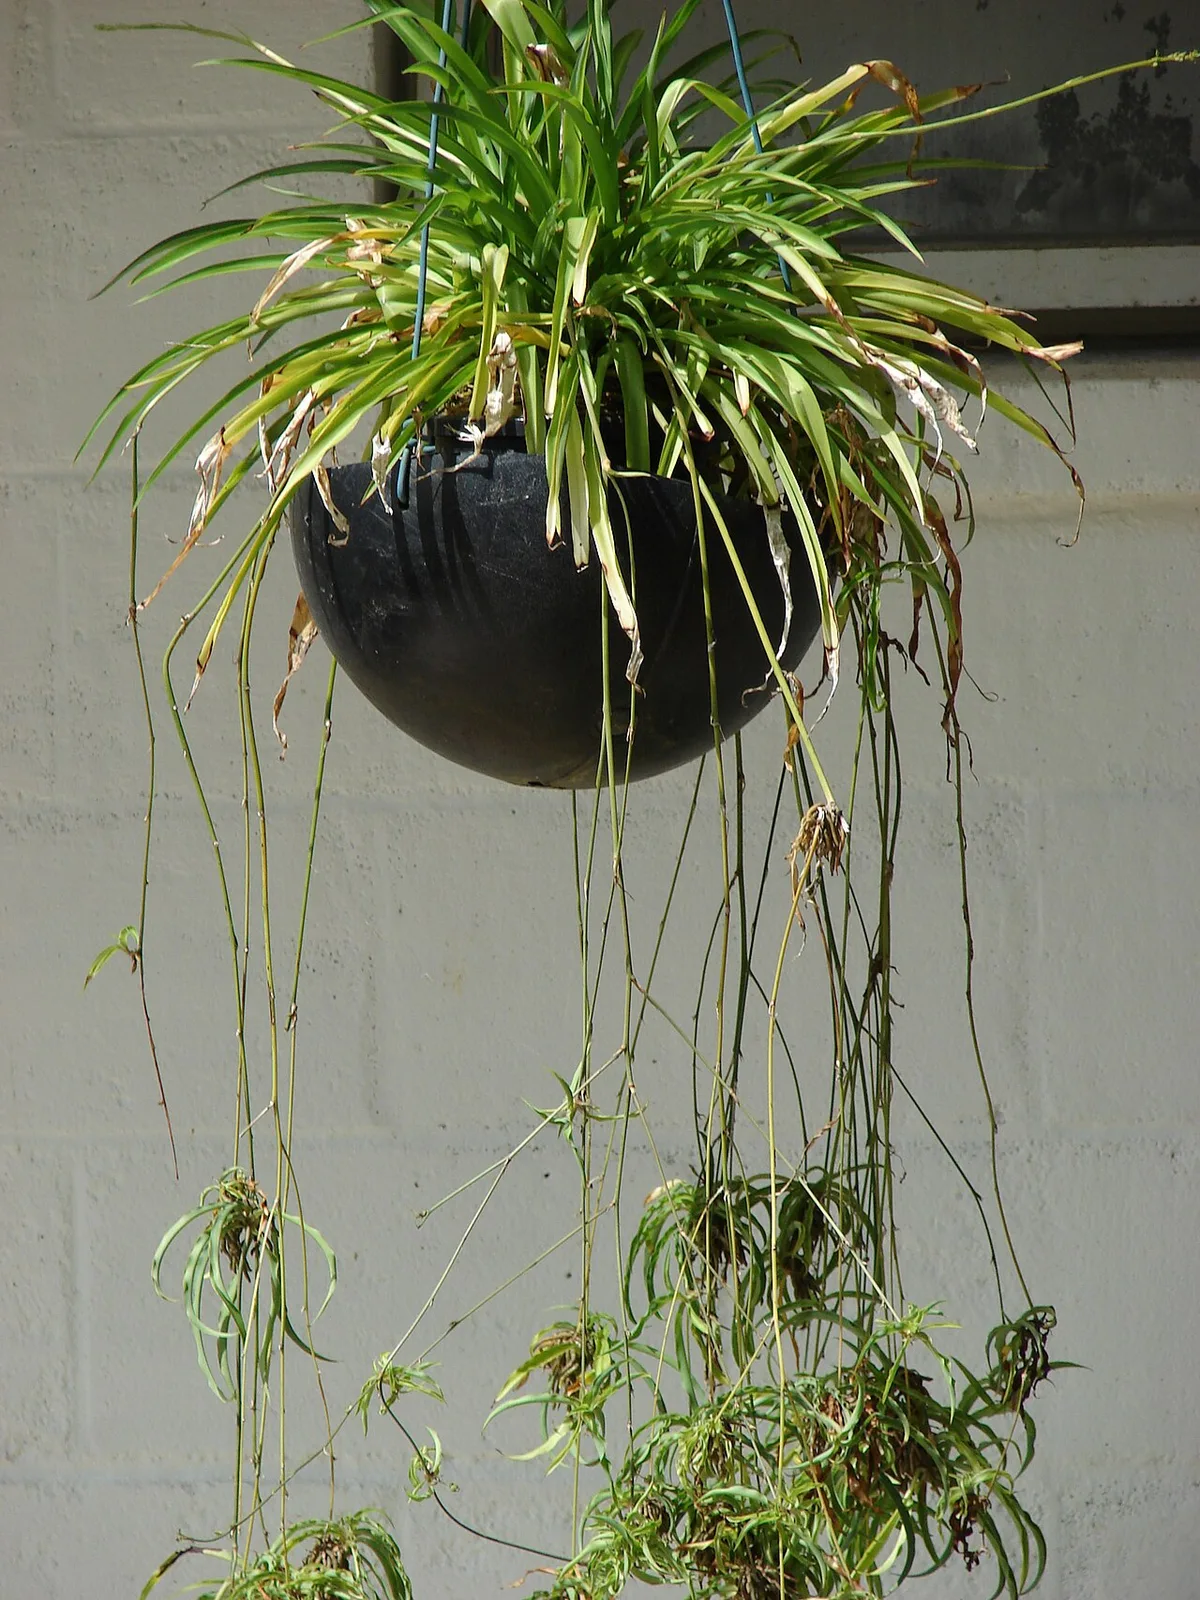
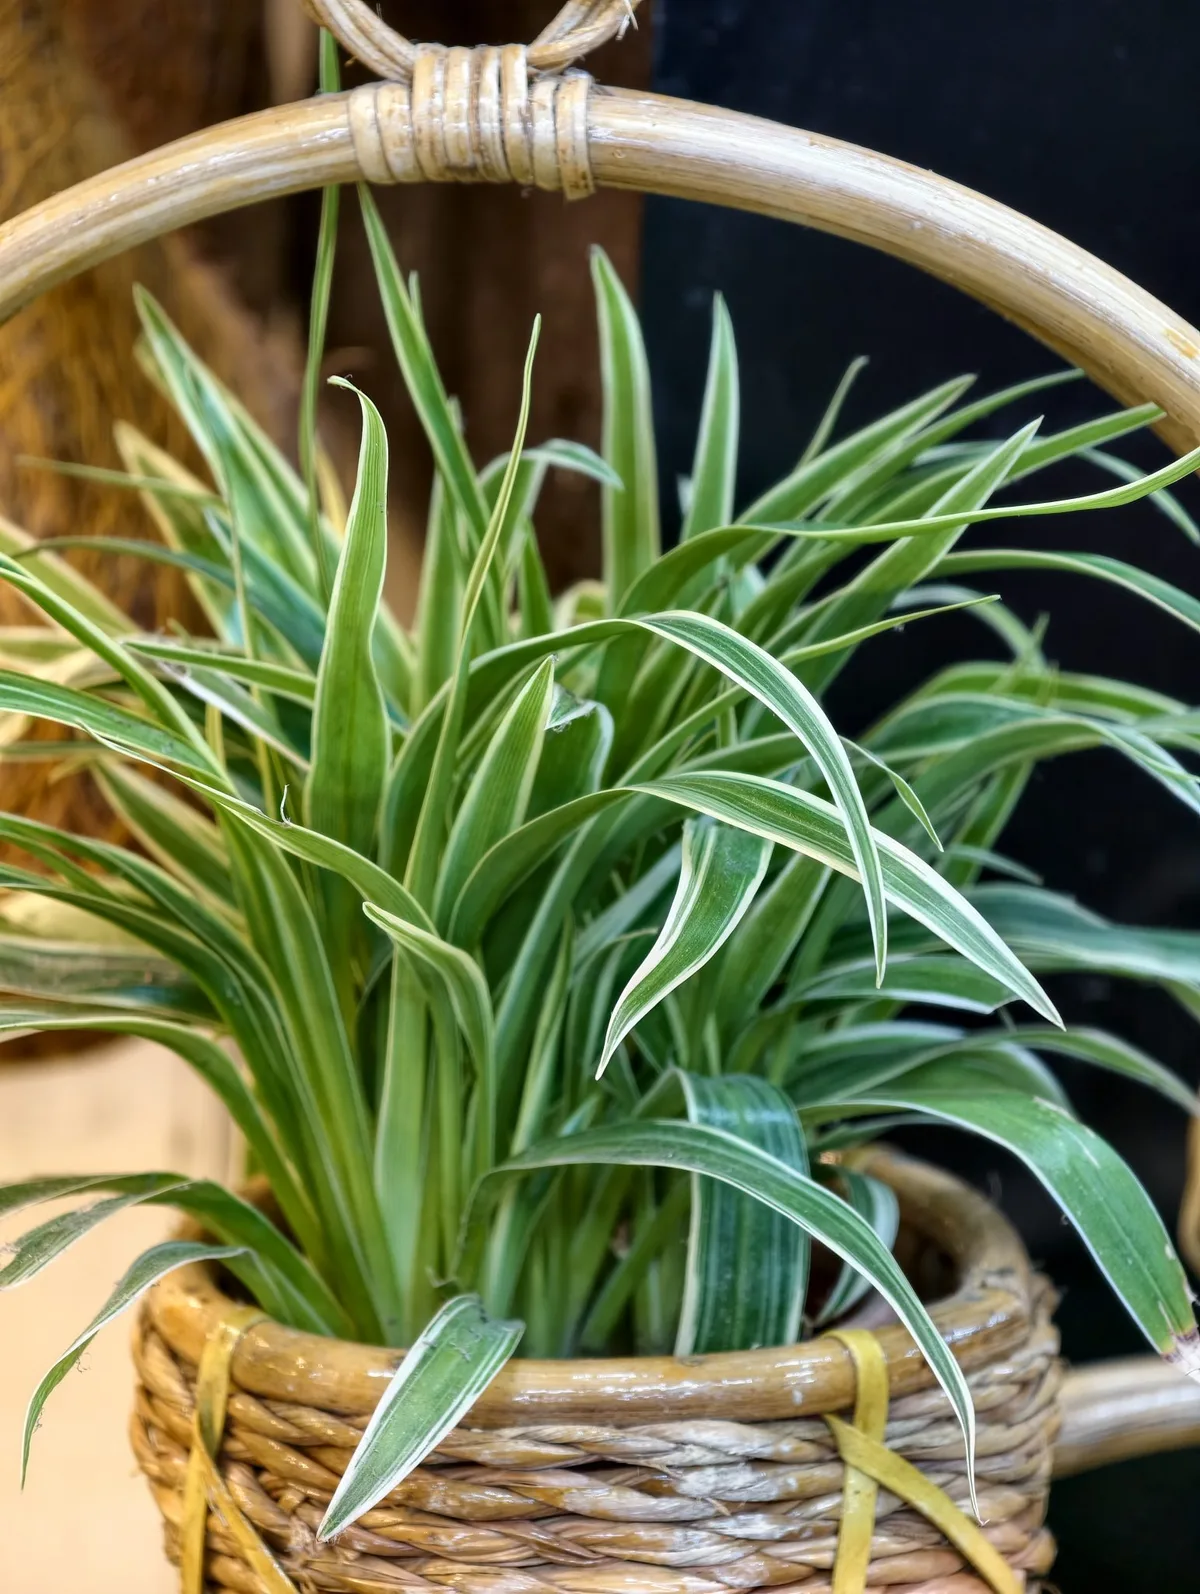
The spiderettes are the little plantlets that sprout from the ends of long runners extending out from the mother plant. They're ready to cut when they're at least 2 inches long and have several well-developed leaves.
Here's the water method step by step:
- Choose a plantlet that's at least 2 inches long with visible baby roots or nubs at the base.
- Cut the stolon, which is the runner connecting it to the mother plant, about 2 inches below the plantlet.
- Place the plantlet in a jar of water. Only the bottom portion should be submerged, so the leaves stay completely dry.
- Position the jar in bright, indirect light. Direct sun will cook the leaves.
- Change the water every 3 to 4 days to keep bacteria from building up.
- Wait until roots reach 1 to 2 inches long, then transplant into soil.
The visual you want to see is clean white roots sprouting from the base of the stem. If the roots look brown or mushy, something's wrong, likely the water hasn't been changed enough, or the cutting was too young.
The soil method is simpler but requires patience:
- Pick the same healthy plantlet and cut the stolon the same way.
- Fill a 4-inch pot with moist potting mix.
- Poke a hole in the center and gently insert the plantlet so the base sits about a quarter-inch below the surface.
- Firm the soil lightly around the stem.
- Water thoroughly and place in bright, indirect light.
- Keep the soil lightly moist for the first 3 to 4 weeks, then gradually reduce to normal watering.
The soil method produces a plant that never experiences the water-to-soil jump, which some plants find jarring. The tradeoff is that you can't see what's happening below the surface. You'll know rooting is successful when you see new leaf growth at the center of the plantlet.
How to Divide a Mature Plant (When You're Root-Bound)
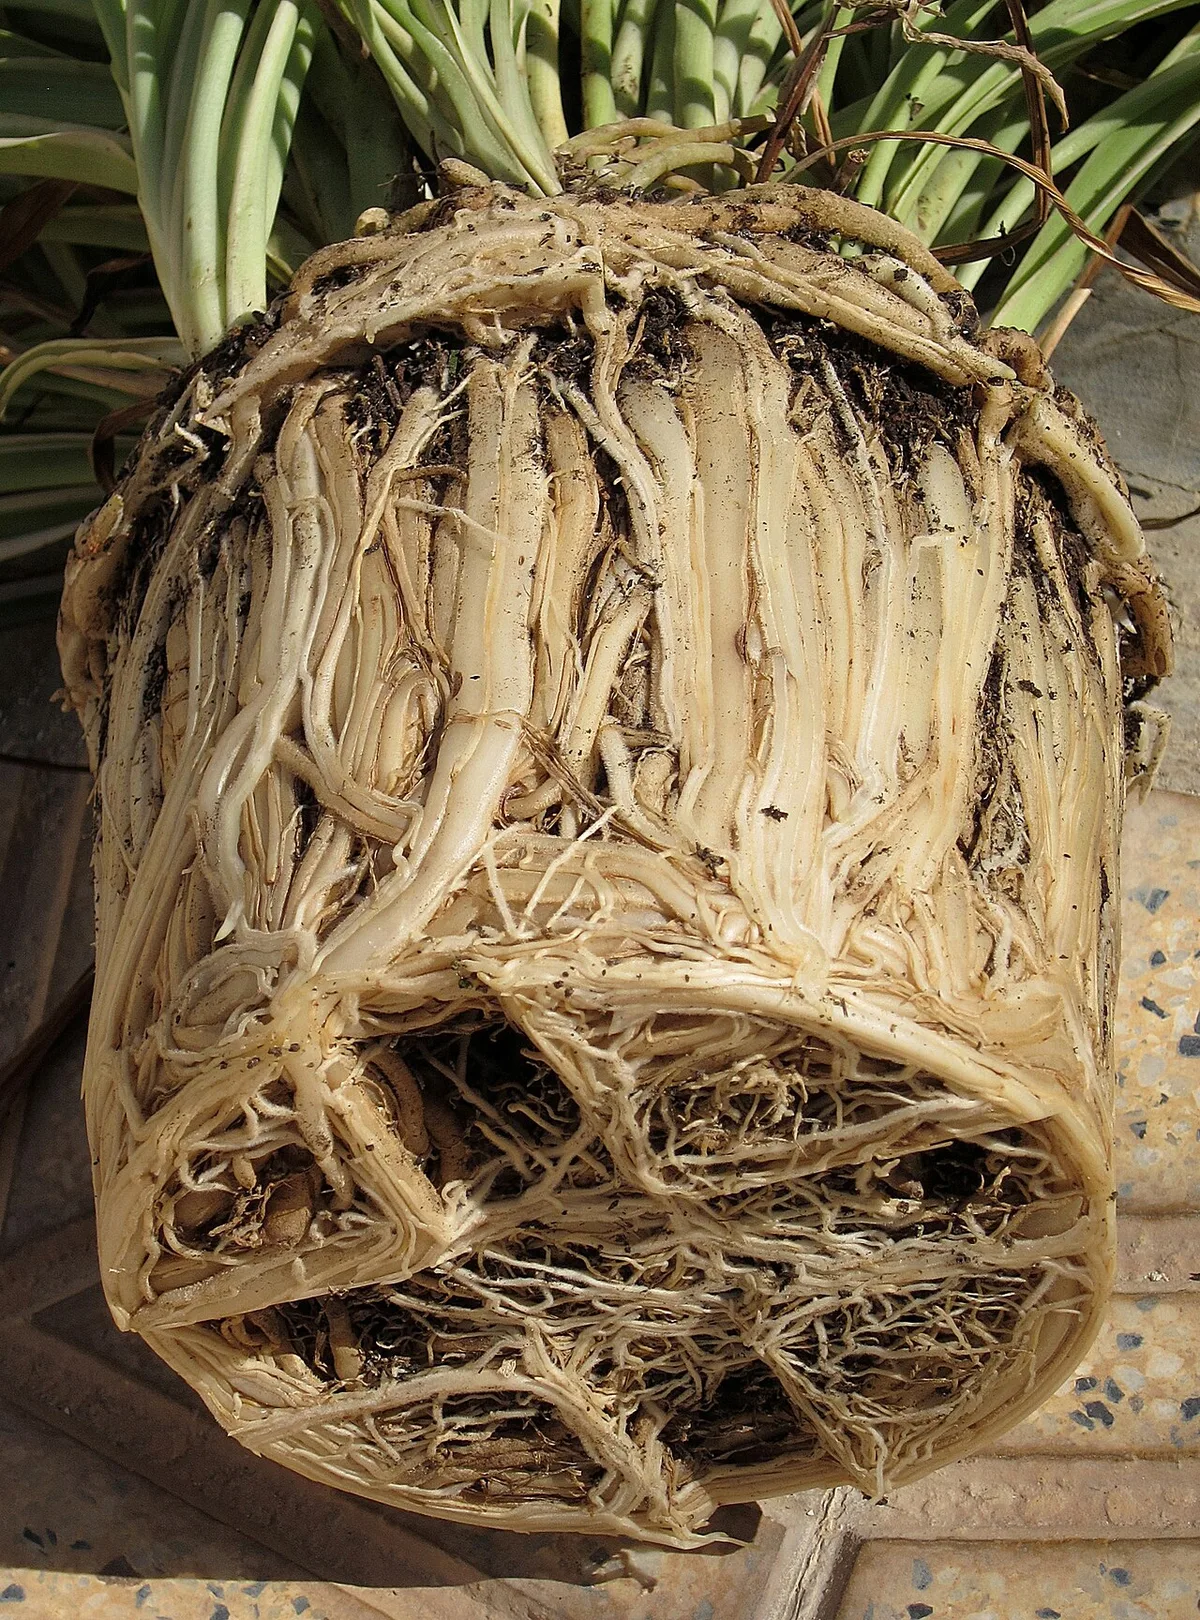
Division is the right approach when your spider plant has completely filled its pot. You'll see roots circling the top of the soil or pushing up through the drainage holes. That's a clear signal the plant needs more room, and it's also your chance to create several new plants at once.
Start by watering the plant thoroughly a day before you plan to divide it. Moist roots are more flexible and less likely to snap during handling.
- Remove the plant from its pot by squeezing the sides of the pot and gently pulling the plant free.
- Lay the root ball on a clean work surface covered with newspaper.
- Use your fingers to tease apart the roots, looking for natural separation points.
- Cut through dense, interconnected root sections with a clean, sharp knife.
- Aim for divisions that each have a good chunk of roots and several healthy leaves.
- Repot each division in its own pot with fresh potting mix.
- Water thoroughly and keep the new plants in a shaded spot for a few days.
The key here is to be decisive. Hesitation leads to ragged cuts and unnecessary root damage. A clean slice through the root mass is fine.
The plant will recover quickly.
After division, expect some drooping for the first few days. That's normal. The plant is reallocating energy to rebuild its root system.
Keep it out of bright light for the first week, then slowly reintroduce it to its normal spot.
Division is the fastest way to go from one plant to three, but it carries the most shock risk. You're disrupting the entire root structure, not just cutting a baby free. That said, spider plants handle division exceptionally well when you keep the roots moist and give them shade during recovery.
The American Society for Horticultural Science has documented that spider plant divisions recover fully within two to three weeks when given proper aftercare.
What Most People Get Wrong (And How to Fix It)
The biggest mistake people make is picking the spiderette too early. If the plantlet is smaller than 2 inches or lacks visible root nubs, it will struggle. Exercise patience and wait until it looks like a miniature version of the mother plant.
Submerging the leaves in water is another common failure. Only the base of the stem should dip below the surface. Leaves that stay wet will rot quickly, and that rot can spread upward into the crown of the new plant.
Keep the leaves dry and the stem wet, and you'll avoid the problem entirely.
Overwatering after transplant is the third big error. A freshly transplanted spiderette has a tiny root system that can't absorb much moisture. Soil that stays soggy for days causes the roots to suffocate and rot.
Water the cutting thoroughly once after potting, then let the top inch of soil dry out before watering again.
Fluoride in tap water causes brown leaf tips over time. Filtered water, rainwater, or water that's been left out overnight to allow chlorine to evaporate will give you greener, healthier leaves. It's a small tweak, but you'll notice the difference within a few weeks.
Pests are a hidden issue. Spider mites and aphids occasionally attach to spider plants, especially if the plant is stressed. Check the undersides of leaves during propagation.
If you spot fine webbing or tiny moving specks, treat the plant with a gentle insecticidal soap before you start rooting any cuttings.
Keep the new plantings away from direct sun. Bright, indirect light is the sweet spot for spider plants. Full sun scorches the leaves and stresses the young cutting.
A north-facing windowsill or a few feet back from a sunny window works perfectly.
Finally, don't panic when a newly transplanted cutting looks a little sad for a few days. It's adjusting. Consistent care, moderate light, and light watering will usually pull it through.
Summer storms, as long as the plant isn't getting waterlogged, can even speed up recovery.

Similar Posts