Spider Plant Yellow Leaves: Causes and Easy Fixes
Botanical Horticulturist & Food Preservation Specialist at Brittle Bloom · Certified Master Gardener & Master Food Preserver · 12+ Years in Plant Propagation & Food Preservation
Why your spider plant has yellow leaves isn't a mystery you need to solve alone. It's the most common complaint we hear from houseplant owners, and honestly, it's almost always fixable. The trick is that yellowing means different things depending on which leaves are affected, how the soil feels, and where the plant sits in your home.
Spider plants (Chlorophytum comosum) are tough. They store water in thick, fleshy roots called rhizomes, which makes them remarkably forgiving. But that same water-storing ability means they hate soggy soil more than almost anything else.
As of 2026, aggregate houseplant care guides and university extension services consistently point to overwatering as the top cause of yellowing in these plants. Let's walk through the diagnosis together so you can stop guessing and start fixing.
Why Your Spider Plant Is Turning Yellow (The Real Problem)
Yellow leaves on a spider plant are rarely a disease. They're a symptom, like a check engine light. The plant isn't dying.
It's telling you something about its environment is off.
The most common culprits are water issues, light problems, and water chemistry. Each one leaves a different fingerprint on the leaves. Learning to read those fingerprints is the difference between guessing and knowing.
Here's what you're actually looking at:
- Overwatering causes soft, mushy yellow leaves, often starting at the base.
- Underwatering produces yellow leaves with crispy, brown tips.
- Too much direct sun creates pale, bleached yellow patches.
- Tap water chemicals cause yellowing with burnt leaf edges.
- Natural aging shows up as yellowing on only the oldest outer leaves.
The good news? All of these are reversible. Once you identify the cause and adjust, your spider plant usually bounces back within a few weeks.
The key is catching the problem early and making one change at a time, not throwing every fix at the plant at once.
Diagnose in 2 Minutes: The Leaf-by-Leaf Decision Tree
Think of this as a choose-your-own-adventure for plant care. Start with the most obvious visual clue and follow the branches. By the end, you'll know exactly what's wrong.
Which Leaves Are Yellow?
Look at your plant and identify where the yellowing is happening.
Yellowing only on the bottom, outermost leaves? That's natural aging. Spider plants shed old growth to make room for new leaves. If the center of the plant looks healthy and green, you're fine.
Just gently pull off the yellow leaves at the base.
Yellowing on new growth in the center? That's a red flag. New leaves should be vibrant and green. If they're pale or yellow, the problem is systemic.
Usually, this points to root issues from overwatering or compacted soil.
What Does the Soil Feel Like?
Stick your finger about two inches into the soil. This is the most reliable diagnostic tool you have.
If the soil feels soggy or wet: You're overwatering. The roots are likely sitting in water and starting to rot. Stop watering immediately and let the soil dry out completely before your next drink.
If the soil feels bone dry and is pulling away from the pot edges: You're underwatering. The plant is dehydrated and can't move nutrients to its leaves. Give it a deep soak.
If the soil feels slightly damp but not wet: Moisture is fine. The problem is likely light or water quality.
Where Is the Plant Sitting?
Take a look at the location. Is it in a south-facing window with harsh afternoon sun? Or tucked in a dark corner?
Spider plants want bright, indirect light. They thrive near a window but not in the direct sunbeam. If the leaves have pale, bleached patches, move the plant a few feet back from the window.
The Overwatering Trap: Soggy Soil and Root Rot
This is the number one killer of spider plants, and it's not even close. The irony is that people overwater because they care. They see a slightly dry top layer of soil and think the plant is thirsty.
But spider plants are drought-tolerant by nature. Their thick rhizomes store water precisely so they can survive dry periods. When you water too often, those roots can't breathe.
They suffocate, decay, and eventually rot.
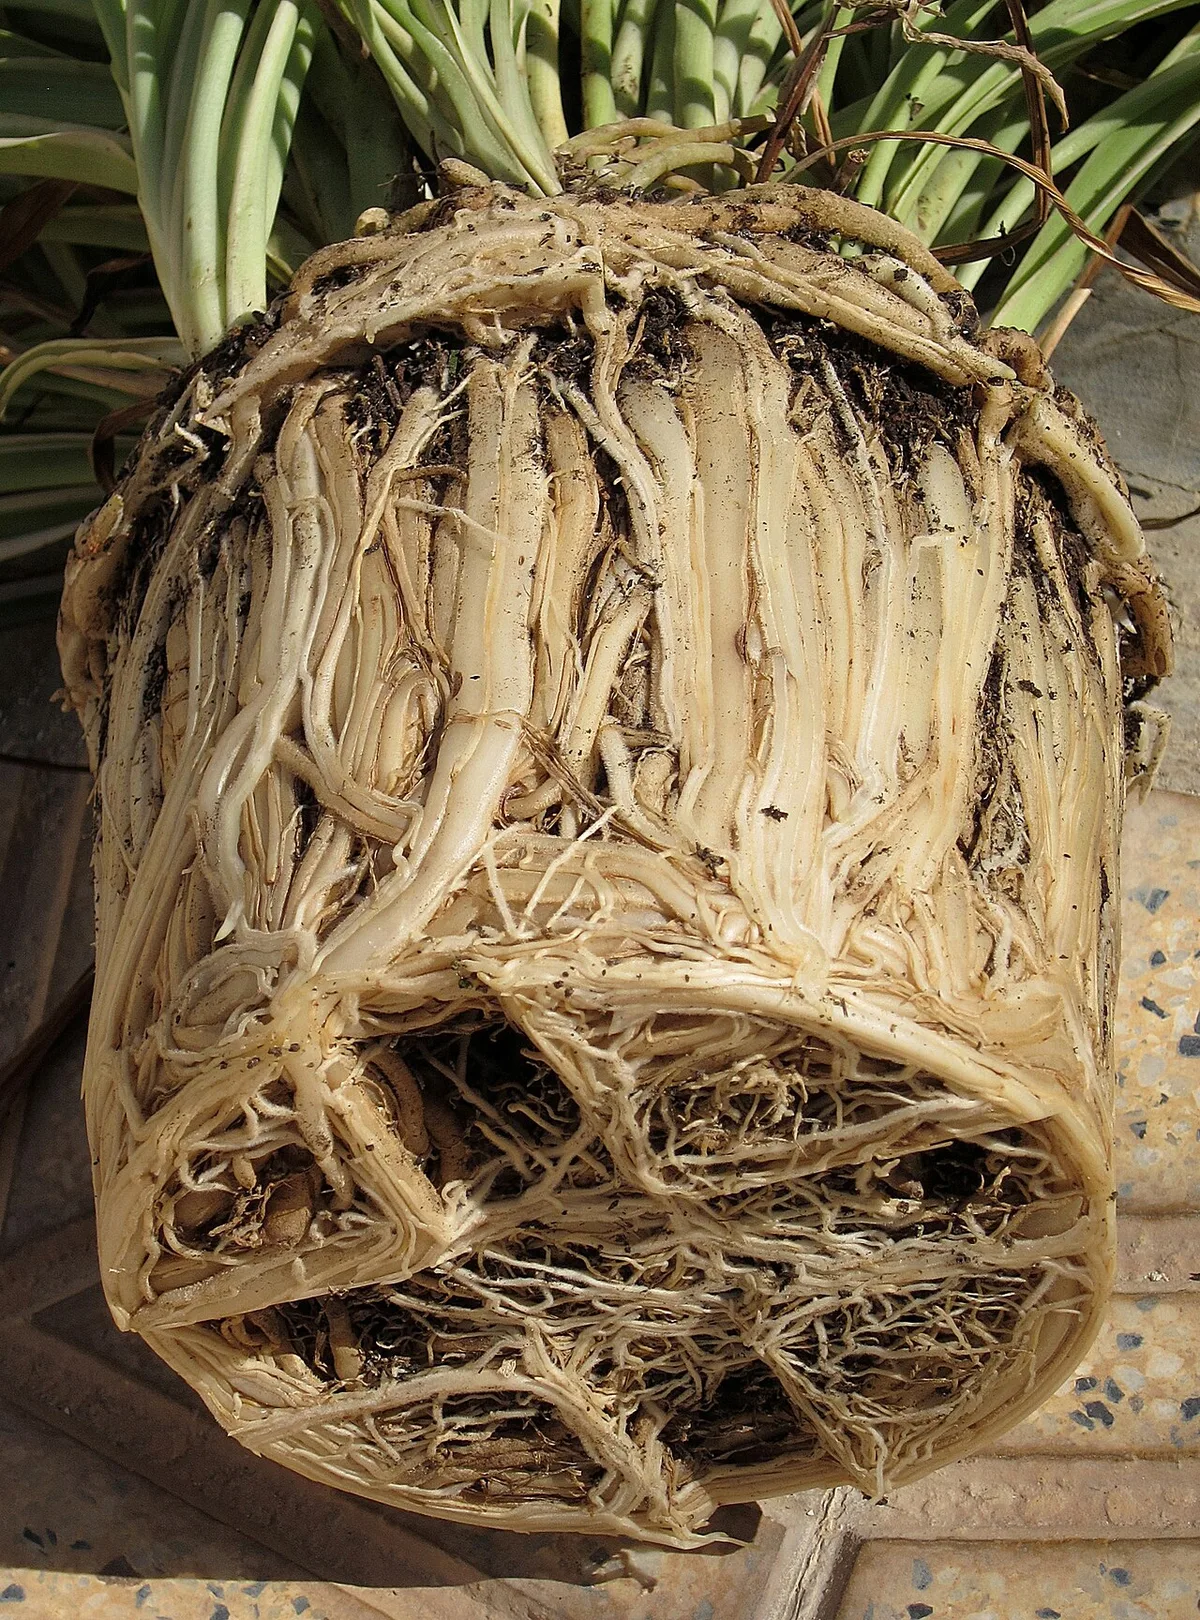
Image source: iNaturalist / Irene
Root rot is exactly what it sounds like. The roots turn brown, mushy, and eventually stop functioning. When roots stop working, the plant can't take up water or nutrients, even though the soil is soaked.
The leaves turn yellow because they're literally starving.
Here's how to check for root rot:
- Gently slide the plant out of its pot.
- Look at the roots. Healthy roots are thick, white, or cream-colored. Rotting roots are brown, black, or mushy.
- Smell the soil. A sour, rotting odor means decay is happening.
If you find rot, act fast. Remove the plant from the wet soil, trim away the mushy roots with clean scissors, and repot in fresh, well-draining mix. Make sure the new pot has drainage holes.
This is non-negotiable.
Going forward, water only when the top one to two inches of soil are completely dry. For most homes, that's about once every seven to ten days. In winter, when growth slows, stretch it to every two weeks.
From the Tap to the Pot: Water Quality and Fluoride Burn
Here's a sneaky one that stumps a lot of plant parents. Your watering schedule is perfect. The light is ideal.
And yet, the leaves still turn yellow with brown, crispy edges.
The problem might be your tap water.
Spider plants are unusually sensitive to fluoride and chlorine, two chemicals commonly found in municipal water supplies. Aggregate research from university extension services confirms that fluoride sensitivity is a documented issue in Chlorophytum comosum.
The symptoms are distinctive. You'll see yellowing leaves with brown tips and dead-looking edges. It looks like a burn, almost as if the leaf was singed.
This is often called tip burn or marginal leaf necrosis.
Here's what to do:
- Switch to distilled water. This is the safest option since it contains no chemicals.
- Collect rainwater. If you have access to it, rainwater is excellent for spider plants.
- Let tap water sit overnight. This allows chlorine to evaporate. Unfortunately, it doesn't remove fluoride.
If you suspect fluoride sensitivity, switching water sources can make a dramatic difference within a few weeks. The existing yellow leaves won't recover, but new growth will come in clean and green.
Another thing to consider: salt buildup. If you fertilize regularly with tap water, salts can accumulate in the soil over time. This causes similar yellowing and tip burn.
Flush the soil every month by running water through the pot until it drains out the bottom.
Light and Location: When Bright Means Burnt
Spider plants are flexible about light, but they have limits. They love bright, indirect light. They tolerate lower light.
They absolutely hate harsh, direct sunlight.
If your plant sits in a south-facing window with unobstructed afternoon sun, those intense rays can scorch the leaves. The damage looks like pale yellow or white patches, often on the side of the plant facing the window.
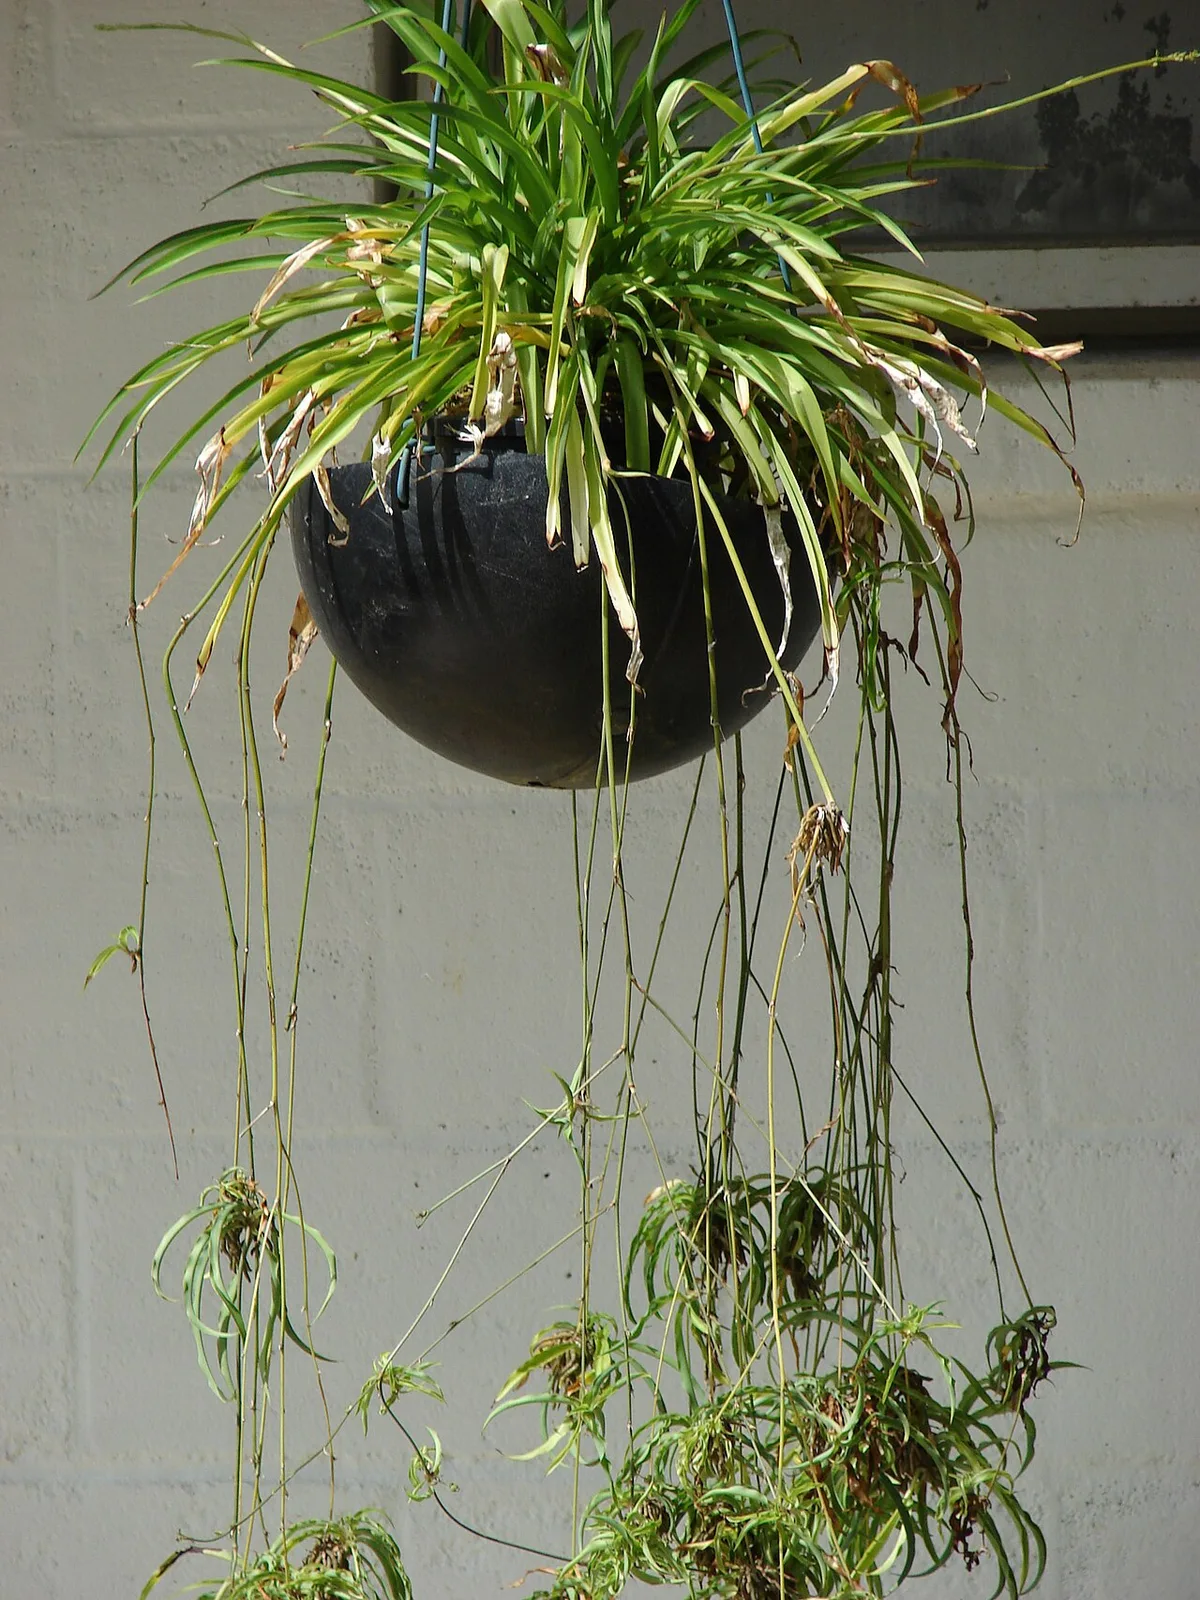
Image source: Wikimedia Commons / Hayan Alhasan (CC BY-SA)
This is called bleaching or sunscald. The chlorophyll in the leaf gets damaged by excessive light, and the green fades to yellow or white. It's not fatal, but it's not pretty either.
The fix is simple. Move the plant to a spot where it gets bright light without direct sun. An east-facing window is ideal because morning sun is gentle.
A few feet away from a south or west window also works well.
If you notice the yellowing is happening on only one side of the plant, that's a clue about the light source. Rotate the pot a quarter turn each week to encourage even growth.
What about too little light? Low light doesn't typically cause yellowing in spider plants. Instead, it causes the variegation to fade.
The white stripes become less pronounced, and new growth may come in all green. If your plant looks yellow and washed out in a dark corner, light might be a contributing factor, but it's usually secondary to water issues.
The sweet spot is eight to twelve hours of bright, indirect light daily. In most homes, a spot near a north or east window, or a few feet back from a south window, hits this range perfectly.
Common Mistakes That Keep Leaves Yellow
Even after you've identified the problem, it's easy to accidentally keep it going. Here are the mistakes we see most often when people try to fix a yellowing spider plant.
Mistake: Watering on a strict schedule. Plants don't read calendars. Watering every Sunday regardless of soil moisture is a recipe for root rot. Check the soil first.
If it's still damp, skip the watering.
Mistake: Repotting into a much bigger pot. Bigger pots hold more soil, and more soil holds more water. That extra moisture stays around the roots longer, which can trigger rot. Move up just one or two inches in pot size at a time.
Mistake: Leaving dead leaves on the plant. Yellow leaves don't recover. They just sit there, draining energy and inviting pests. Trim them off at the base with clean scissors as soon as you notice them.
Mistake: Fertilizing a stressed plant. If your spider plant is already yellowing, fertilizer won't help. It can actually make things worse by burning damaged roots. Wait until the plant shows new green growth before feeding it again.
Mistake: Making multiple changes at once. You move the plant, change the watering schedule, switch water sources, and repot all in one weekend. Now you can't tell what actually helped. Change one variable at a time and give your plant a couple of weeks to respond.
Frequently Asked Questions
How often should I water my spider plant?
Water when the top one to two inches of soil feel dry to the touch. For most homes, that's every seven to ten days in spring and summer, and every two weeks in fall and winter. Always check the soil before watering instead of following a fixed schedule.
Can yellow spider plant leaves turn green again?
No. Once a leaf turns yellow, it's done. The plant will eventually shed it.
Your focus should be on new growth. If you've fixed the underlying problem, fresh green leaves will appear within a few weeks.
Why are the tips of my spider plant brown?
Brown tips usually come from fluoride or chlorine in tap water, or from letting the soil dry out completely too often. Switch to distilled water or rainwater, and keep the soil consistently moist during active growth periods.
Should I cut off yellow leaves?
Yes. Trim them at the base with clean scissors. Removing damaged leaves helps the plant redirect energy toward healthier growth and prevents potential pest issues.
How much light does a spider plant need?
Spider plants prefer bright, indirect light for about eight to twelve hours a day. They can tolerate lower light, but growth will slow and variegation may fade. Avoid direct afternoon sun, which can scorch the leaves.
Can spider plants recover from root rot?
Yes, but you need to act quickly. Remove the plant from wet soil, trim away mushy roots, and repot in fresh, well-draining mix. Make sure the pot has drainage holes.
With these steps, most spider plants recover within a month.
The Rapid Recovery Plan: What to Do Right Now
Here's your five-step action plan if your spider plant is turning yellow today:
- Check the soil. If it's soggy, stop watering and let it dry out completely. If it's bone dry, give the pot a thirty-minute soak from the bottom.
- Trim yellow leaves at the base with clean scissors.
- Move the plant to a spot with bright, indirect light. No direct sun.
- Switch to distilled water or rainwater for at least the next month.
- Wait and watch. Don't make any other changes for two weeks. You should see new green growth within three to six weeks.
Spider plants are forgiving. They want to live. Once you correct the root cause, they're remarkably quick to bounce back.
Give yours consistent care, and you'll see fresh, vibrant growth before you know it.

Similar Posts