Can You Vacuum Seal Mason Jars Inside a Freeze Dryer?
Botanical Horticulturist & Food Preservation Specialist at Brittle Bloom · Certified Master Gardener & Master Food Preserver · 12+ Years in Plant Propagation & Food Preservation
If you’ve got a freeze dryer, you’ve likely wondered whether you can skip the mylar bags and go straight to mason jars. Can You Vacuum Seal Mason Jars Inside a Freeze Dryer? The answer is yes, but only if you have the right port, the correct lids, and a controlled process. Getting it wrong can crack glass, ruin food, or pull vacuum oil into your jars.
Manufacturer specifications show most home freeze dryers reach around 2,000 to 5,000 microns when sealing jars. As of 2026, the standard method uses a jar-sealing attachment that plugs directly into the vacuum port on your unit. Let’s walk through exactly what you need and each step to do it safely.
Quick Answer
Yes, you can vacuum seal mason jars inside a freeze dryer. You need a jar-sealing attachment and vacuum-rated lids. Standard canning lids won’t work well.
The process happens after a full freeze-dry cycle. Pull vacuum until the lid button locks. Then vent slowly to prevent glass cracks.
What You Need: Mason Jar Types, Vacuum Adapter Kits, and Lid Options
Before anything else, you need the right hardware. Not all mason jars are created equal, and the standard two-piece canning lid isn’t designed for repeated vacuum pulls. Let’s break down what actually works.
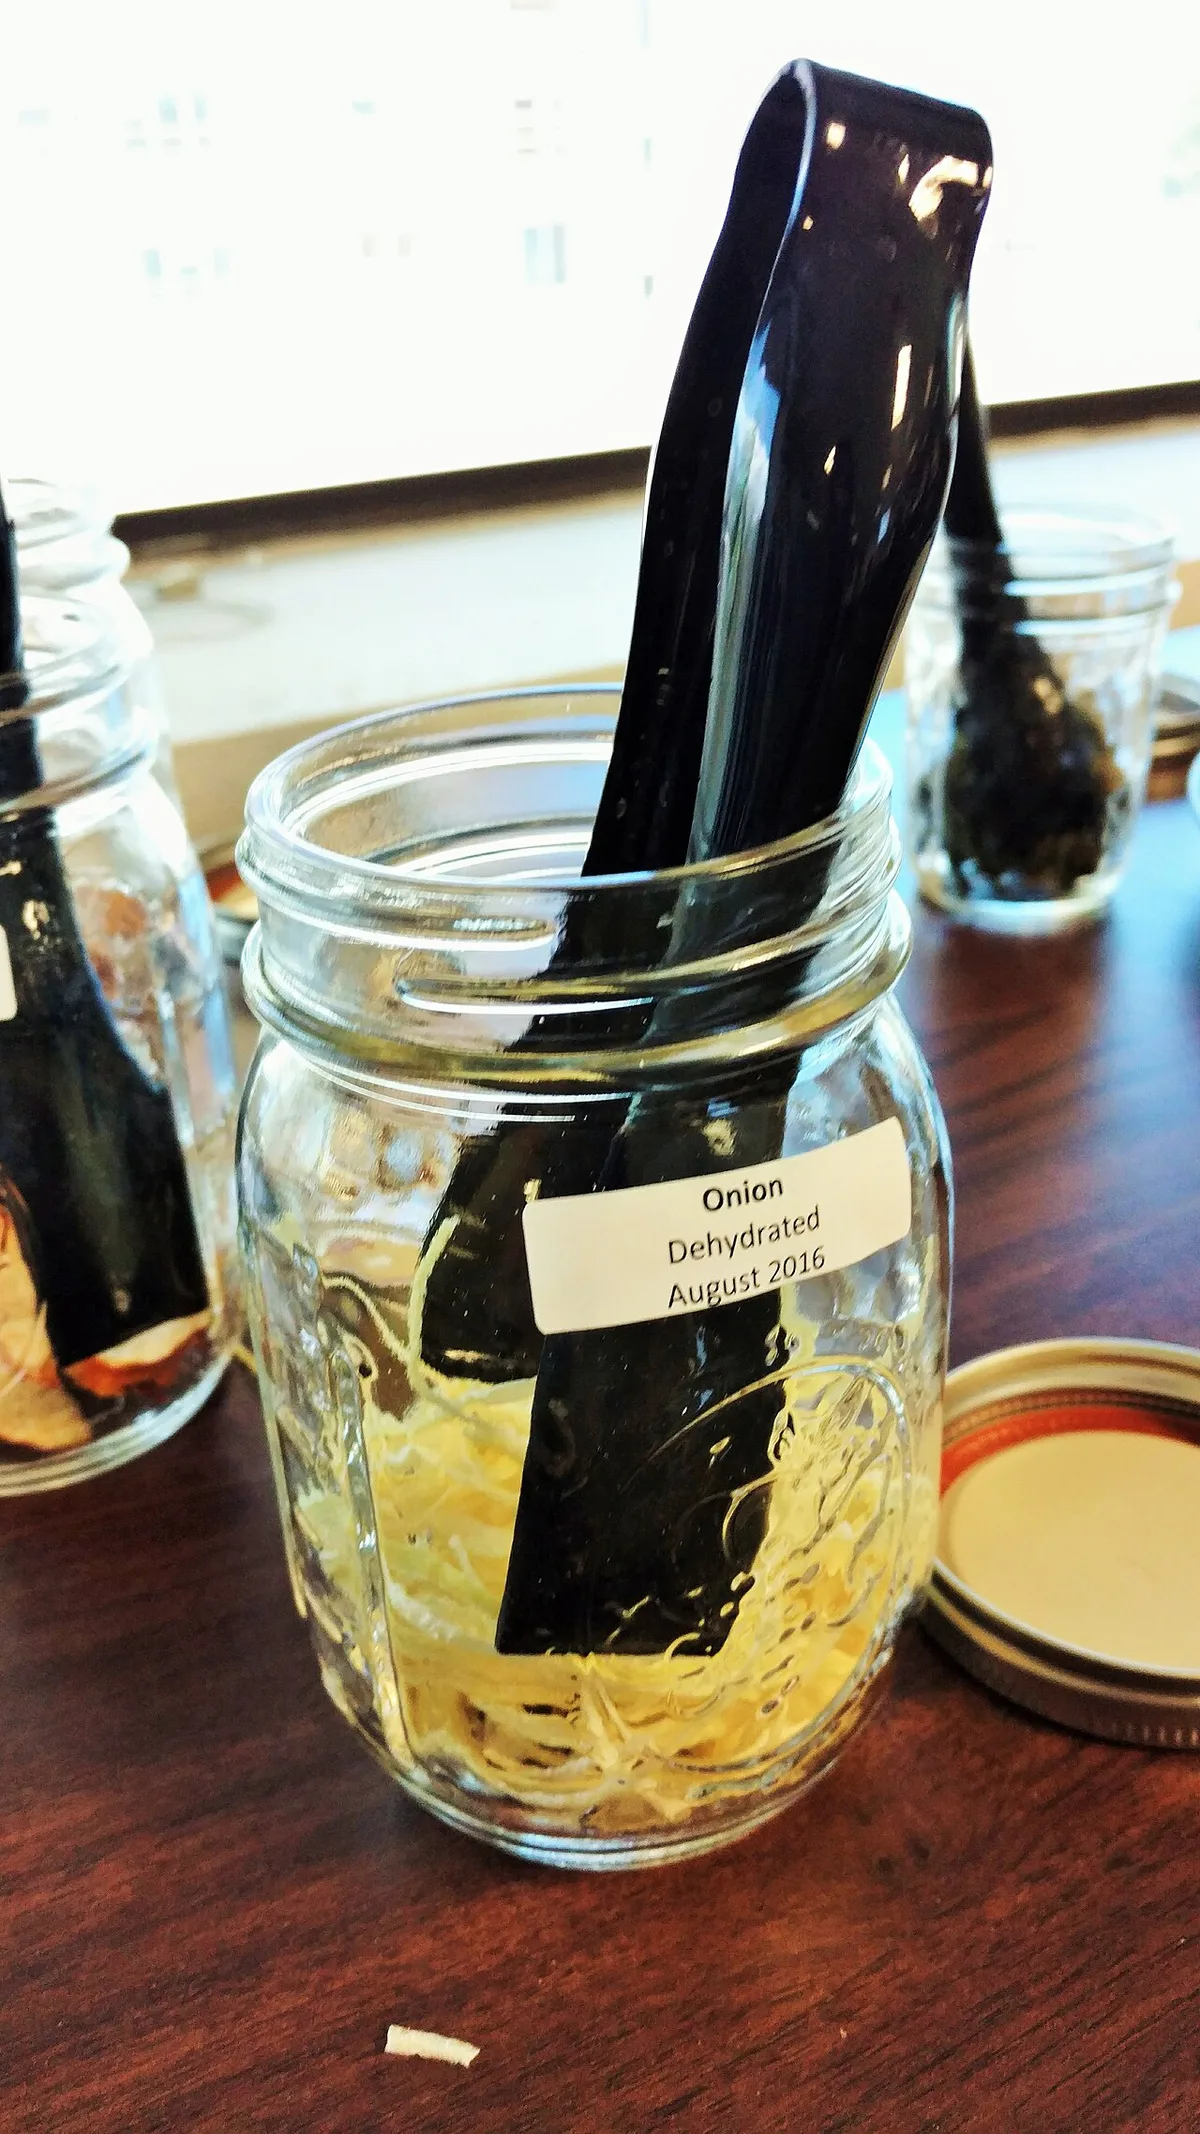
Image source: Openverse / Ben Koren
Mason jars come in two common mouth sizes: regular mouth and wide mouth. Wide mouth jars are the better choice for freeze drying because they give you more space to stuff larger food pieces, and they sit more stably under the vacuum attachment. Regular mouth jars work fine for powders and smaller items, but the smaller opening makes filling and emptying more tedious.
The vacuum adapter kit is the centerpiece. This is a plastic or silicone piece that connects your freeze dryer’s vacuum port to one jar (or several, if you have a multi-jar manifold). Harvest Right sells a jar-sealing attachment as an accessory, and Blue Alpine uses a similar design.
You place the attachment over the jar lid, and the vacuum pulls air out from under the lid.
Lid options matter more than most people think. The classic metal flat lid with a rubber ring can work, but only if you’re sealing once. Once you pull vacuum, the lid deflects and the rubber gasket compresses permanently. Reuse it, and you’ll get leaks.
Better options are:
- Reusable vacuum jar lids with a silicone gasket and a center button. These are designed for repeated pulls.
- Plastic vacuum sealer lids that fit mason jars, listing for about $2 to $4 each. They work with your freeze dryer’s port without extra adapters.
Below is a quick comparison of what you’ll need.
| Component | Recommended Option | Why It Matters |
|---|---|---|
| Jar type | Wide-mouth mason jar | Easier filling and better clearance for the adapter |
| Lid type | Reusable vacuum lid with gasket | Survives multiple seals without losing integrity |
| Adapter | Freeze dryer jar-sealing attachment | Matches your unit’s vacuum port threads |
| Extra gaskets | Silicone gaskets in bulk | Replacements are cheap and critical for sealing |
We should also note that you can freeze dry almost anything, from fruits to full meals, and then store them in jars this way. If you’re curious about the limits, our look at what you can freeze dry covers surprising options, including heartier foods.
The Decision Tree: Does Your Freeze Dryer Setup Support Jar Sealing?
Not every freeze dryer has a vacuum port that works for jar sealing. This is where you need to stop and check your specific model. Use these if/then branches to figure out where you stand.
Branch 1: Harvest Right Freeze Dryers (Center Console vs. Large Models)
If you own a Harvest Right, you’re in luck. All current home models, from the small 4-tray to the large 7-tray, include a vacuum port on the back or side. That port isn’t just for the vacuum pump.
It also accepts the jar-sealing attachment accessory.
The catch is timing. You cannot attach jars during the initial drying phase. You must wait until the freeze-dry cycle is completely finished, the chamber reaches room temperature, and the vacuum is released.
Then you hook up the jar sealer, place your jars inside, and pull vacuum again. It’s an extra cycle, but it takes roughly 5 to 10 minutes per batch.
Branch 2: Blue Alpine and Other Brands
Blue Alpine freeze dryers also come with a vacuum port and a compatible jar-sealing accessory. The process mirrors Harvest Right: dry first, then seal. Other brands, like the newer standalone chamber units, may or may not include an accessory-port adapter.
Check your user manual for a part called a “jar sealer” or “vacuum port accessory.” If the manual doesn’t mention one, you probably can’t connect it directly.
What about the smaller countertop freeze dryers, like those from “Lab equipment” suppliers? Many don’t have a service port at all. That means no way to pull vacuum directly on a jar.
In that case, you’ll need a fallback.
Branch 3: No Vacuum Port? Here’s Your Workaround
If your freeze dryer lacks a port, you aren’t completely stuck. You have two options:
- Finish with a separate vacuum sealer. Use a standard FoodSaver or chamber sealer with a jar attachment after you remove your dried food from the freeze dryer.
- Use oxygen absorbers instead. Place a small oxygen absorber inside the jar and seal it with a regular lid. The absorber scrubs the residual oxygen over the next few hours.
This approach isn’t as elegant, and it doesn’t give you that instant “lid pops down” satisfaction. But it works. The only downside is that you’re relying on a secondary device, which defeats the purpose of an all-in-one setup.
Step-by-Step: How to Vacuum Seal Mason Jars Inside Your Freeze Dryer
Once you confirm your freeze dryer has the right port, the process is straightforward. Follow these exact steps to get a solid seal every time.
Image source: Openverse / Ben Koren
Step 1: Make Sure Your Food Is Fully Dry
Vacuum sealing wet food is a disaster waiting to happen. If there’s any residual moisture, the vacuum will make it boil at room temperature. That creates condensation inside the jar, and it ruins your shelf life.
Test dryness before sealing: break a piece in half and look for frost or ice crystals. No frost? You’re good.
Warm it slightly and check for moisture on the jar’s inside wall. If you see droplets, run another dry cycle.
This step is critical for foods like avocado, which we’ve covered in our guide on freeze-drying avocados. Avocado has high fat content, and even a little trapped moisture can cause rancid flavors.
Step 2: Prep Jars, Lids, and Headspace
Use clean jars with smooth, un-chipped rims. Any nick in the glass will prevent a seal. Leave 1/2 to 1 inch of headspace at the top.
This space allows the lid to flex down without touching the food. Then wipe the rim with a dry towel to remove any dust or oil from your hands.
Now place your lid. If you’re using a reusable vacuum lid, make sure the silicone gasket is seated properly. If you’re using a metal flat lid, ensure it’s brand new and the rubber ring is intact.
Step 3: Attach the Adapter and Pull Vacuum
Position the jar sealer attachment over the lid. For a single-jar setup, the attachment sits directly on the jar mouth. For multi-jar setups, you’ll see a hose or manifold connecting each jar to the main port.
Close the freeze dryer door and start the vacuum pump.
Watch the numeric micron display. For sealing, you don’t need the full drying vacuum of 200 to 500 microns. Most manufacturers recommend pulling down to around 2,000 to 4,000 microns.
That’s enough to create a strong seal without straining the glass.
Step 4: Vent Slowly and Test the Seal
When the micron gauge reaches your target, hold the vacuum for about 10 seconds. This confirms the seal is stable. Then open the chamber’s vent valve very slowly.
Slow is the keyword here. If you vent too fast, the sudden pressure change can crack the glass from thermal shock.
Once the chamber reaches atmospheric pressure, check the lid. A properly sealed lid will have a depressed center and won’t flex when you press it. If it pops, immediately repeat the pull with a fresh lid.
Mistakes to Avoid: Cracked Glass, Oil Backup, and Failed Seals
Even seasoned freeze-dryers hit these hiccups. Here’s what to watch for, and how to keep your jars in one piece.
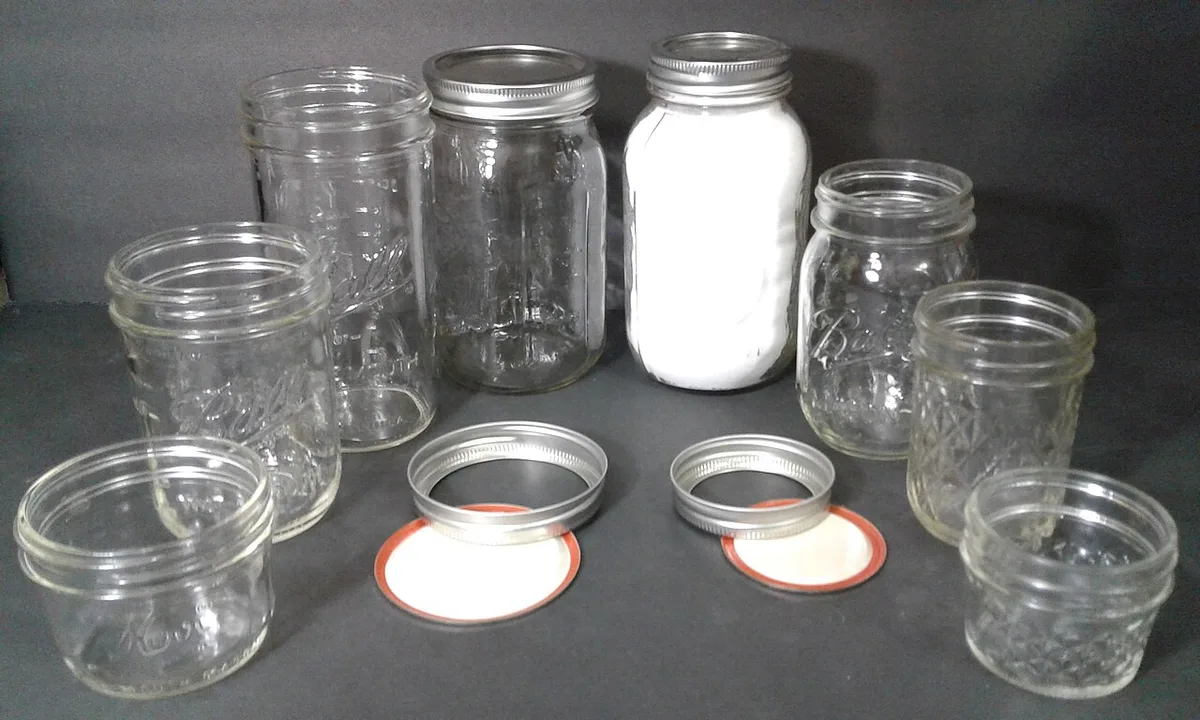
Image source: Wikimedia Commons / Grorp (CC BY-SA)
Thermal Shock: Why Cold Jars Can Shatter
If your jars are still frozen from the drying cycle, they’re extremely cold. That’s fine. What isn’t fine is pulling vacuum too quickly on a cold jar.
The rapid drop in pressure can cause the glass to crack or explode. Always wait until the jars reach room temperature before sealing. In a busy kitchen, that’s usually 30 to 60 minutes after the cycle finishes.
Never seal jars straight out of the chamber if the glass is below about 50°F.
Vacuum Oil Backing Up Into the Port
This one is nasty. If you vent the chamber before turning off the vacuum pump, oil from the pump can back up into the vacuum line and contaminate your jars. The fix is simple: always vent the chamber first, then turn off the pump.
Some freeze dryers have a check valve, but not all. When you read the manual, look for the phrase “oil backflow prevention.” If your unit lacks it, you need to be extra careful with your venting sequence.
Lid Buckling, Gasket Shifts, and False Seals
Have you ever pulled vacuum, seen the lid depress, then found it doesn’t stay down? That’s a false seal. It happens when the gasket isn’t seated evenly, or when the vacuum is released too quickly.
Metal lids can also buckle permanently if you pull a very deep vacuum. They’ll look concave, but they won’t hold. To avoid this, always use new lids for a single seal, or invest in reusable lids with a thick silicone gasket.
Test every jar before stacking it on the shelf. The trusted method is the “button test”: press the center of the lid. If it clicks or pops, it’s not sealed.
When Jar Sealing Isn’t the Best Choice: Mylar Bags and Oxygen Absorbers
Jars are elegant, but they’re not always the smartest packaging. Mylar bags with oxygen absorbers remain the gold standard for long-term food storage. Here’s why.
Mylar bags take up less space. They’re flexible, so you can fill them into buckets, totes, or shelving gaps that rigid jars can’t fit. They’re also more durable in transit.
Drop a jar and you’ve lost your food. Drop a sealed mylar bag, and you just pick it up.
If you’re storing for 10 years or more, mylar plus an oxygen absorber is the more reliable route. The absorber scrubs oxygen down to less than 0.01%, which prevents oxidation and preserves both color and nutrients. Vacuum-sealed jars do this too, but the seal can fail silently if the lid flexes or the gasket degrades.
Use jars when you want daily access. They’re perfect for herbs, dried fruits, snacks, and small portions you’ll finish within a year. Use mylar for bulk storage, emergency preps, and anything you won’t touch for a long time.
One more consideration is space. A wide-mouth quart jar holds about 1.5 cups of freeze-dried food, depending on density. A standard mylar bag holds 5 to 6 quarts of powder or chunks.
For a large harvest, jars mean many more sealing cycles.
Frequently Asked Questions
Can I use regular mason jar lids for vacuum sealing?
Yes, but only once. The metal flat lid with a rubber ring will seal fine under vacuum. However, that same vacuum pull permanently compresses the rubber.
If you reuse it, the next seal will likely leak. For repeated uses, pick reusable vacuum lids with silicone gaskets instead.
How long does the jar sealing process take?
A typical batch takes 5 to 10 minutes. That’s from attaching the jar adapter to venting the chamber. The vacuum pump pulls down to around 2,000 to 4,000 microns in a few minutes.
Holding the vacuum for 10 seconds confirms the seal, then you vent slowly.
Why does my glass jar crack during vacuum sealing?
Cracked jars almost always come from thermal shock. Sealing a jar that’s still frozen or colder than about 50°F puts stress on the glass. When you vent too quickly, the temperature difference can shatter it.
Always let jars warm to room temperature before pulling vacuum.
Do I need to add oxygen absorbers if I vacuum seal?
No, vacuum sealing alone removes enough oxygen for most storage. Oxygen absorbers are helpful only if you can’t achieve a strong vacuum or if you’re using mylar bags. For jars, the lid button test tells you if the seal is solid.
Can I seal multiple jars at once?
Yes, if you have a multi-jar manifold attachment. Most home freeze dryers sell a two-jar or four-jar accessory. Each jar gets an individual hose.
Pull vacuum until every lid button is down. Watch for leaks: one loose lid can ruin the whole batch.
Final Verdict: Should Vacuum-Sealed Mason Jars Be Your Go-To Storage Method?
Vacuum-sealing mason jars inside a freeze dryer works beautifully, and it’s a legitimate tool for short to medium-term storage. For daily use and pantry access, jars win. They’re reusable, see-through, and stack neatly.
For true long-term survival storage, mylar bags with oxygen absorbers still hold the edge. They’re cheaper per unit, tougher, and less prone to silent seal failure. If you’re building a 20-year prepper pantry, don’t rely exclusively on glass.
Here’s the practical split: use jars for anything you’ll rotate within a year. Use mylar for bulk, long-term caches. Both methods start with a properly dried product, so the most important step is still dialing in your freeze dryer cycle.
As long as you follow the thermal shock rules and vent slowly, you’ll get clean, reliable seals every time. Start with a small batch, test your lids, and you’ll quickly find which storage style fits your kitchen and your goals.

Similar Posts